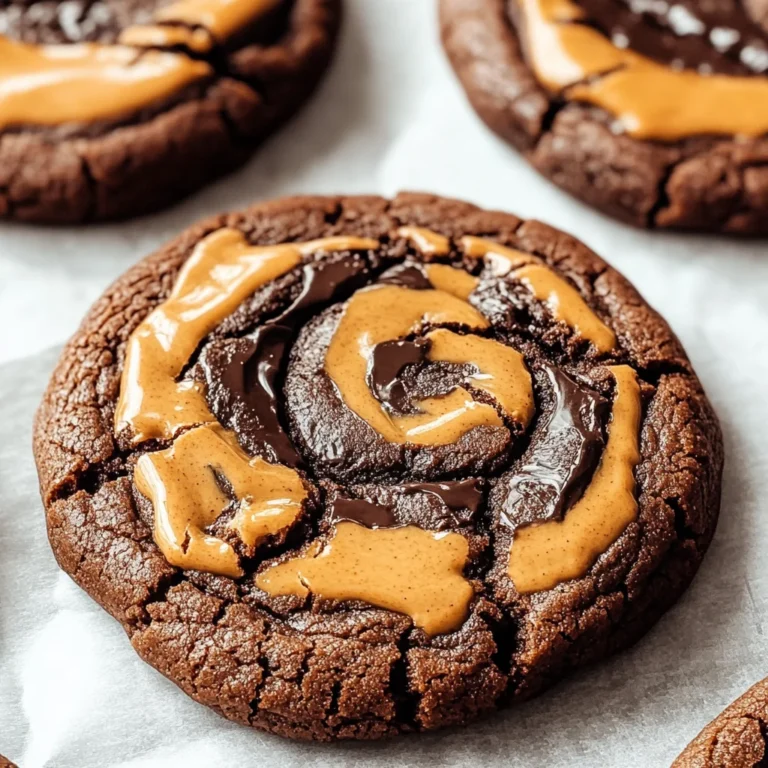
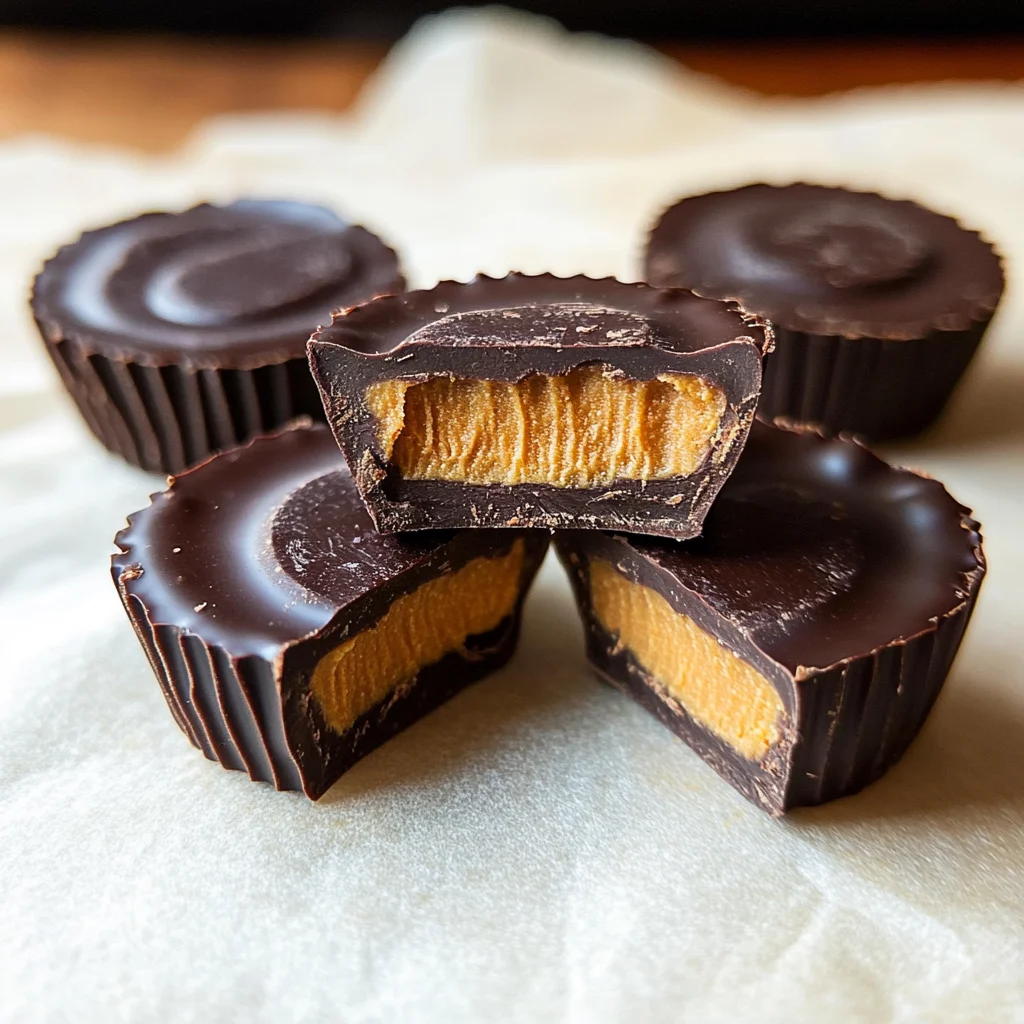
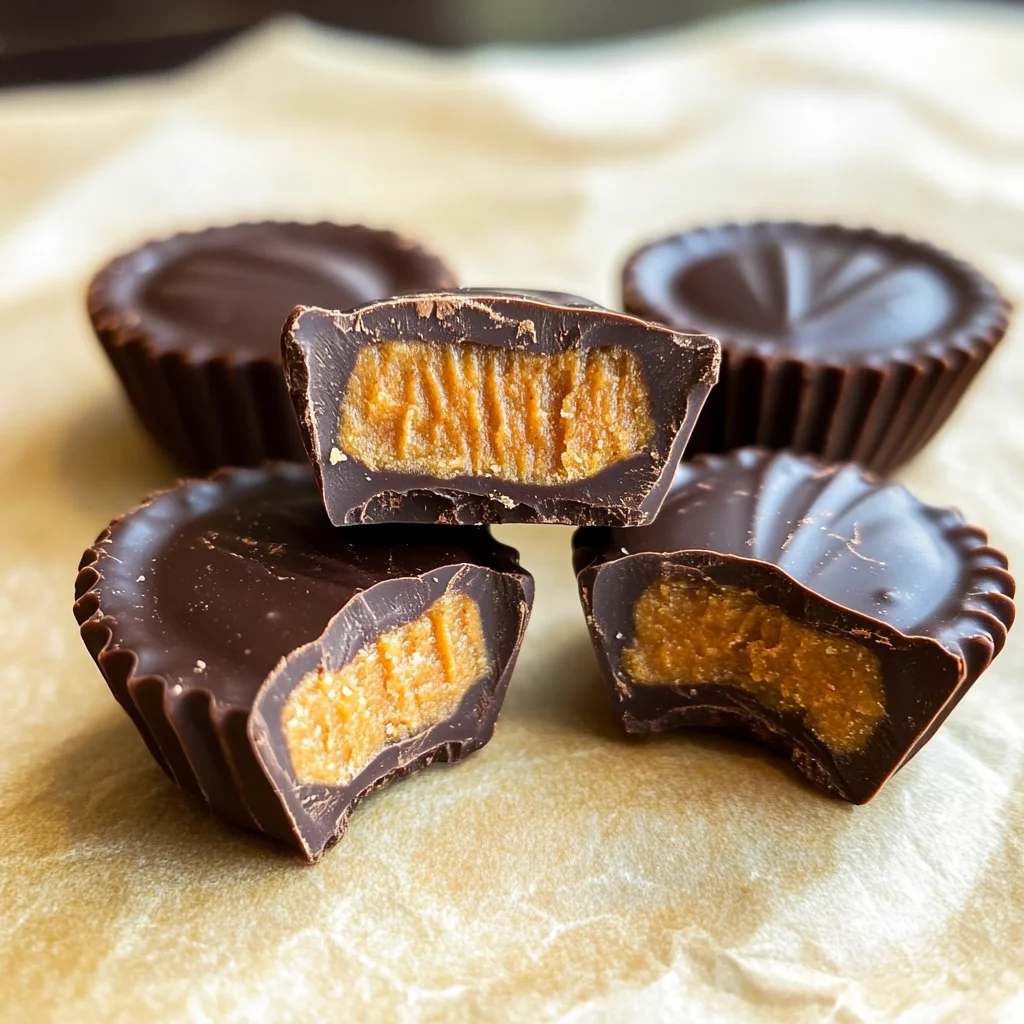
Chocolate Pumpkin Butter Cups
If you’re looking for a delightful treat that’s both tasty and healthy, you’ve landed in the right place! Chocolate Pumpkin Butter Cups are a fantastic way to celebrate the flavors of fall any time of year. They combine creamy pumpkin spice filling with rich dark chocolate, making them a favorite among family and friends. These little cups are perfect for everything from busy weeknights to festive gatherings, ensuring everyone can enjoy a sweet bite without the guilt.
What I love most about this recipe is how simple it is to whip up. You can make a batch in no time, and they store beautifully in the fridge for later snacks or dessert. So, gather your ingredients, and let’s dive into this delicious adventure together!
Why You’ll Love This Recipe
- Easy to Make: With just a few simple steps, you can create these delightful treats in no time.
- Family-Friendly: Kids and adults alike will love the combination of chocolate and pumpkin.
- Make-Ahead Convenience: Prepare them in advance and enjoy them throughout the week.
- Lower Sugar Delight: Satisfy your sweet tooth with a treat that’s lower in sugar without compromising on flavor.
- Dairy-Free Goodness: Enjoy all the richness of chocolate without any dairy!
Ingredients You’ll Need
These Chocolate Pumpkin Butter Cups are made with wholesome ingredients that you probably have on hand. Let’s gather what we need!
For the Filling
- 1/2 Cup Pumpkin Puree
- 1/3 Cup Almond Butter (Any nut butter will work! You can also use Sunbutter.)
- 2 Tablespoons Honey (You can also swap for maple syrup.)
- 2 Teaspoons Pumpkin Spice
For the Chocolate Coating
- 1 Cup Chocolate Chips
- 1 Tablespoon Coconut Oil
Variations
This recipe is wonderfully flexible, so feel free to get creative! Here are some fun variations to try:
- Add Some Crunch: Stir in chopped nuts or seeds for an extra crunch.
- Change Up the Sweetener: Use agave nectar instead of honey or maple syrup for a different flavor profile.
- Try Different Nut Butters: Use peanut butter or cashew butter if you want something different!
- Mix in Some Superfoods: Add chia seeds or flaxseeds to boost the nutrition!
How to Make Chocolate Pumpkin Butter Cups
Step 1: Prepare the Pumpkin Filling
In a mixing bowl, combine the pumpkin puree, almond butter, honey, and pumpkin spice. Mix until smooth and creamy. This step is crucial because it creates that irresistible pumpkin flavor that pairs perfectly with chocolate.
Step 2: Melt the Chocolate
In a microwave-safe bowl or double boiler, melt the chocolate chips with coconut oil until smooth. Stir frequently to ensure it doesn’t burn. Melting the chocolate properly ensures a beautiful coating that hardens perfectly around your pumpkin filling.
Step 3: Assemble Your Cups
Line a muffin tin with cupcake liners. Pour about a tablespoon of melted chocolate into each liner, coating the bottom evenly. Then add about a tablespoon of your pumpkin mixture on top of the chocolate layer. Finish by pouring more melted chocolate over each cup until they are covered completely. This layering technique gives each bite that delightful contrast between chocolate and spiced pumpkin.
Step 4: Chill Until Set
Place your muffin tin in the refrigerator for about 2 hours or until fully set. Chilling allows everything to firm up nicely so that when you take a bite, it holds its shape beautifully.
Step 5: Enjoy!
Once set, carefully peel away the liners and enjoy your Chocolate Pumpkin Butter Cups! These treats are sure to become a favorite for any gathering or just as an everyday snack!
With just these simple steps, you’ve created something deliciously unique! Enjoy every bite!
Pro Tips for Making Chocolate Pumpkin Butter Cups
Making Chocolate Pumpkin Butter Cups is a delightful experience, and with these tips, you can make them even more enjoyable!
- Use quality chocolate: Opting for high-quality dark chocolate will enhance the overall flavor of your butter cups. It melts beautifully and provides a rich taste that pairs perfectly with the creamy pumpkin filling.
- Chill your filling: Allowing your pumpkin filling to chill in the fridge before assembling helps it firm up. This makes it easier to scoop and ensures a neat presentation when you pour the chocolate on top.
- Silicone molds are a game changer: Using silicone molds instead of traditional paper liners allows for easier removal of your butter cups. The flexible material gently releases the treats without sticking.
- Experiment with spices: Feel free to adjust the amount of pumpkin spice or add other spices like nutmeg or cinnamon for an extra flavor boost. Personalizing your spice blend can make these treats uniquely yours!
- Store properly: Keep your Chocolate Pumpkin Butter Cups in an airtight container in the refrigerator. This not only preserves their freshness but also helps maintain their shape and texture.
How to Serve Chocolate Pumpkin Butter Cups
Presenting your Chocolate Pumpkin Butter Cups can be just as fun as making them! Here are some creative ideas to serve them up beautifully.
Garnishes
- Cocoa powder dusting: A light dusting of cocoa powder adds an elegant touch and enhances the chocolate flavor.
- Chopped nuts: Sprinkling finely chopped almonds or walnuts on top gives a nice crunch and adds a nutty flavor that complements the almond butter.
Side Dishes
- Fresh fruit platter: A colorful assortment of fresh fruits like apple slices, pears, and grapes offers a refreshing contrast to the rich butter cups.
- Coconut yogurt dip: Serve alongside a bowl of dairy-free coconut yogurt for dipping. Its creaminess pairs wonderfully with the chocolate and pumpkin flavors.
- Spiced chai tea: A warm cup of spiced chai tea is perfect for cozy moments. Its aromatic spices harmonize with the pumpkin spice in the butter cups.
- Granola bars: Pair with homemade or store-bought granola bars for a satisfying snack combo that balances sweetness with wholesome ingredients.
With these serving suggestions, your Chocolate Pumpkin Butter Cups will be a hit for any occasion! Enjoy sharing these delicious treats with friends and family.
Make Ahead and Storage
These Chocolate Pumpkin Butter Cups are perfect for meal prep! You can whip them up ahead of time, making them an easy grab-and-go treat for busy days or festive gatherings. Here’s how to store and preserve these delightful bites.
Storing Leftovers
- Store the Chocolate Pumpkin Butter Cups in an airtight container.
- Keep them in the refrigerator for up to one week.
- For optimal taste and texture, let them sit at room temperature for a few minutes before enjoying.
Freezing
- Place the cups in a single layer on a baking sheet and freeze until solid.
- Once frozen, transfer them to a freezer-safe bag or container.
- They can be stored in the freezer for up to three months. Just allow them to thaw in the fridge overnight when you’re ready to enjoy!
Reheating
- There’s no need to reheat these treats since they’re delicious served cold or at room temperature.
- If you prefer to enjoy them slightly warm, microwave for just 10-15 seconds. Be careful not to overheat, as this can melt the chocolate too much.
FAQs
Here are some frequently asked questions about Chocolate Pumpkin Butter Cups that can help enhance your experience with this recipe!
Can I use other nut butters instead of almond butter in Chocolate Pumpkin Butter Cups?
Absolutely! Any nut butter works well in this recipe. If you have nut allergies, consider using Sunbutter as a tasty alternative.
How long do Chocolate Pumpkin Butter Cups last?
When stored properly in the fridge, Chocolate Pumpkin Butter Cups will stay fresh for about one week. They also freeze beautifully if you want to keep some on hand for later!
Are Chocolate Pumpkin Butter Cups healthy?
Yes! These treats are lower in sugar and made with wholesome ingredients like pumpkin puree and almond butter, making them a healthier option compared to traditional candy.
Can I make these Chocolate Pumpkin Butter Cups vegan?
Yes! Simply substitute honey with maple syrup, and you’ll have a delicious vegan treat that everyone can enjoy.
Final Thoughts
I hope you find joy in making these delightful Chocolate Pumpkin Butter Cups! With their creamy pumpkin spice filling and rich dark chocolate enveloping each bite, they’re sure to become a favorite sweet treat. Whether you’re preparing them for yourself or sharing with friends and family, these cups add a festive touch while being healthier than typical candies. Enjoy every step of the process, and be sure to try out variations that suit your taste! Happy baking!
Chocolate Pumpkin Butter Cups
If you’re searching for a delightful treat that merges the warmth of pumpkin spice with rich dark chocolate, look no further than these Chocolate Pumpkin Butter Cups! Perfect for any time of year, these no-bake delights are not only delicious but also healthier than traditional sweets. Creamy pumpkin filling made from wholesome ingredients is enveloped in a smooth chocolate coating, making them ideal for sharing with family and friends or enjoying as a quick snack. Easy to prepare and perfect for meal prep, these treats will satisfy your sweet tooth without the guilt.
- Prep Time: 15 minutes
- Cook Time: 10 minutes
- Total Time: 25 minutes
- Yield: Approximately 12 cups 1x
- Category: Dessert
- Method: No-bake
- Cuisine: American
Ingredients
- 1/2 Cup Pumpkin Puree
- 1/3 Cup Almond Butter (or other nut butters)
- 2 Tablespoons Honey (or maple syrup)
- 2 Teaspoons Pumpkin Spice
- 1 Cup Chocolate Chips
- 1 Tablespoon Coconut Oil
Instructions
- In a bowl, mix together pumpkin puree, almond butter, honey, and pumpkin spice until smooth.
- Melt chocolate chips and coconut oil in a microwave or double boiler until smooth.
- Line a muffin tin with cupcake liners; pour melted chocolate into each liner to coat the bottom. Add a spoonful of the pumpkin mixture on top and cover with more melted chocolate.
- Chill in the refrigerator for about 2 hours until set.
- Once firm, peel away the liners and enjoy!
Nutrition
- Serving Size: 1 serving
- Calories: 120
- Sugar: 8g
- Sodium: 20mg
- Fat: 8g
- Saturated Fat: 4g
- Unsaturated Fat: 4g
- Trans Fat: 0g
- Carbohydrates: 11g
- Fiber: 2g
- Protein: 3g
- Cholesterol: 0mg