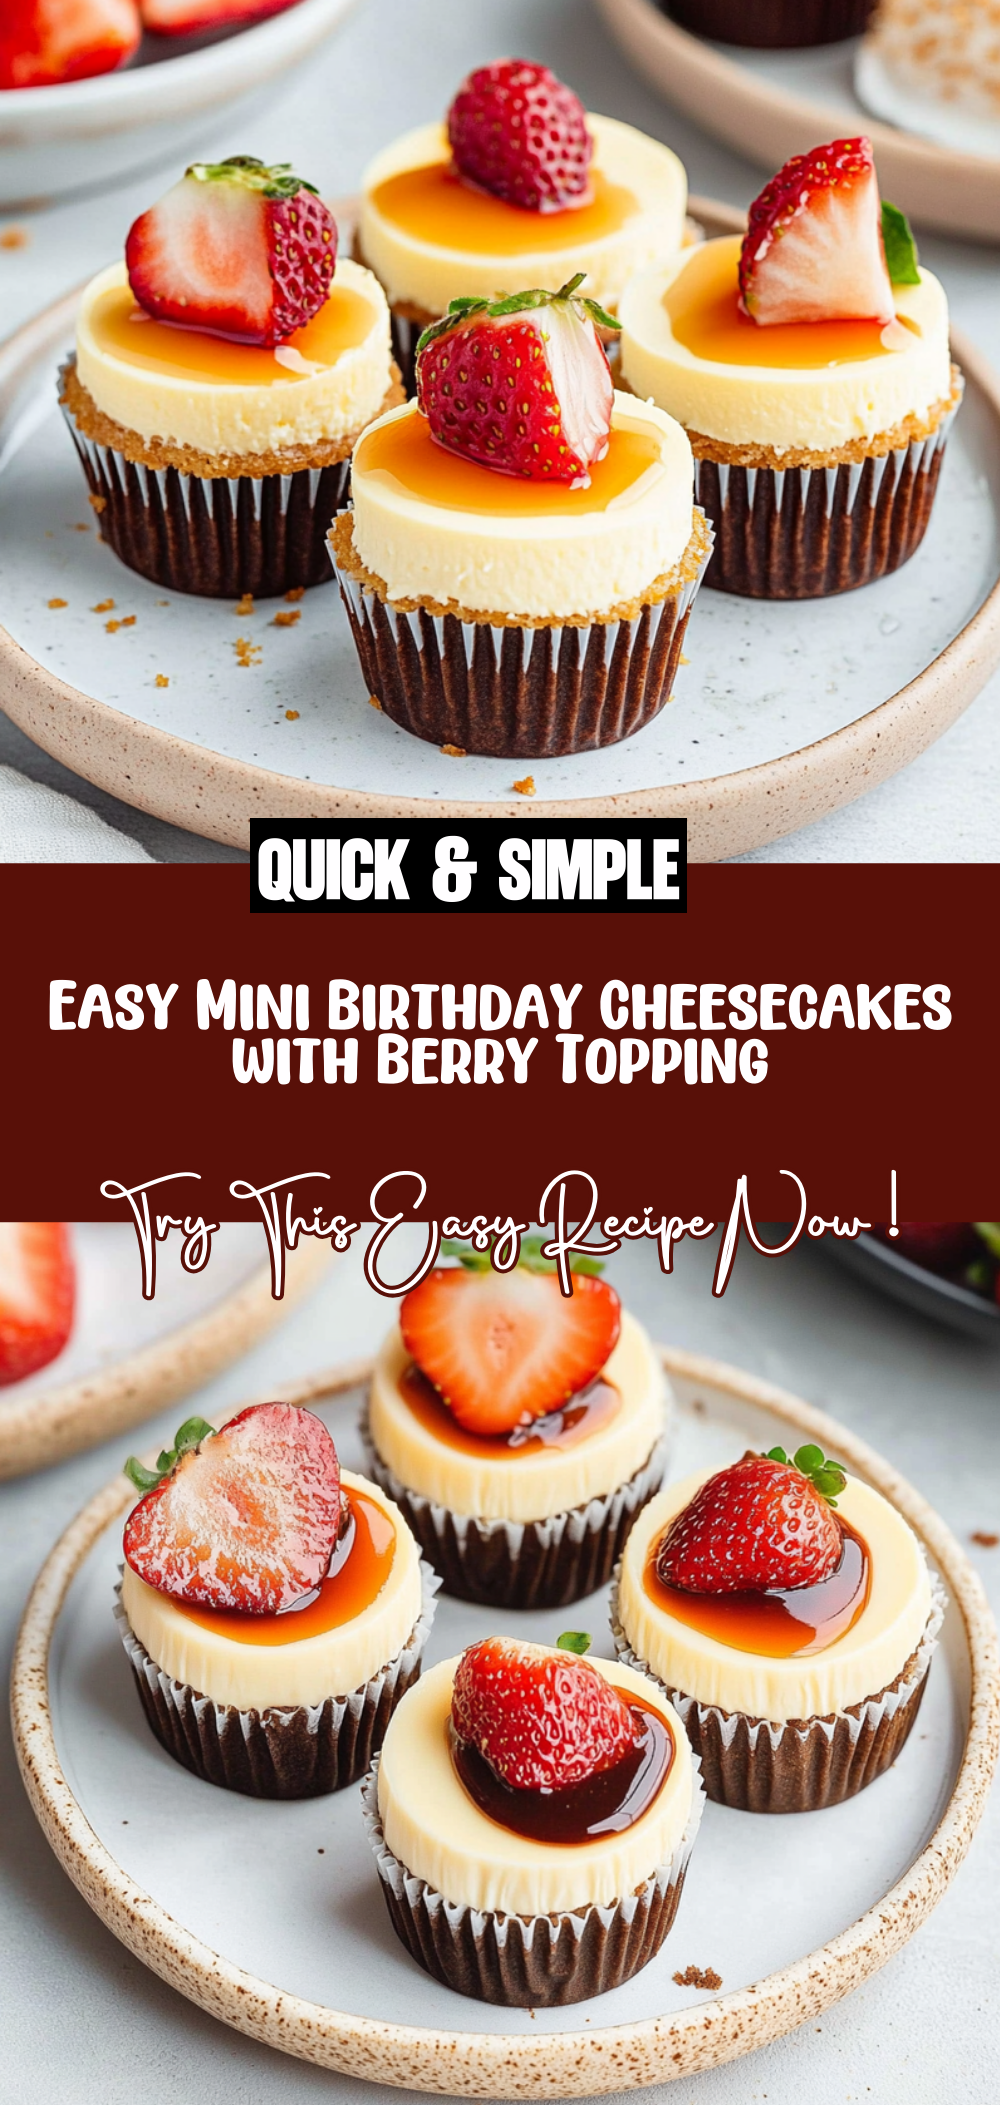
Irresistible Easy Mini Birthday Cheesecakes Recipe
Everyone loves a good birthday celebration, and in my house, that means lots of dessert! But sometimes a full-sized cheesecake is just too much, especially when you’re trying to keep the festivities light and fun. That’s where my Easy Mini Birthday Cheesecakes come into play! These delightful little treats pack all the creamy goodness of traditional cheesecake into perfectly portioned bites, making them ideal for sharing—whether it’s at a birthday party, family gathering, or just a cozy night in.
What I love most about this recipe is how simple and quick it is to whip up. With just a few ingredients and minimal prep time, you’ll have these mini cheesecakes ready to impress your guests in no time. Plus, the colorful sprinkles add that extra festive touch that makes every bite feel like a celebration!
Why You’ll Love This Recipe
– Perfectly portioned: These mini cheesecakes are just the right size for satisfying your sweet tooth without overwhelming you.
– Easy to make: With straightforward steps and common ingredients, this recipe is beginner-friendly and stress-free.
– Customizable: You can easily swap out the toppings or flavors to suit your taste or theme.
– Great for any occasion: Whether it’s a birthday or just because, these cheesecakes bring joy to any gathering.
– Fun presentation: The vibrant sprinkles not only taste great but also make for an eye-catching dessert that’s sure to delight.
Ingredients You’ll Need
Gathering your ingredients is part of the fun! Here’s what you’ll need to create these scrumptious Easy Mini Birthday Cheesecakes:
For the Crust
– 1 1/4 cups crushed nilla wafers (about a full cup of cookies)
– 3 tablespoons melted unsalted butter
For the Cheesecake Filling
– 16 ounces full-fat cream cheese, softened
– 1/3 cup white sugar
– 2 large eggs, at room temperature
– 1 tablespoon pure vanilla extract
– 1/2 cup sour cream, softened
– 1/3 cup colorful sprinkles
For the Topping
– 1 cup heavy cream
– 1/2 cup confectioners’ sugar
– Extra sprinkles for decoration
Variations
One of the best parts about baking is how flexible recipes can be! Here are some fun variations to try with your Easy Mini Birthday Cheesecakes:
– Swap the crust: Use crushed graham crackers or chocolate cookies instead of nilla wafers for a different flavor profile.
– Change up the filling: Mix in fruit purees like strawberry or blueberry for a fruity twist on classic cheesecake.
– Try different toppings: Experiment with whipped cream, fresh fruit, or even chocolate drizzle to elevate your mini cheesecakes.
– Make it dairy-free: Substitute with dairy-free cream cheese and coconut whipped cream for a delicious alternative.
How to Make Easy Mini Birthday Cheesecakes
Let’s get started on making these delightful treats! Follow these simple steps to create your own Easy Mini Birthday Cheesecakes.
Step 1: Preheat Your Oven
Begin by preheating your oven to 325°F (163°C). This ensures that your cheesecakes will bake evenly and set properly.
Step 2: Prepare the Crust
In a mixing bowl, combine the crushed nilla wafers and melted unsalted butter. Stir until all crumbs are coated. Next, press this mixture firmly into the bottom of lined muffin tins or mini cheesecake pans. This forms a delicious base that adds texture and flavor to each cheesecake.
Step 3: Make the Cheesecake Filling
In another bowl, beat together softened cream cheese and white sugar until smooth. It’s important to have no lumps here so that every bite is creamy perfection! Add in eggs one at a time, mixing well after each addition. Then stir in vanilla extract and sour cream. Finally, fold in colorful sprinkles for that festive touch!
Step 4: Fill the Crusts
Pour the cheesecake filling over each prepared crust in your muffin tins. Fill them nearly to the top but leave a little space as they will puff up while baking. This step creates those lovely layers we all love in cheesecakes!
Step 5: Bake
Place your muffin tin in the preheated oven and bake for about 15 minutes. Keep an eye on them—you’re looking for slight firmness but still some jiggle in the center. This indicates they’re perfectly done!
Step 6: Cool Down
Remove the mini cheesecakes from the oven and let them cool at room temperature before transferring them to the fridge. Chilling them for at least two hours allows them to firm up nicely.
Step 7: Prepare Whipped Cream Topping
While waiting for your cheesecakes to chill, whip together heavy cream and confectioners’ sugar until soft peaks form. This light topping adds an airy contrast that’s simply delightful!
Step 8: Assemble & Serve
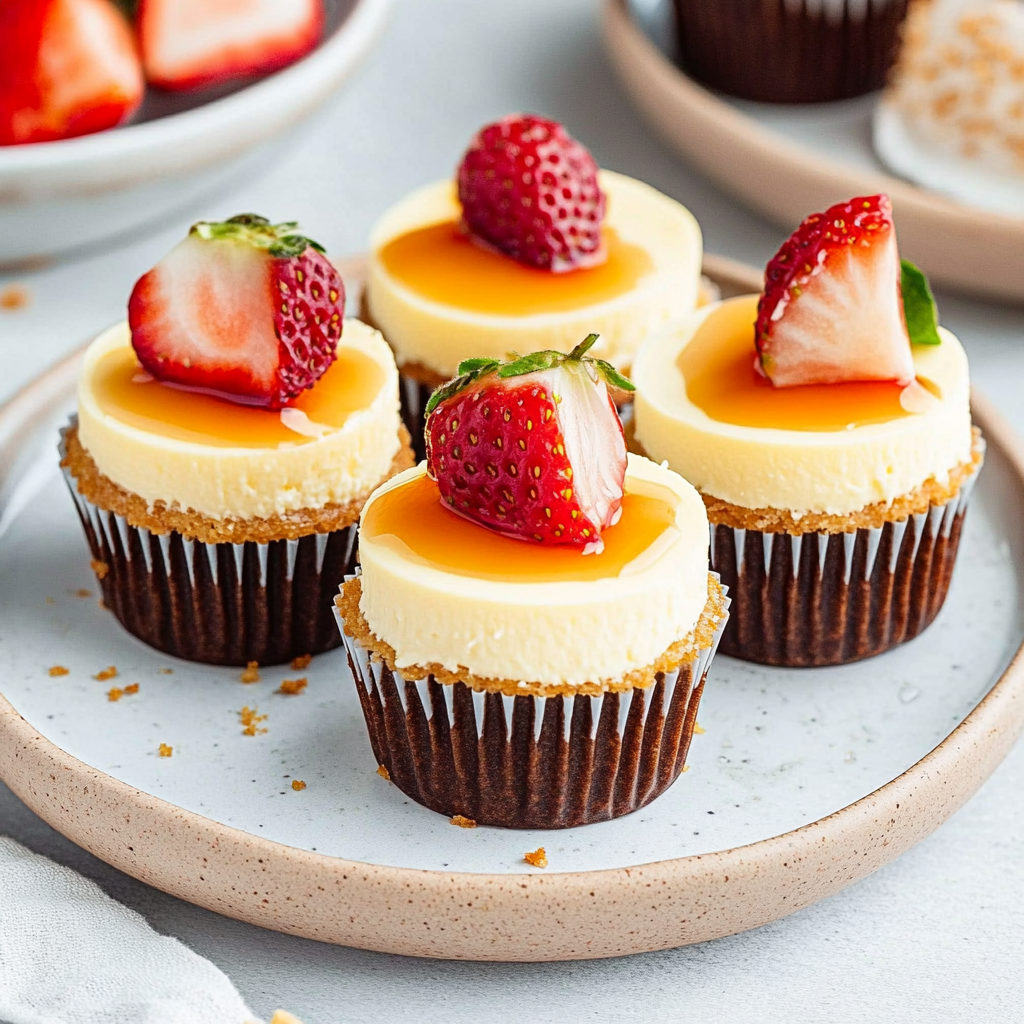
Once cooled, remove mini cheesecakes from their molds and top with whipped cream and extra sprinkles before serving. Enjoy these cheerful mini treats with friends and family—they’re bound to steal the show!
Now you have everything you need to make these Easy Mini Birthday Cheesecakes! Enjoy every delicious bite as you celebrate those special moments!
Pro Tips for Making Easy Mini Birthday Cheesecakes
Making these delightful mini cheesecakes is a breeze, but here are some tips to ensure they come out perfectly every time. With a little attention to detail, you’ll impress everyone at the birthday celebration!
– Use room temperature ingredients: Make sure your cream cheese, eggs, and sour cream are at room temperature. This helps them blend more smoothly and results in a creamier texture.
– Don’t overmix the batter: Mix just until combined to avoid incorporating too much air into the batter, which can lead to cracking during baking.
– Keep an eye on the baking time: Mini cheesecakes bake quickly. Start checking them a few minutes before the suggested time to avoid overcooking.
– Chill properly: Allow your cheesecakes to cool completely at room temperature before refrigerating. This helps develop their flavors and prevents condensation.
– Add sprinkles right before serving: To keep your sprinkles vibrant and avoid them bleeding color into the cheesecake, sprinkle them on just before serving.
How to Serve Easy Mini Birthday Cheesecakes
Presentation makes all the difference when it comes to desserts! These mini cheesecakes can be dressed up beautifully for any celebration, leaving everyone eager for a taste.
Garnishes
– Fresh berries: Top each cheesecake with strawberries or blueberries for a pop of color and freshness.
– Whipped cream: A dollop of whipped cream adds a light and fluffy touch that complements the creamy cheesecake perfectly.
– Chocolate drizzle: A drizzle of melted dark chocolate can add an elegant flair and rich flavor to your mini cheesecakes.
Side Dishes
– Fruit salad: A refreshing fruit salad can balance out the richness of the cheesecake and make for a colorful presentation.
– Ice cream: Pairing these cheesecakes with vanilla or any favorite ice cream creates a delightful dessert duo that guests will love.
– Coffee or tea: Serving with warm beverages enhances the experience and complements the sweetness of the dessert nicely.
Make Ahead and Storage
If you’re planning ahead for a party or just want some delicious treats ready to go, these mini cheesecakes are perfect for meal prep!
Storing Leftovers
– Refrigerate leftovers in an airtight container for up to 3 days. Place parchment paper between layers if stacking to prevent sticking.
Freezing
– You can freeze these mini cheesecakes for up to 2 months. Wrap each cheesecake in plastic wrap followed by aluminum foil for best results.
Reheating
– If desired, let thaw in the fridge overnight before enjoying. There’s no need to reheat; they are best served chilled!
FAQs
If you have questions about making or serving these delightful mini birthday cheesecakes, you’re not alone! Here are some common inquiries:
Can I use low-fat cream cheese?
Using low-fat cream cheese is possible, but it may alter the texture slightly, resulting in a less creamy cheesecake. For best results, stick with full-fat options.
Can I substitute sour cream?
Yes! You can replace sour cream with Greek yogurt if you prefer. It will still provide that creamy texture while adding a tangy flavor.
Are these gluten-free?
To make gluten-free mini cheesecakes, use gluten-free cookies instead of Nilla wafers for the crust. Always check labels to ensure your ingredients meet gluten-free standards.
Final Thoughts
I hope you’re inspired to try making these Easy Mini Birthday Cheesecakes! They’re such a fun treat that brings joy to any celebration—especially when shared with loved ones. Enjoy every bite and happy baking!
Easy Mini Birthday Cheesecakes
Ingredients
Method
- Preheat your oven to 325°F (163°C).
- In a mixing bowl, combine the crushed nilla wafers and melted unsalted butter. Stir until all crumbs are coated. Press this mixture into the bottom of lined muffin tins or mini cheesecake pans.
- In another bowl, beat together softened cream cheese and white sugar until smooth. Add in eggs one at a time, mixing well after each addition. Stir in vanilla extract and sour cream. Fold in colorful sprinkles.
- Pour the cheesecake filling over each prepared crust in your muffin tins, filling them nearly to the top.
- Place your muffin tin in the preheated oven and bake for about 15 minutes, looking for slight firmness but still some jiggle in the center.
- Remove the mini cheesecakes from the oven and let them cool at room temperature before transferring them to the fridge. Chill for at least two hours.
- Whip together heavy cream and confectioners' sugar until soft peaks form.
- Once cooled, remove mini cheesecakes from their molds and top with whipped cream and extra sprinkles before serving.