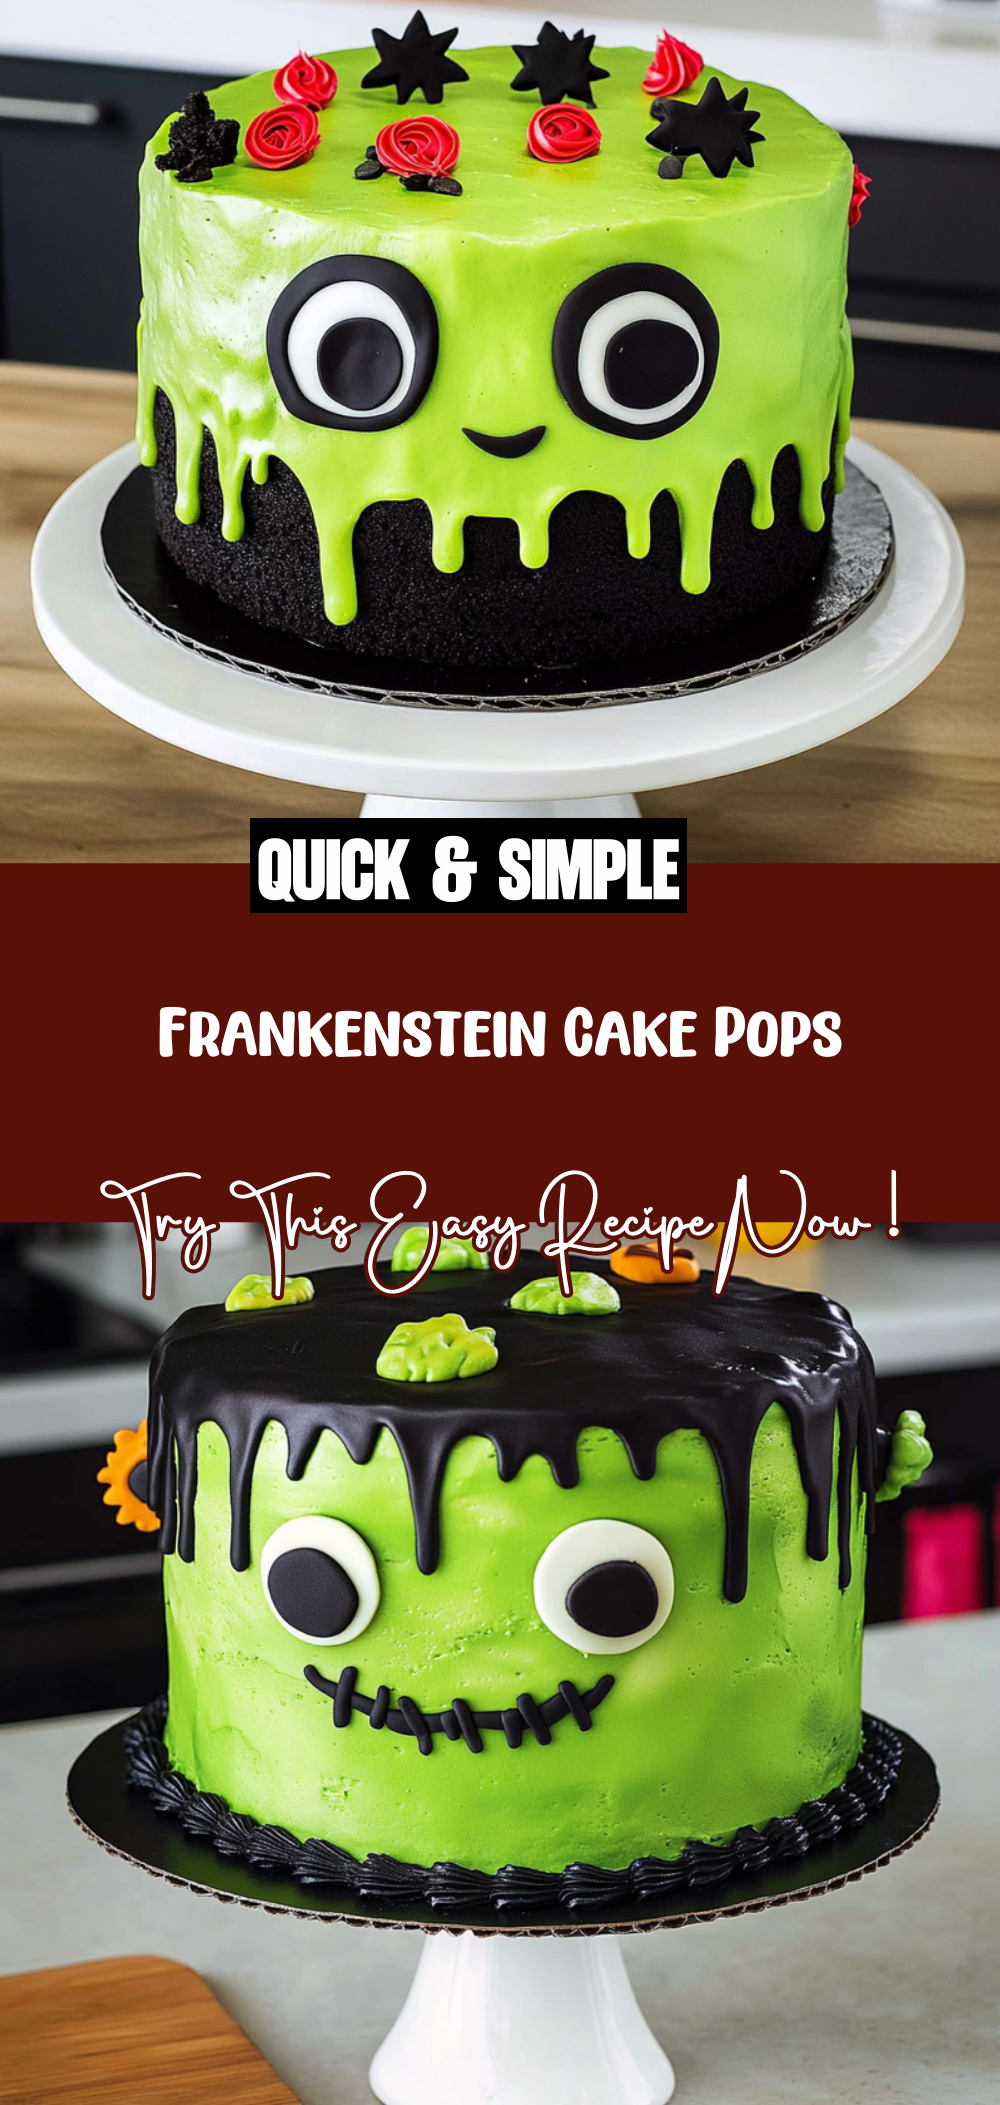
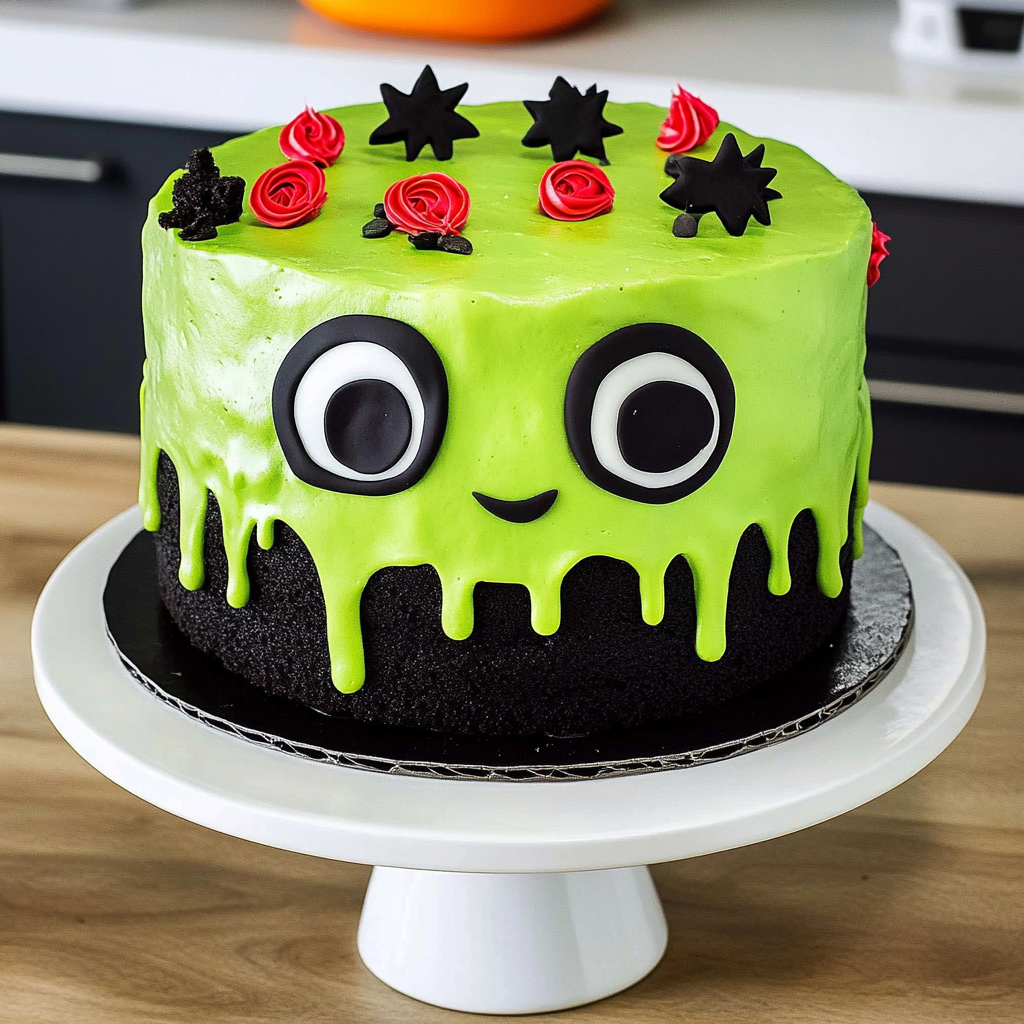
Spooktacular Frankenstein Cake Recipe for Halloween Fun
This Frankenstein Cake is an absolute showstopper for Halloween celebrations and beyond! Picture this: layers of moist green velvet cake, combined with rich cream cheese buttercream, all coming together to create a delightful and spooky dessert. Not only is it visually stunning, but it’s also incredibly delicious, making it a favorite among kids and adults alike. Whether you’re throwing a Halloween party, celebrating a birthday, or simply indulging in some festive baking, this Frankenstein Cake will surely impress your guests and bring a smile to their faces.
Why You’ll Love This Recipe
– Perfect for Halloween: The vibrant green color and spooky decorations make it an ideal treat for the Halloween season.
– Easy to Make: With simple steps and readily available ingredients, you’ll find baking this cake enjoyable and stress-free.
– Great for Sharing: This recipe yields 20 servings, making it perfect for parties or gatherings where you want to spread joy with sweets.
– Customizable Decor: Let your creativity shine with decorating options that can fit any theme or occasion.
– Crowd-Pleasing Flavor: The combination of green velvet cake and cream cheese frosting is one that everyone will love!
Ingredients You’ll Need
Gathering the right ingredients is key to creating the perfect Frankenstein Cake. Here’s what you’ll need to get started on this delightful masterpiece.
For the Cake
– 2 1/2 cups cake flour (300g)
– 2 Tbsp unsweetened cocoa powder, sifted (10g)
– 1 tsp baking soda (6g)
– 1/2 tsp fine salt (3g)
– 1/2 cup unsalted butter, room temperature (113g)
– 1 3/4 cups granulated sugar (350g)
– 2 large eggs, room temperature (112g)
– 1 1/4 cups buttermilk, room temperature (300g)
– 2/3 cup vegetable or canola oil (145g)
– 2 squirts of green gel food coloring (or 1 Tbsp liquid food coloring)
– 2 tsp vanilla extract or vanilla bean paste (8g)
– 1 tsp white vinegar (4g)
For the Frosting
– 1 1/2 cups unsalted butter, room temperature (339g – 3 sticks)
– 1/2 cup full-fat cream cheese, room temperature (113g or 4 oz.)
– 1 Tbsp vanilla extract or vanilla bean paste (12g)
– 1 tsp fine salt (6g)
– 8 cups powdered sugar (1000g)
– 2 Tbsp heavy whipping cream, room temperature (30g)
For Decoration
– Electric Green Gel Food Coloring
– Black Gel Food Coloring
– Other tools needed:
– 10-inch greaseproof cake board
– Spinning Cake Stand
– Small offset spatula
– Large Piping Bag
– Small Piping Bags
– Large Round Piping Tips
– Small Round Piping Tip
– Tiny Piping Tip
Variations
Feel free to let your creativity flow when making this Frankenstein Cake! Here are some fun ideas to add your personal touch:
– Swap the frosting: Use a different flavor of frosting like chocolate or vanilla if you want to mix things up.
– Add sprinkles: Incorporate Halloween-themed sprinkles into the batter for an extra festive touch.
– Change the color: Experiment with different gel food colors to create other fun creatures or seasonal themes.
– Make it gluten-free: Substitute regular flour with a gluten-free blend to cater to dietary preferences.
How to Make Frankenstein Cake
Step 1: Prepare the Batter
Start by preheating your oven to 350°F (175°C) and greasing your cake pans. In a large bowl, whisk together the cake flour, cocoa powder, baking soda, and salt. This step ensures that all dry ingredients are evenly distributed before mixing them with the wet ingredients.
Step 2: Cream the Butter and Sugar
In another mixing bowl, beat together the unsalted butter and granulated sugar until light and fluffy. This process typically takes about three minutes. Creaming these two ingredients properly helps to incorporate air into your batter for a lighter texture.
Step 3: Add Eggs and Wet Ingredients
Add in the eggs one at a time, mixing well after each addition. Then stir in buttermilk, vegetable oil, green gel food coloring, vanilla extract, and white vinegar. The vinegar reacts with the baking soda later on for a more tender crumb in your cake layers.
Step 4: Combine Dry and Wet Ingredients
Gradually add the dry mixture into the wet ingredients until just combined. Be careful not to overmix; stopping when there are still some lumps will yield a fluffier cake.
Step 5: Bake Your Cakes
Divide your batter evenly between prepared pans and bake in your preheated oven for about 28 minutes. Keep an eye on them; they’re done when a toothpick inserted in the center comes out clean. Allow cakes to cool in pans for about ten minutes before transferring them onto wire racks to cool completely.
Step 6: Make The Frosting
While your cakes cool down, prepare the cream cheese buttercream frosting by beating together unsalted butter and cream cheese until creamy. Gradually add powdered sugar and salt while continuing to mix until fluffy. Finally, add heavy whipping cream for extra smoothness.
Step 7: Assemble Your Cake
Once cooled completely, level off any domed tops of your cakes using a serrated knife if necessary. Place one layer on your cake board and spread an even layer of frosting on top before adding another layer of cake. Repeat this process until you’ve stacked all layers.
Step 8: Frost The Outside
Apply a thin layer of frosting around the sides and top of the entire cake as a crumb coat. Chill briefly in the fridge before applying another thicker layer of frosting all around for that smooth finish.
Step 9: Decorate!
Now comes the fun part! Use colored gel food coloring and piping bags with various tips to create spooky decorations like Frankenstein’s features—think bolts on the sides or wild hair on top!
With these steps complete, you’ll have an impressive Frankenstein Cake that’s sure to be gobbled up by everyone at your celebration! Enjoy every bite!
Pro Tips for Making Frankenstein Cake
Creating the perfect Frankenstein cake can be a delightful experience, especially with a few handy tips to guide you. Whether you’re a seasoned baker or trying your hand at cake decoration for the first time, these tricks will help you achieve a spooktacular result!
– Use room temperature ingredients: Ensure that your eggs, butter, and buttermilk are at room temperature. This helps them combine more easily and results in a moist cake.
– Don’t overmix the batter: Mix your ingredients until just combined. Overmixing can lead to a dense cake instead of the light and fluffy texture we want.
– Level your cake layers: Once baked, use a serrated knife to level the tops of your cake layers. This will make stacking easier and keep your cake from leaning.
– Be generous with frosting: Allow your cream cheese buttercream to be thick and luscious! It adds flavor and stability, especially when decorating.
– Experiment with colors: Have fun mixing different shades of green and black gel food coloring for added visual effects when decorating.
How to Serve Frankenstein Cake
Presenting your Frankenstein cake can be as fun as making it! Here are some creative serving ideas that will wow your guests.
Garnishes
– Edible googly eyes: These whimsical decorations add a playful touch to the spooky theme.
– Sprinkles: Use black and green sprinkles to enhance the Halloween vibe on top of the frosting.
Side Dishes
– Vanilla ice cream: A scoop of vanilla ice cream complements the rich flavors of the cake beautifully.
– Fresh fruit salad: A refreshing fruit salad can balance the sweetness of the cake.
– Whipped cream: Light whipped cream adds an airy contrast to the dense buttercream.
Make Ahead and Storage
Planning ahead is always a smart move, especially during busy holiday seasons. Here’s how you can prepare and store your delicious Frankenstein cake.
Storing Leftovers
– Cover any leftover slices tightly with plastic wrap or place them in an airtight container to keep them fresh.
– Store in the refrigerator for up to 3 days.
Freezing
– If you want to freeze your cake, wrap individual slices in plastic wrap followed by aluminum foil. This helps prevent freezer burn.
– You can freeze the cake for up to 3 months without losing its flavor or texture.
Reheating
– To enjoy frozen slices, allow them to thaw in the refrigerator overnight before serving.
– If you prefer warm cake, gently reheat individual slices in the microwave for about 10 seconds.
FAQs
If you have questions about making or storing this marvelous Frankenstein cake, you’re not alone! Here are some common queries answered for you.
Can I make this cake gluten-free?
Yes! You can substitute all-purpose flour with a 1-to-1 gluten-free baking blend. Just ensure that all other ingredients are also gluten-free.
How do I achieve a vibrant green color?
Using gel food coloring is key! Start with small amounts and gradually add more until you reach your desired shade.
Can I use another type of frosting?
Absolutely! If cream cheese buttercream isn’t your favorite, feel free to replace it with any buttercream frosting recipe that suits your taste.
Final Thoughts
Baking this Frankenstein cake is not just about creating an eye-catching dessert; it’s about sharing joy and creativity during Halloween festivities. I hope you enjoy making it as much as I do! Don’t hesitate to try out my tips and let me know how it turns out. Happy baking!
Frankenstein Cake
Ingredients
Method
- Preheat your oven to 350°F (175°C) and grease your cake pans. In a large bowl, whisk together the cake flour, cocoa powder, baking soda, and salt.
- In another mixing bowl, beat together the unsalted butter and granulated sugar until light and fluffy, about three minutes.
- Add in the eggs one at a time, mixing well after each addition. Stir in buttermilk, vegetable oil, green gel food coloring, vanilla extract, and white vinegar.
- Gradually add the dry mixture into the wet ingredients until just combined, being careful not to overmix.
- Divide your batter evenly between prepared pans and bake for about 28 minutes, or until a toothpick comes out clean. Allow cakes to cool in pans for about ten minutes before transferring to wire racks.
- Prepare the cream cheese buttercream frosting by beating together unsalted butter and cream cheese until creamy. Gradually add powdered sugar and salt, mixing until fluffy. Add heavy whipping cream for extra smoothness.
- Level off any domed tops of your cakes if necessary. Place one layer on your cake board and spread an even layer of frosting on top before adding another layer of cake. Repeat until all layers are stacked.
- Apply a thin layer of frosting around the sides and top of the cake as a crumb coat. Chill briefly before applying a thicker layer of frosting for a smooth finish.
- Use colored gel food coloring and piping bags to create spooky decorations like Frankenstein's features.