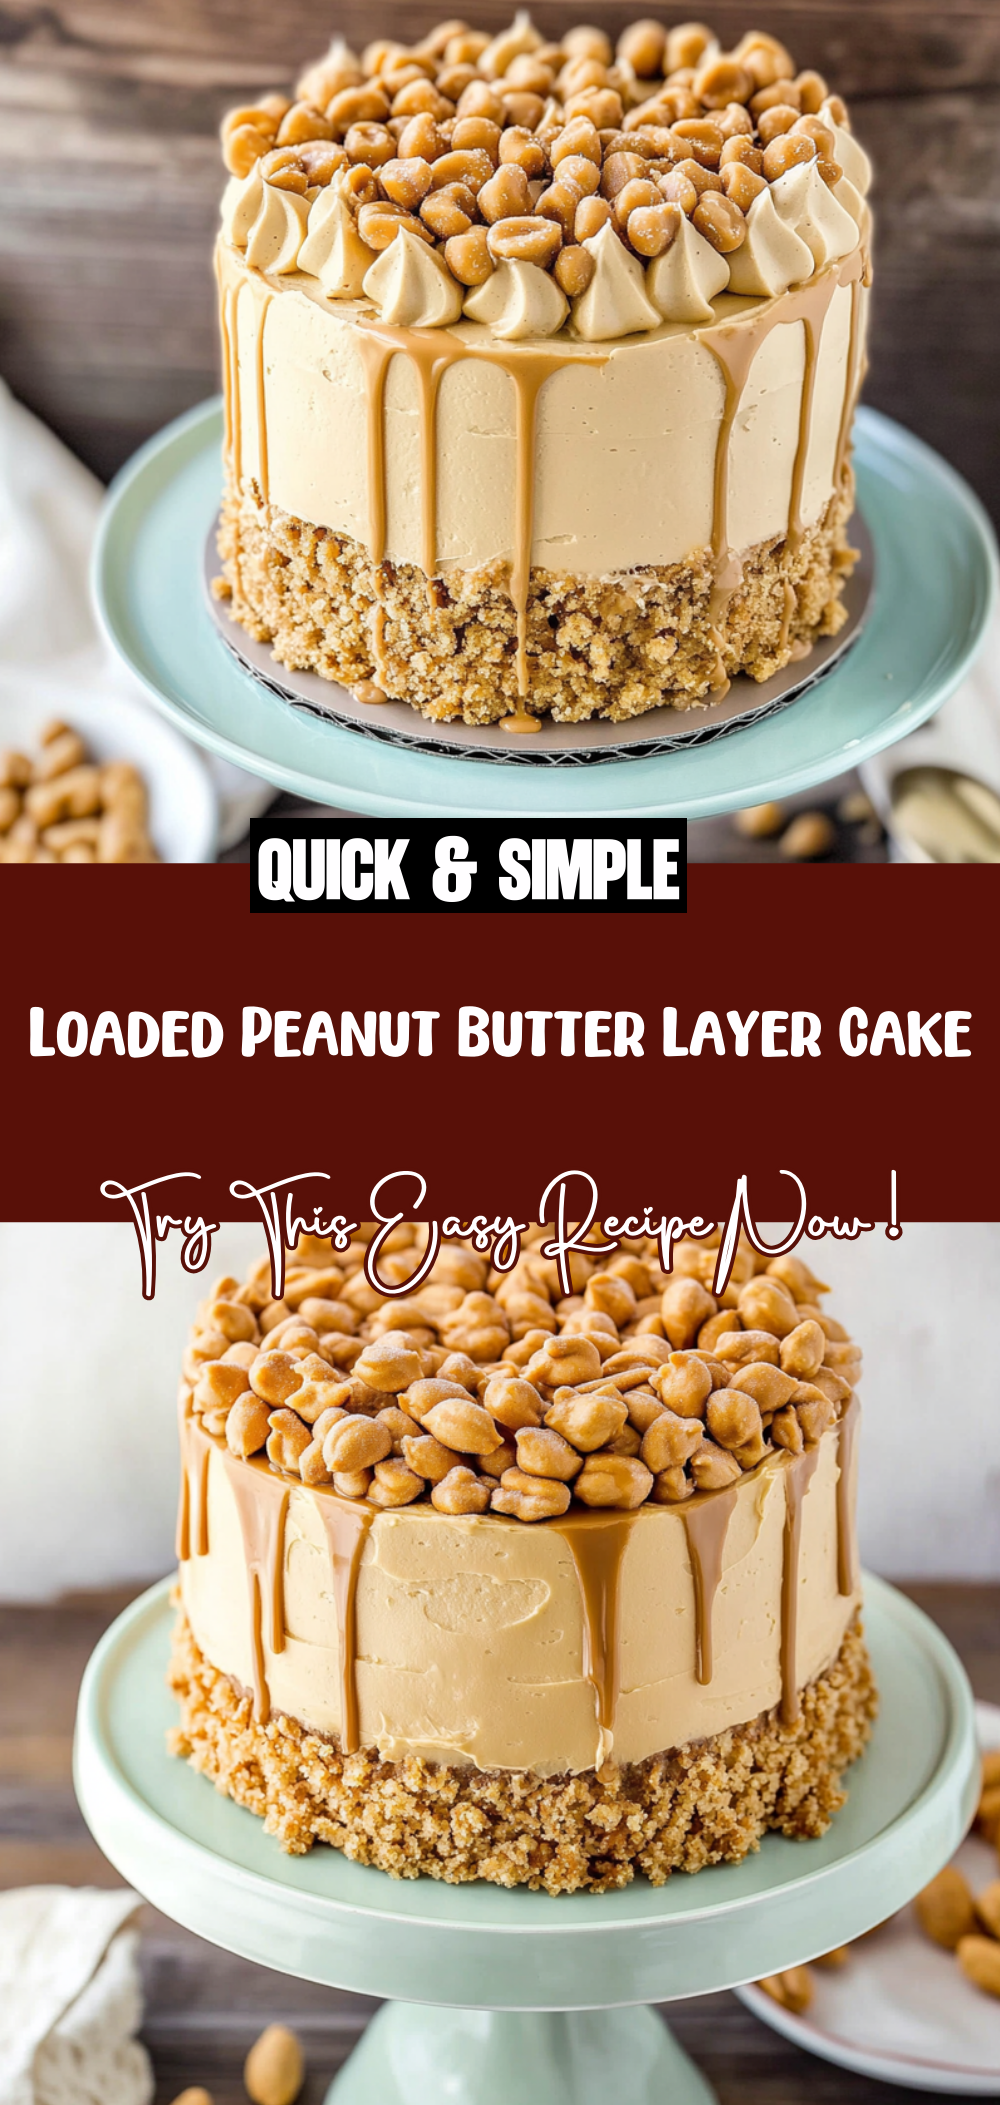
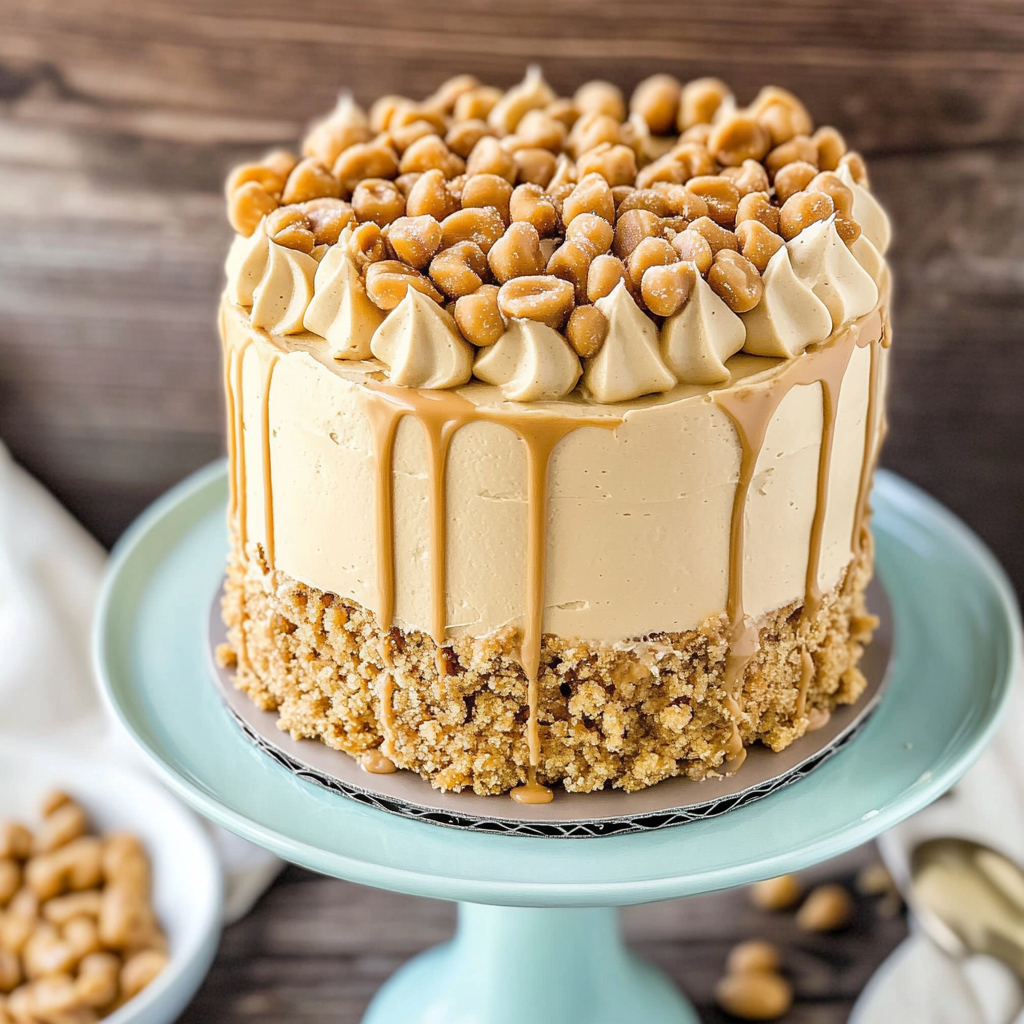
Irresistible Loaded Peanut Butter Layer Cake Recipe
There’s something incredibly comforting about a slice of cake, especially when it’s as indulgent as a Loaded Peanut Butter Layer Cake. If you’re a peanut butter lover like me, this cake is essentially your dream come true. With its rich layers infused with creamy peanut butter and topped with a luscious frosting, it’s the perfect centerpiece for birthdays, celebrations, or even just a cozy afternoon treat. You’ll find that every bite is packed with that irresistible nutty flavor, making it a favorite among friends and family alike.
What I adore about this cake is not only its taste but also how it brings everyone together. Whether you’re hosting a gathering or simply satisfying a sweet craving, this Loaded Peanut Butter Layer Cake will surely impress.
Why You’ll Love This Recipe
– Rich peanut butter flavor: Each layer is infused with creamy peanut butter that delivers an unmatched taste experience.
– Delightful frosting: The silky peanut butter frosting takes this cake to the next level and makes it visually stunning.
– Perfect for any occasion: Whether it’s a birthday party or a casual get-together, this cake fits right in.
– Easy to make: With straightforward steps, this recipe is approachable for bakers of all levels.
– Crowd-pleaser: It’s hard to resist a cake that is so decadently delicious; your guests will be begging for seconds!
Ingredients You’ll Need
Gathering the ingredients for your Loaded Peanut Butter Layer Cake is part of the fun! Here’s what you’ll need to create this delicious masterpiece:
For the Cake
– 1/2 cup unsalted butter, room temperature
– 3/4 cups sugar
– 3/4 cup brown sugar, loosely packed
– 3/4 cup peanut butter
– 1/2 cup sour cream
– 2 tsp vanilla extract
– 3 large eggs
– 2 1/2 cups all purpose flour
– 2 3/4 tsp baking powder
– 1/2 tsp salt
– 1/2 cup milk
– 1/4 cup water
For the Frosting and Decorations
– 2 cups salted butter, room temperature
– 1 1/4 cups peanut butter
– 9 cups powdered sugar
– 6–7 tbsp water or milk (as needed)
– 10 oz peanut butter chips
– 6 oz peanut butter chips
– 1/2 cup heavy whipping cream
Variations
One of the best things about baking is its flexibility! Feel free to switch things up with these fun variation ideas:
– Swap the nut butter: Use almond or cashew butter for a different twist on flavor.
– Add chocolate: Incorporate cocoa powder into the batter or use chocolate chips in place of some peanut butter chips for an exciting combo.
– Experiment with toppings: Top your cake with crushed nuts or even drizzle melted chocolate over the frosting for added flair.
– Make it gluten-free: Substitute all-purpose flour with a gluten-free blend to cater to those dietary needs.
How to Make Loaded Peanut Butter Layer Cake
Step 1: Prepare Your Baking Pans
Start by preheating your oven to 350°F (175°C). Grease and flour two round cake pans so that your cakes release easily once baked. This step ensures that you don’t lose any precious layers when you’re ready to assemble your masterpiece.
Step 2: Mix Wet Ingredients
In a large mixing bowl, cream together the unsalted butter, sugar, and brown sugar until light and fluffy. Then add in the peanut butter and sour cream. These ingredients provide moisture and flavor to your cake. Don’t forget to mix in the vanilla extract and eggs until everything is well combined.
Step 3: Combine Dry Ingredients
In another bowl, sift together the all-purpose flour, baking powder, and salt. Sifting helps aerate the flour which contributes to a lighter texture in your finished cake.
Step 4: Combine Wet and Dry Mixtures
Gradually add the dry mixture into your wet ingredients while alternating with milk and water. Mix gently until just combined; over-mixing can lead to dense cakes. This step is crucial as it creates an evenly textured batter.
Step 5: Bake the Cakes
Divide the batter evenly between your prepared pans and bake in your preheated oven for about 23 minutes or until a toothpick inserted into the center comes out clean. Baking at the right temperature ensures that your cakes rise beautifully without drying out.
Step 6: Cool Down
Once baked, let them cool in the pans for around 10 minutes before transferring them onto wire racks. This cooling period allows them to firm up slightly so they don’t break when removed from their pans.
Step 7: Make Your Frosting
While cakes are cooling, prepare your frosting by beating together salted butter and peanut butter until smooth. Gradually add in powdered sugar and enough water/milk until you reach your desired consistency for spreading.
Step 8: Assemble Your Cake
Once cooled completely, place one layer on a serving plate and spread frosting on top. Add another layer on top of that and repeat until all layers are stacked. Finish by covering the entire cake with more frosting for that decadent look.
Step 9: Decorate Your Cake
Finally, sprinkle some peanut butter chips on top for decoration. You can also drizzle melted chocolate if desired!
And there you have it—the ultimate Loaded Peanut Butter Layer Cake! Enjoy every slice filled with love and rich flavors!
Pro Tips for Making Loaded Peanut Butter Layer Cake
Making a perfect Loaded Peanut Butter Layer Cake can be a delightful adventure in the kitchen! Here are some tips to help you achieve that dreamy, peanut buttery goodness:
– Room temperature ingredients: Ensure your butter, eggs, and sour cream are at room temperature. This will help create a smooth batter and an even crumb in your cake.
– Do not overmix the batter: When combining your dry and wet ingredients, mix just until everything is combined. Overmixing can lead to a dense cake.
– Use quality peanut butter: The flavor of your cake heavily relies on the peanut butter you choose. Opt for a creamy, natural variety without added sugars or oils for the best taste.
– Let the cakes cool completely: Before frosting, make sure your cake layers are completely cool. This prevents the frosting from melting and helps create a beautiful finish.
– Decorate with flair: Have fun with your decorations! Use extra peanut butter chips, crushed peanuts, or even chocolate drizzle to make your cake visually stunning.
How to Serve Loaded Peanut Butter Layer Cake
Serving this Loaded Peanut Butter Layer Cake should be as enjoyable as making it! Consider these ideas to present your delicious creation beautifully.
Garnishes
– Crushed peanuts: Sprinkle crushed peanuts on top for added texture and flavor.
– Chocolate drizzle: A simple chocolate ganache drizzled over the top can enhance both presentation and taste.
– Fresh fruit: Add slices of banana or strawberries on the side for a pop of color and freshness.
Side Dishes
– Vanilla ice cream: The creaminess of vanilla ice cream pairs perfectly with rich peanut butter flavors.
– Whipped cream: Lighten up each slice with a dollop of whipped cream on top.
– Fruit salad: A refreshing fruit salad offers a lovely contrast to the richness of the cake.
– Coffee or tea: Serve with your favorite brew to balance the sweetness of the dessert.
Make Ahead and Storage
If you’re planning ahead or need to store leftovers, here’s how you can keep your Loaded Peanut Butter Layer Cake fresh and delicious!
Storing Leftovers
– Keep it covered: Store any leftover cake in an airtight container at room temperature for up to 3 days.
– Refrigerate if necessary: If you live in a warm climate or have used perishable ingredients like heavy whipping cream, store it in the fridge for up to 5 days.
Freezing
– Wrap it well: To freeze individual slices or whole cakes, wrap them tightly in plastic wrap followed by aluminum foil.
– Thawing instructions: When ready to enjoy, thaw overnight in the refrigerator before serving.
Reheating
– Gentle warming: If you prefer your cake slightly warmed, place a slice in the microwave for about 10 seconds. Be careful not to overheat!
FAQs
Have questions about making this delightful Loaded Peanut Butter Layer Cake? Here are some answers to common queries!
Can I use crunchy peanut butter instead of smooth?
Yes! Crunchy peanut butter can add an enjoyable texture to your cake. Just keep in mind that it may alter the smoothness of your frosting slightly.
How should I store my decorated cake?
If already decorated, it’s best to keep it covered under a dome or in an airtight container at room temperature if consumed within two days. For longer storage, refrigerate it but be aware that decorations might get affected.
Can I substitute sour cream?
Absolutely! Greek yogurt is an excellent substitute for sour cream if you’re looking for a healthier option while still maintaining moisture in the cake.
Final Thoughts
I hope you’re as excited as I am about making this Loaded Peanut Butter Layer Cake! It’s perfect for celebrations or just when you want something sweet. Don’t hesitate—gather your ingredients and start baking! Enjoy every bite of this delightful treat; happy baking!
Loaded Peanut Butter Layer Cake
Ingredients
Method
- Preheat your oven to 350°F (175°C). Grease and flour two round cake pans.
- Cream together the unsalted butter, sugar, and brown sugar until light and fluffy. Add in the peanut butter and sour cream, then mix in the vanilla extract and eggs.
- Sift together the all-purpose flour, baking powder, and salt.
- Gradually add the dry mixture into your wet ingredients while alternating with milk and water. Mix gently until just combined.
- Divide the batter evenly between your prepared pans and bake for about 23 minutes or until a toothpick comes out clean.
- Let the cakes cool in the pans for around 10 minutes before transferring them onto wire racks.
- Prepare your frosting by beating together salted butter and peanut butter until smooth. Gradually add in powdered sugar and enough water/milk until you reach your desired consistency.
- Once cooled completely, place one layer on a serving plate and spread frosting on top. Repeat with remaining layers and cover the entire cake with frosting.
- Sprinkle some peanut butter chips on top for decoration. Drizzle melted chocolate if desired.