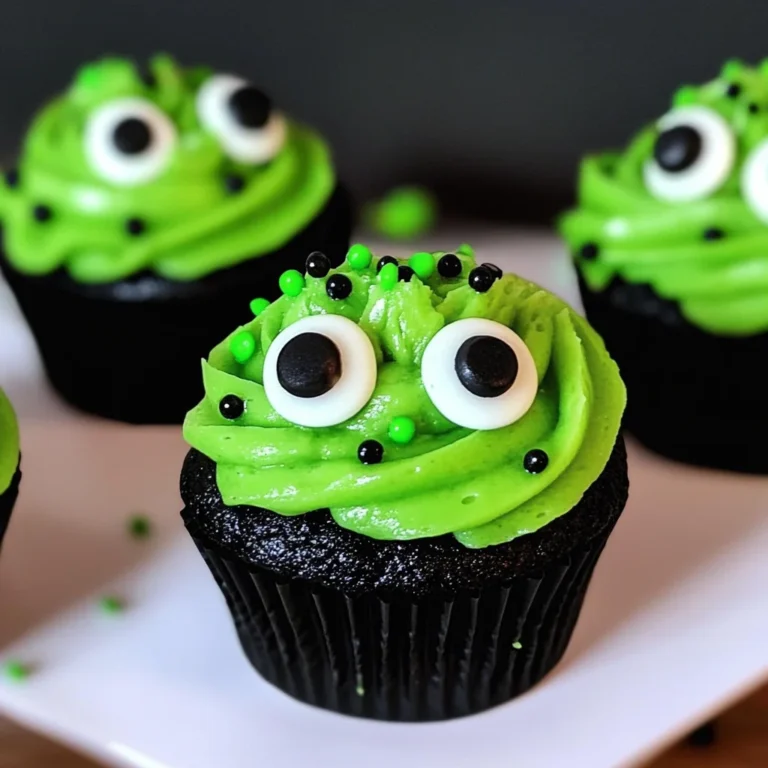
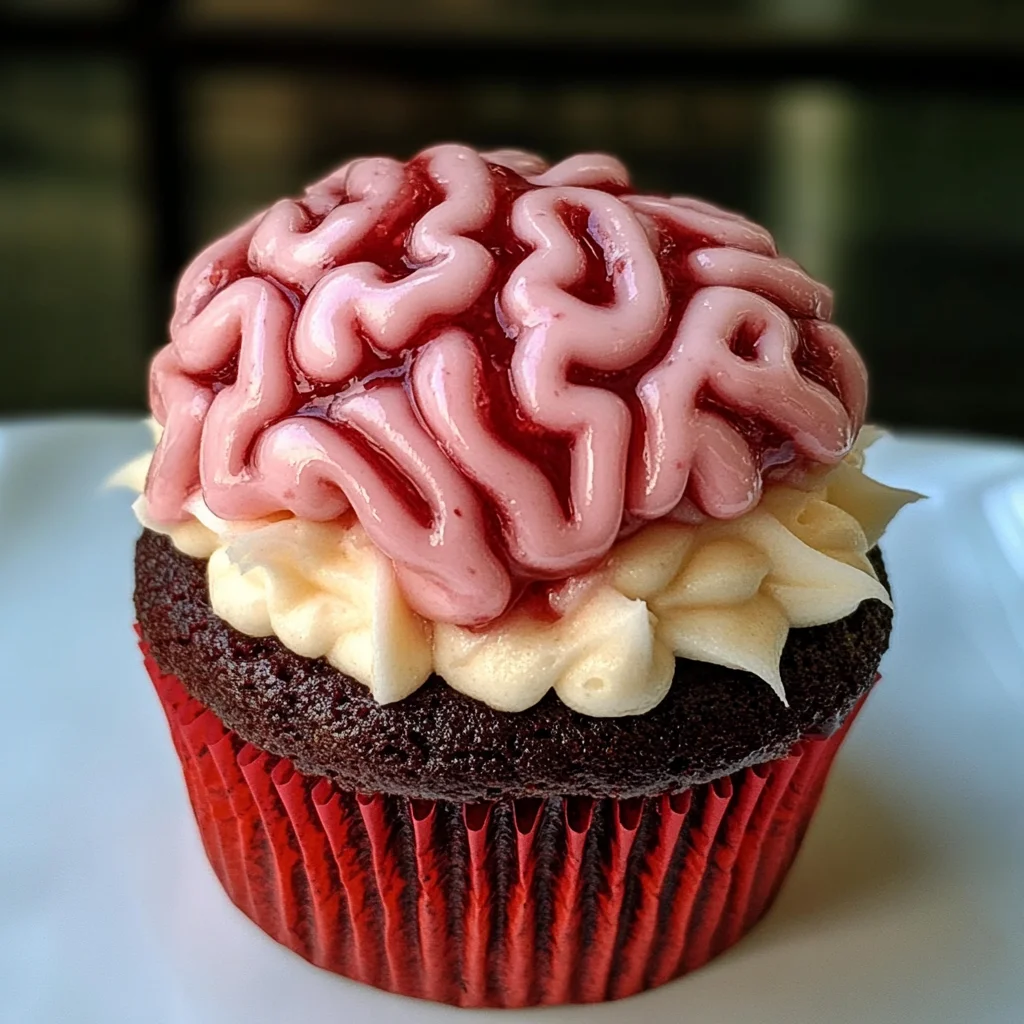
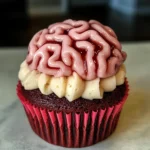
Bleeding Brain Cupcakes
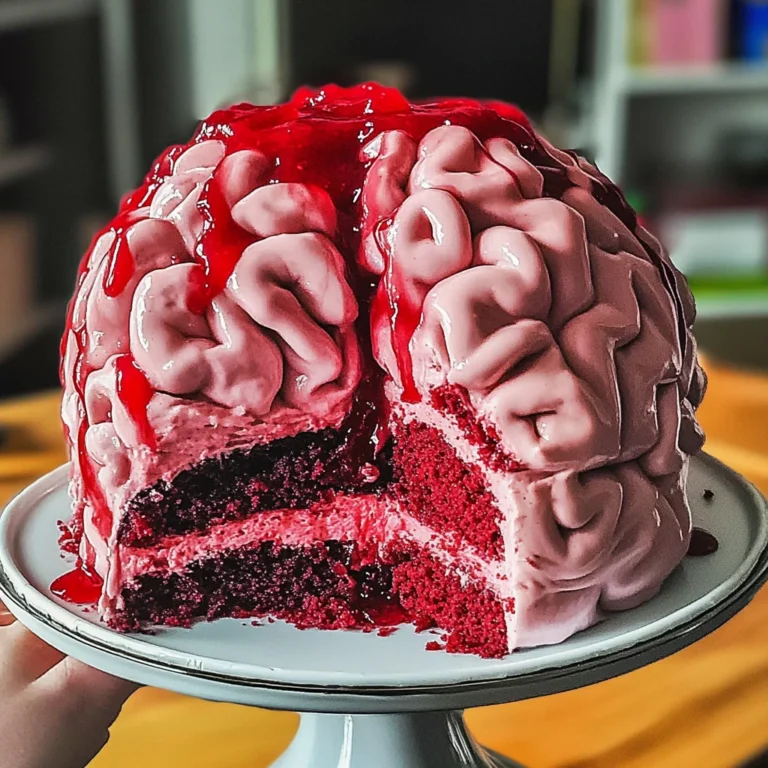
If you’re looking for a delightful treat that will wow your friends at your next gathering, then you have to try these Bleeding Brain Cupcakes! Perfect for Halloween, these red velvet cupcakes are not only delicious but also visually stunning. They’re filled with sweet jam and topped with whimsical pink icing that creates a fun brain theme. I love making these cupcakes because they bring out the creative side in all of us while satisfying that sweet tooth!
These cupcakes aren’t just perfect for spooky celebrations; they’re great for family gatherings, birthday parties, or even as a special surprise for loved ones. Trust me, once you serve these up, everyone will be asking for the recipe!
Why You’ll Love This Recipe
- Easy to make: With straightforward steps and simple ingredients, this recipe is perfect for bakers of all skill levels.
- Family-friendly fun: Kids love getting involved in the decorating process—it’s a great opportunity for family bonding!
- Make-ahead convenience: Bake these cupcakes a day in advance and store them. They taste just as good the next day!
- Deliciously decadent: The combination of red velvet cake and rich buttercream icing makes each bite utterly irresistible.
Ingredients You’ll Need
These Bleeding Brain Cupcakes are made with simple, wholesome ingredients that you probably already have in your kitchen. Here’s what you’ll need:
- 150 g Butter or baking spread (softened, unsalted)
- 150 g Caster sugar
- 2 Eggs (large)
- 1 tsp Vanilla extract
- 85 ml Buttermilk
- 165 g Self raising flour
- 1 1/2 tbsp Cocoa powder
- 1/2 tsp Bicarbonate of soda
- 1 tsp Red food colouring (I use Pro Gel or Sugarflair)
- 200 g Strawberry or Raspberry Jam
- 200 g Butter (unsalted, softened)
- 400 g Icing sugar
- 1 tsp Vanilla extract
- 2 tbsp Milk
- Pink food colouring (I use Pro Gel or Sugarflair)
Variations
One of the best things about these Bleeding Brain Cupcakes is how flexible they are! Here are some fun ideas to customize them:
- Switch up the jam: Use any flavor you like, such as blueberry or cherry jam, to create different tastes and colors.
- Try different colors: Instead of pink icing, why not experiment with green or purple? Perfect for adding a twist to your Halloween theme!
- Add sprinkles: Top off your cupcakes with some spooky-themed sprinkles to make them even more festive.
- Go gluten-free: Substitute self-rising flour with a gluten-free blend to cater to dietary needs without sacrificing flavor.
How to Make Bleeding Brain Cupcakes
Step 1: Preheat Your Oven
Preheat your oven to 160C Fan/180C/350F/Gas Mark 4. This step is crucial because it ensures even baking throughout your cupcakes. While the oven warms up, line a cupcake tin with black cases for an extra spooky touch!
Step 2: Cream Butter and Sugar
In a mixing bowl, whisk together the softened butter and caster sugar until fluffy—this should take about 3–5 minutes if you’re using an electric mixer. This step helps incorporate air into the mixture, giving your cupcakes a light and airy texture.
Step 3: Add Eggs and Vanilla
Next, add in the eggs one at a time along with the vanilla extract. Mixing this well brings everything together beautifully and adds a lovely depth of flavor.
Step 4: Combine Remaining Ingredients
Now it’s time to mix in the buttermilk, cocoa powder, bicarbonate of soda, red food coloring, and self-raising flour. Mix until just combined; overmixing can lead to dense cupcakes. The bright red color will make your batter look so enticing!
Step 5: Bake Your Cupcakes
Divide your mixture evenly among the cupcake cases. Bake them in your preheated oven for about 20–25 minutes or until a skewer inserted into the center comes out clean. Once baked, transfer them onto a cooling rack.
Step 6: Fill with Jam
Once cooled completely, use a cupcake corer or knife to create holes in each cupcake’s center. Fill these holes generously with strawberry or raspberry jam—this hidden surprise makes each bite even more delightful!
Step 7: Make the Buttercream
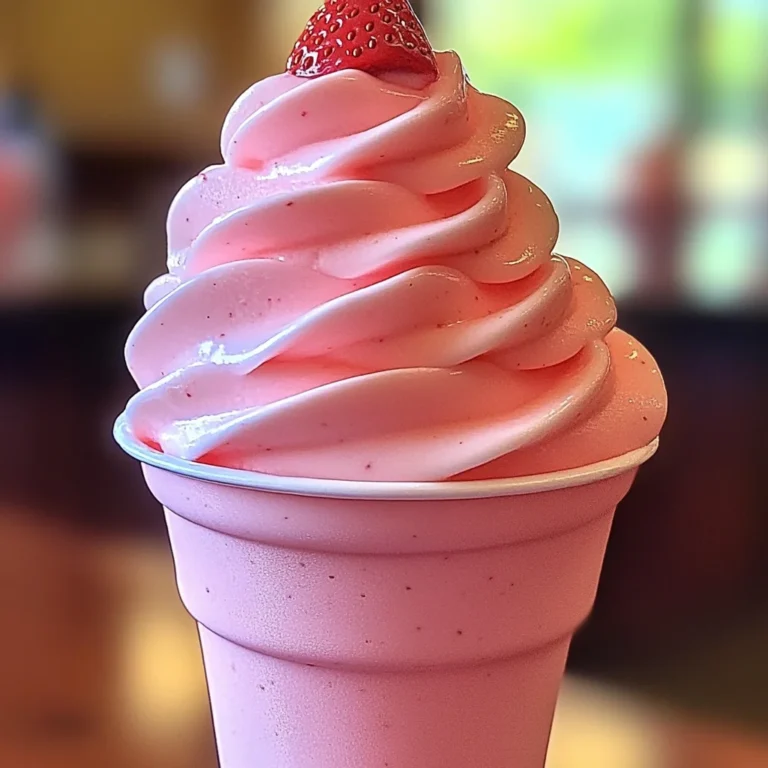
For your buttercream frosting, start by mixing the softened butter on its own until creamy. Then add icing sugar, milk, vanilla extract, and just a touch of pink food coloring. Mix until smooth! If it seems too thick, don’t hesitate to add more milk little by little.
Step 8: Pipe on Some Fun
Transfer your lovely buttercream into a piping bag fitted with a round nozzle. Pipe down the center of each cupcake first and follow up with squiggles on either side to create that brainy effect.
Step 9: Store Properly
Finally, keep any leftovers in an airtight container in a cool place and enjoy them within three days—if they last that long!
And there you have it! Now you’re ready to share these Bleeding Brain Cupcakes with friends and family at your next gathering. Enjoy every spooky bite!
Pro Tips for Making Bleeding Brain Cupcakes
Creating these spooky treats is fun, and with a few simple tips, you can ensure your cupcakes turn out perfectly every time!
- Use Room Temperature Ingredients: Having your butter, eggs, and buttermilk at room temperature will help them blend more seamlessly into the batter, resulting in a fluffier cupcake.
- Don’t Overmix the Batter: Mixing the batter just until combined helps maintain the lightness of your cupcakes. Overmixing can lead to dense cupcakes that aren’t as enjoyable.
- Check for Doneness Early: Ovens can vary, so start checking your cupcakes a few minutes before the suggested baking time. You want them to be moist but not overbaked.
- Piping Technique Matters: When piping the brain design on top, keep a steady hand and practice your technique. This will ensure an even and visually appealing icing presentation.
- Store Properly: To keep your cupcakes fresh and moist, store them in an airtight container in a cool place. If you need to make them ahead of time, consider storing them without icing and adding it just before serving.
How to Serve Bleeding Brain Cupcakes
These Bleeding Brain Cupcakes are not only delicious but also visually striking—perfect for Halloween parties or any spooky celebration! Here are some ideas on how to present these delightful treats.
Garnishes
- Edible Glitter: A sprinkle of edible glitter on top adds a magical touch that catches the eye and enhances the festive spirit.
- Gummy Worms: Placing gummy worms on top or around the cupcakes gives an additional creepy factor that kids and adults will love.
Side Dishes
- Pumpkin Soup: A warm bowl of pumpkin soup serves as a comforting side dish that complements the sweetness of the cupcakes while maintaining the Halloween theme.
- Spooky Cheese Platter: Offer an assortment of cheeses shaped like ghosts or pumpkins along with crackers; it’s a savory contrast to the sweet treats.
- Chilling Witch’s Brew: A themed punch made with fruit juices and soda can refresh your guests between bites of those rich desserts.
- Halloween-Themed Fruit Salad: Combine seasonal fruits like oranges, grapes, and strawberries into a vibrant salad that adds color to your dessert table while keeping things light.
With these tips and serving suggestions, your Bleeding Brain Cupcakes will not only taste amazing but also create an unforgettable experience for everyone at your gathering! Enjoy baking!
Make Ahead and Storage
These Bleeding Brain Cupcakes are perfect for meal prep, especially for Halloween parties or themed events. You can make them in advance and enjoy the spooky fun without the last-minute rush!
Storing Leftovers
- Store cupcakes in an airtight container at room temperature.
- Keep them away from direct sunlight and heat sources.
- Consume leftovers within 3 days for optimal freshness.
Freezing
- Allow cupcakes to cool completely before freezing.
- Place in a single layer on a baking sheet until firm, then transfer to an airtight container or freezer bag.
- They can be frozen for up to 3 months; just ensure to label with the date!
Reheating
- If desired, thaw cupcakes overnight in the fridge before serving.
- For a fresh taste, you can warm them slightly in the microwave for about 10-15 seconds.
FAQs
Got questions? We’ve got answers! Here are some common inquiries about Bleeding Brain Cupcakes:
Can I use another type of jam in my Bleeding Brain Cupcakes?
Absolutely! While strawberry or raspberry jam brings a delightful flavor, feel free to experiment with other fruit jams like cherry or blueberry for a unique twist.
How can I make my Bleeding Brain Cupcakes even more spooky?
You can add edible glitter or sprinkles on top of the icing for an extra festive touch. Additionally, using gummy worms as decorations can enhance the creepy effect!
What’s the best way to store Bleeding Brain Cupcakes?
Store your cupcakes in an airtight container at room temperature. Enjoy them within 3 days for the best taste!
Can I prepare the cupcake batter ahead of time?
Yes! You can prepare the batter a day in advance and store it covered in the refrigerator until you’re ready to bake.
Final Thoughts
I hope you enjoy making these delightful and spooky Bleeding Brain Cupcakes! They’re not just a treat for your taste buds but also a fun way to celebrate Halloween with friends and family. Don’t hesitate to get creative with your decorations, and most importantly, have fun baking! Happy Halloween!
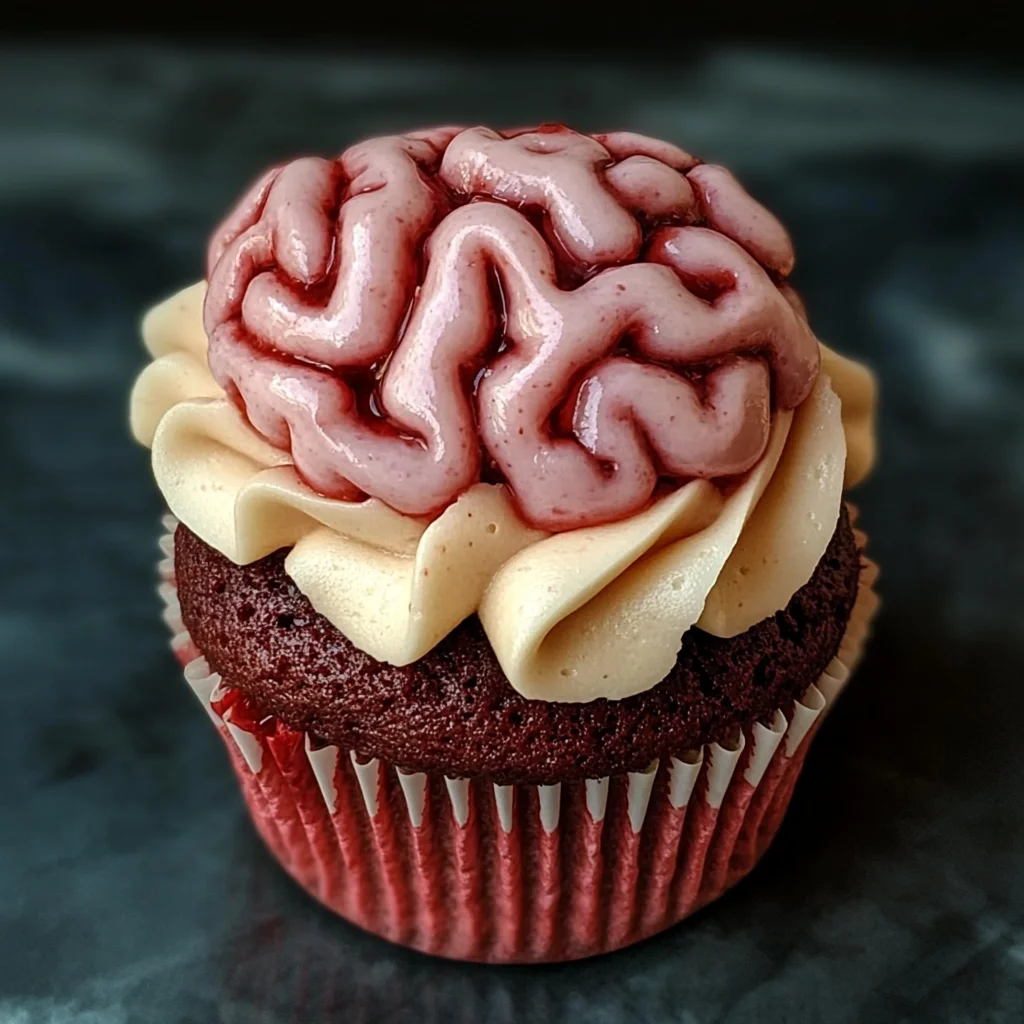
Bleeding Brain Cupcakes
Create a festive atmosphere this Halloween with these delightful Bleeding Brain Cupcakes! These eye-catching red velvet treats are filled with luscious jam and topped with whimsical pink buttercream, making them the perfect centerpiece for your spooky celebrations. Their unique design and delicious flavor will have your guests talking long after the last bite. Easy to make and customizable, these cupcakes are ideal for family gatherings, birthday parties, or just a fun baking day with the kids. Get ready to impress with this fun dessert that combines creativity and sweetness!
- Prep Time: 20 minutes
- Cook Time: 25 minutes
- Total Time: 45 minutes
- Yield: Makes about 12 cupcakes 1x
- Category: Dessert
- Method: Baking
- Cuisine: American
Ingredients
- 150 g softened unsalted butter
- 150 g caster sugar
- 2 large eggs
- 1 tsp vanilla extract
- 85 ml buttermilk
- 165 g self-raising flour
- 1 1/2 tbsp cocoa powder
- 1/2 tsp bicarbonate of soda
- 1 tsp red food coloring
- 200 g strawberry or raspberry jam
- 200 g softened unsalted butter (for frosting)
- 400 g icing sugar
- 2 tbsp milk
- Pink food coloring
Instructions
- Preheat the oven to 160C Fan/180C/350F/Gas Mark 4 and line a cupcake tin with black cases.
- Cream together the softened butter and sugar until fluffy (3–5 minutes).
- Add the eggs one at a time along with vanilla extract, mixing well.
- Combine buttermilk, cocoa powder, bicarbonate of soda, red food coloring, and self-raising flour until just mixed.
- Divide batter evenly among cupcake cases and bake for 20–25 minutes until a skewer comes out clean.
- Cool completely before coring each cupcake and filling with jam.
- For frosting, mix softened butter until creamy; add icing sugar, milk, vanilla extract, and pink food coloring until smooth.
- Pipe frosting onto cupcakes in a brain-like swirl.
Nutrition
- Serving Size: 1 cupcake (60g)
- Calories: 270
- Sugar: 26g
- Sodium: 150mg
- Fat: 12g
- Saturated Fat: 7g
- Unsaturated Fat: 4g
- Trans Fat: 0g
- Carbohydrates: 39g
- Fiber: 0g
- Protein: 3g
- Cholesterol: 45mg