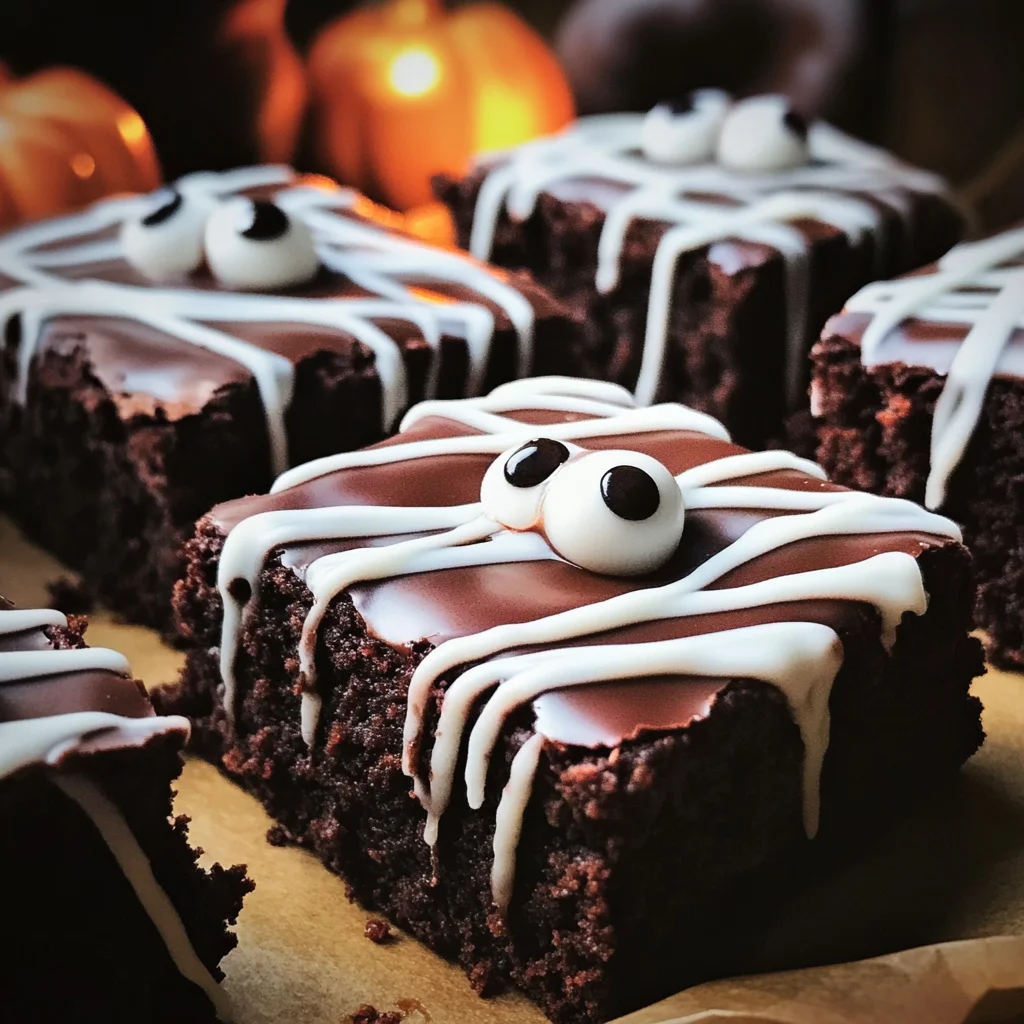
spooky mummy brownies
If you’re looking for a fun and delicious treat to celebrate Halloween, then these spooky mummy brownies are just what you need! They are not only adorable but also packed with rich chocolate flavor that everyone will love. Whenever I make these, they disappear in no time at all, leaving happy faces all around. Whether it’s a busy weeknight dessert or the centerpiece for a family gathering, these brownies will steal the show!
What makes this recipe special is how easy it is to create these cute little mummies. Plus, they’re perfect for getting the kids involved in the kitchen! Who wouldn’t want to help decorate their own spook-tacular brownie?
Why You’ll Love This Recipe
- Easy to Make: With simple steps and ingredients, you can whip these up in no time!
- Family-Friendly Fun: The kids will love decorating these spooky treats with candy eyes and icing.
- Perfect for Any Occasion: Whether it’s Halloween or just a cozy night at home, these brownies fit right in.
- Deliciously Chocolatey: Rich chocolate flavor makes every bite irresistible.
- Make-Ahead Friendly: Bake a batch ahead of time and store them for when those sweet cravings hit!

Ingredients You’ll Need
Let’s gather our ingredients! You’ll find that this recipe uses simple, wholesome items that you might already have in your pantry.
- 10 tbsp butter
- 1 1/2 cups dark chocolate chips or chunks
- 1 cup sugar
- 1/4 cup dark brown sugar
- 3 eggs, at room temperature
- 1 tsp espresso powder (optional)
- 2 tsp vanilla extract
- 3/4 cup all-purpose flour
- 1/3 cup unsweetened cocoa powder
- 1/2 tsp baking powder
- 1/2 tsp kosher salt
- 1 package candy eyes
- 20 oz semi-sweet or milk chocolate chips
- 1 tbsp coconut oil
- 1 cup powdered sugar
- 2–3 tbsp heavy cream, to thin
Variations
This spooky mummy brownies recipe is quite flexible! Feel free to get creative with your ingredients and decorations.
- Add Nuts: Throw in some chopped nuts like walnuts or pecans for extra crunch.
- Swap the Chocolate: Use white chocolate instead of dark for a different flavor and look!
- Use Different Icing Colors: Make colorful bandages using food coloring for an even more festive touch.
- Make Mini Mummies: Bake in a mini muffin tin for bite-sized treats that are perfect for parties.
How to Make spooky mummy brownies
Step 1: Preheat Your Oven
Start by preheating your oven to 350 degrees Fahrenheit. This ensures that your brownies bake evenly and come out perfectly moist.
Step 2: Melt Chocolate and Butter
In a microwave-safe bowl, combine 1 cup of chocolate chips with the butter. Heat them together for about one minute. Stir until smooth; if it needs more time, pop it in the microwave for another few seconds. This step is crucial as melting them brings out that rich chocolate flavor!
Step 3: Mix In Sugars
Whisk in the sugar and brown sugar until everything is dissolved. The sweetness from both sugars adds depth to your brownies.
Step 4: Beat the Eggs
In a stand mixer, beat the eggs until frothy—about two to three minutes. This adds air into the mixture, giving your brownies that lovely texture we all adore!
Step 5: Combine Chocolate Mixture with Eggs
With your mixer running, slowly pour in the melted chocolate mixture into the whipped eggs. Then add espresso powder (if using) and vanilla extract—this enhances the chocolate flavor!
Step 6: Add Dry Ingredients
Now it’s time to add in your flour, cocoa powder, baking powder, and salt. Mix until just combined; over-mixing can lead to dense brownies.
Step 7: Fold in Extra Chocolate Chips
Gently fold in the remaining half-cup of chocolate chips. This extra burst of chocolate really makes each bite heavenly!
Step 8: Bake Your Brownies
Spread the batter into a lined baking pan using a spatula. Bake for about 25-30 minutes until a toothpick comes out with only a few moist crumbs attached. Let them cool completely before cutting them into squares.
Step 9: Prepare Chocolate Coating
While cooling, melt together more chocolate chips with coconut oil in another bowl. Heat until smooth; this coating will give our mummies their signature look!
Step 10: Dip Your Brownies
Once cooled and cut into squares, dip each brownie into the melted chocolate coating using a fork. Let excess drip off before placing them on parchment paper.
Step 11: Create Bandage Icing
To make your mummy’s bandages, whisk together powdered sugar with cream until thick yet spreadable. Transfer this icing into a piping bag or ziptop bag with one corner snipped off.
Step 12: Decorate Your Mummies
Once your coated brownies have hardened slightly, pipe crisscross patterns over each brownie to resemble bandages and stick on candy eyes! Let everything set for about ten minutes.
And there you have it—delightfully spooky mummy brownies ready to be enjoyed! They’re sure to be a hit wherever you serve them!
Pro Tips for Making spooky mummy brownies
Making spooky mummy brownies is a delightful adventure, and with these tips, you’ll be on your way to creating the perfect Halloween treat!
-
Use high-quality chocolate: Choosing premium chocolate chips will enhance the overall flavor of your brownies, making them richer and more indulgent.
-
Don’t overmix the batter: Overmixing can lead to tough brownies. Mix until just combined for that perfect fudgy texture!
-
Chill before coating: Freezing the brownies before dipping them in chocolate helps the coating set quickly and ensures a smooth finish.
-
Get creative with the icing: Feel free to experiment with different patterns or colors for the bandage icing. This not only personalizes your treats but also makes them even more fun!
-
Make ahead of time: These brownies can be made a day in advance. Just keep them stored in an airtight container to maintain their freshness for your Halloween festivities.
How to Serve spooky mummy brownies
When it comes to presenting these adorable spooky mummy brownies, think about ways to make them stand out at your Halloween gathering! Here are some fun ideas:
Garnishes
- Sprinkles: Add a sprinkle of festive orange or black colored sugar on top of the icing for extra flair.
- Chocolate shavings: A light dusting of chocolate shavings can add a touch of elegance while keeping things deliciously chocolatey.
Side Dishes
- Pumpkin Spice Whipped Cream: This creamy topping adds a seasonal twist and pairs beautifully with the rich chocolate flavor.
- Caramel Sauce: Drizzling warm caramel sauce over each brownie takes indulgence to the next level, providing a sweet contrast that complements the chocolate.
- Fresh Fruit: Slices of crisp apples or juicy pears can offer a refreshing balance to the sweetness of the brownies.
- Hot Chocolate: Serve these treats alongside a warm cup of hot chocolate for an extra cozy experience during those chilly fall evenings.
These serving suggestions will not only elevate your spooky mummy brownies but also bring joy to everyone who enjoys them! Happy baking!
Make Ahead and Storage
These spooky mummy brownies are not only a fantastic treat for Halloween but also perfect for meal prep! You can easily make them ahead of time and store them for later enjoyment.
Storing Leftovers
- Allow the brownies to cool completely before storing.
- Place them in an airtight container at room temperature for up to 3 days.
- For longer storage, keep them in the fridge, where they will last about a week.
Freezing
- Cut the brownies into individual pieces before freezing.
- Wrap each brownie tightly in plastic wrap or aluminum foil.
- Place wrapped brownies in a freezer-safe bag or container. They can be frozen for up to 3 months.
Reheating
- Thaw frozen brownies overnight in the refrigerator before serving.
- For a warm treat, microwave each brownie for about 10-15 seconds until warmed through.
- Alternatively, reheat in an oven at 350°F (175°C) for about 5 minutes.
FAQs
Here are some frequently asked questions about making spooky mummy brownies!
Can I make spooky mummy brownies gluten-free?
Yes! You can substitute all-purpose flour with a gluten-free flour blend. Just make sure it’s a 1:1 ratio to maintain the right texture.
How do I decorate spooky mummy brownies?
Use the icing from the recipe to create crisscross bandage patterns. Don’t forget to add candy eyes for that extra spooky touch!
What makes these spooky mummy brownies special?
These spooky mummy brownies combine rich chocolate flavor with fun Halloween decoration, making them perfect for parties or festive gatherings!
Can I use different types of chocolate?
Absolutely! Feel free to mix dark, semi-sweet, or even white chocolate chips based on your preference for a unique flavor profile.
Final Thoughts
I hope you enjoy making these delightful spooky mummy brownies as much as I do! They’re not only fun to create but also bring joy and sweetness to any Halloween celebration. Don’t hesitate to share your creations with family and friends—you might just start a new tradition. Happy baking!
Spooky Mummy Brownies

Get ready for a spooky treat that will delight both kids and adults alike! These spooky mummy brownies are a fun twist on classic chocolate brownies, perfect for Halloween gatherings or any festive occasion. With their rich, chocolatey flavor and playful decorations, they’re easy to make and sure to be a hit at your next party. Involving the little ones in decorating these adorable mummies makes it even more enjoyable! Just imagine their excitement as they pipe icing bandages and add candy eyes to create their own sweet masterpieces.
- Prep Time: 20 minutes
- Cook Time: 30 minutes
- Total Time: 50 minutes
- Yield: Approximately 16 servings 1x
- Category: Dessert
- Method: Baking
- Cuisine: American
Ingredients
- 10 tbsp butter
- 1 1/2 cups dark chocolate chips or chunks
- 1 cup sugar
- 1/4 cup dark brown sugar
- 3 eggs, at room temperature
- 1 tsp espresso powder (optional)
- 2 tsp vanilla extract
- 3/4 cup all-purpose flour
- 1/3 cup unsweetened cocoa powder
- 1/2 tsp baking powder
- 1/2 tsp kosher salt
- 1 package candy eyes
- 20 oz semi-sweet or milk chocolate chips
- 1 tbsp coconut oil
- 1 cup powdered sugar
- 2–3 tbsp heavy cream, to thin
Instructions
- Preheat your oven to 350°F (175°C).
- Melt 1 cup of dark chocolate chips with butter in the microwave until smooth.
- Whisk together sugars and mix into melted chocolate.
- Beat eggs until frothy and combine with the chocolate mixture along with vanilla extract and espresso powder.
- Add flour, cocoa powder, baking powder, and salt; mix until just combined.
- Fold in remaining chocolate chips.
- Spread batter in a lined baking pan and bake for 25-30 minutes, then cool completely.
- For coating, melt more chocolate chips with coconut oil and dip each brownie square.
- Make icing from powdered sugar and cream, then pipe bandage patterns on cooled brownies and add candy eyes.
Nutrition
- Serving Size: 1 brownie square (50g)
- Calories: 210
- Sugar: 18g
- Sodium: 80mg
- Fat: 12g
- Saturated Fat: 7g
- Unsaturated Fat: 4g
- Trans Fat: 0g
- Carbohydrates: 26g
- Fiber: 2g
- Protein: 3g
- Cholesterol: 25mg