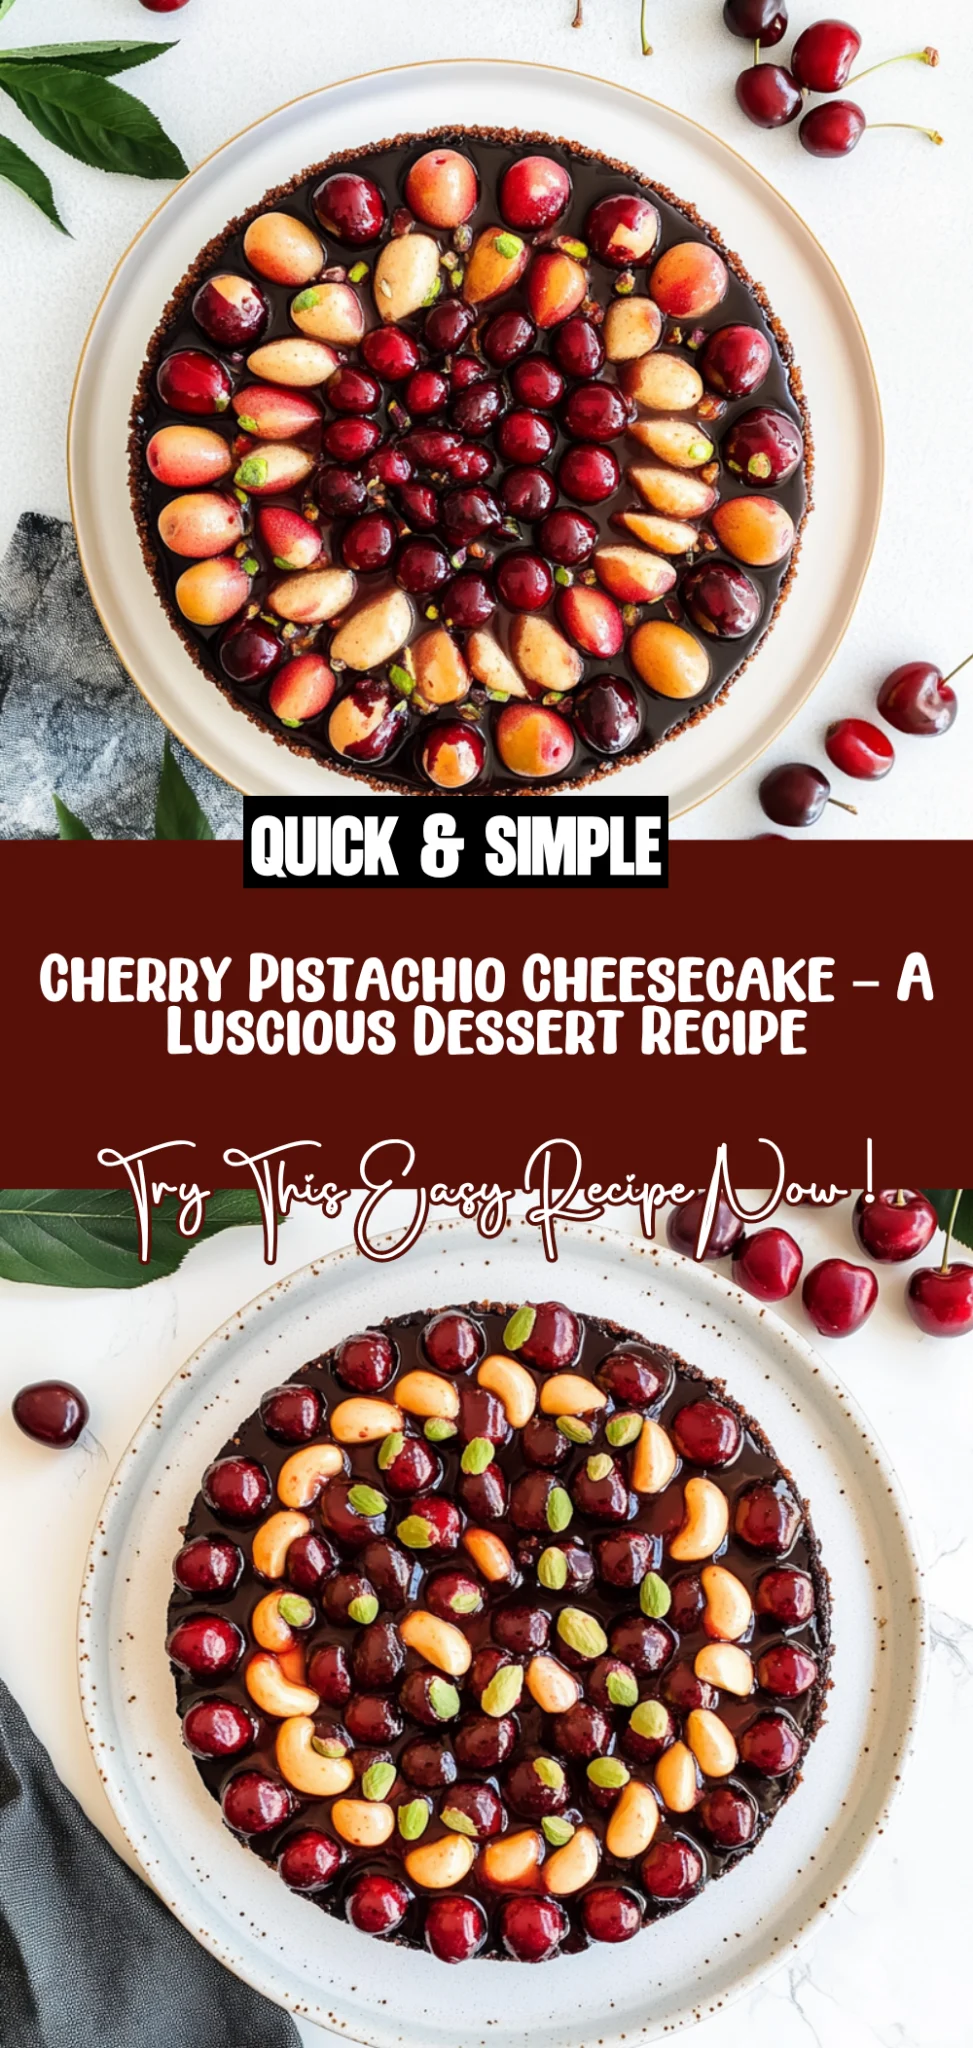
Cherry Pistachio Cheesecake: A Luscious Delight Awaits
I first stumbled upon the idea of a Cherry Pistachio Cheesecake during a lavish dinner at a quaint little bistro that boasted a dessert menu to die for. The moment I took my first bite, the creamy cheesecake paired with those sweet, tart cherries and the unexpected crunch of pistachios left me utterly enchanted. I knew I had to recreate it at home, not just because my wallet was starting to feel the pinch from frequent visits, but also because I was determined to make it even better—after all, who wouldn’t want to enjoy this luscious dessert recipe in their own kitchen?
Let me tell you, perfecting this Cherry Pistachio Cheesecake was no walk in the park. I lost count after my fifth attempt—seriously, who knew cheesecake could be so temperamental? At first, I was wrestling with the right balance of creaminess and firmness; then it was figuring out how to get that crust just right without it crumbling away like my hopes after a failed bake. With each iteration, I learned something new and slowly pieced together what would eventually become my pride and joy.
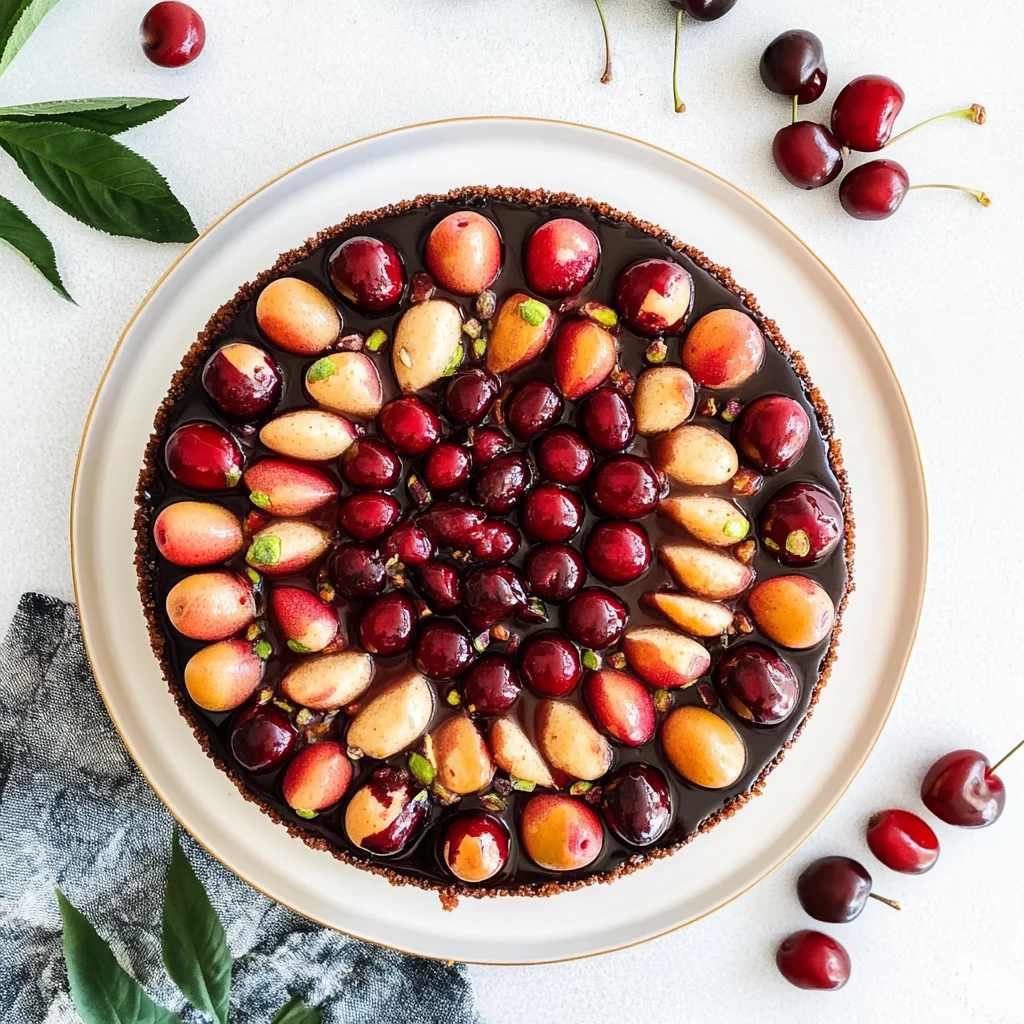
But oh boy, was it worth every single mishap! The final result is nothing short of heavenly: a creamy cheesecake filling that melts in your mouth, topped with juicy cherries that burst with flavor and a sprinkle of crunchy pistachios for that perfect textural contrast. It’s rich yet refreshing, with a beautiful presentation that’ll impress anyone lucky enough to snag a slice. Trust me, once you try this Cherry Pistachio Cheesecake – A Luscious Dessert Recipe, you’ll be just as addicted as I am! So grab your apron and let’s get baking—your taste buds will thank you!
These Cherry Pistachio Cheesecake are…
…the ultimate indulgence that will elevate any dessert table!
1. They deliver a delightfully complex flavor with the perfect balance of sweetness and tartness. The graham cracker crumbs in the crust add a subtle caramel note, enhancing the overall taste experience and complementing the creamy cheesecake filling beautifully.
2. Irresistibly crunchy texture – the crust strikes the perfect balance between crispiness and chewiness. By using melted unsalted butter to bind the graham cracker crumbs, each bite provides a satisfying crunch that contrasts wonderfully with the smooth cheesecake layer.
3. Elevated technique – I found that pressing the crust firmly into the pan creates a sturdy base that holds up well when sliced. This method not only adds to its structural integrity but also ensures that every piece retains its shape, so you can enjoy a beautiful slice of Cherry Pistachio Cheesecake – A Luscious Dessert Recipe.
4. Exceptional value – making this cheesecake at home means you can enjoy high-end flavors without the restaurant price tag. With simple ingredients like graham cracker crumbs and butter, you’re able to create a luxurious dessert that serves multiple people for a fraction of what you’d pay out.
PS This cheesecake serves about 10 people, making it perfect for gatherings or special occasions!
Ingredients for the Cherry Pistachio Cheesecake
Each ingredient in this dish plays an essential role in flavor and texture. Here’s what you’ll need:
1 cup graham cracker crumbs: Provides a sweet and crunchy base for the cheesecake.
1/4 cup granulated sugar: Balances the flavors in the crust with a touch of sweetness.
1/2 cup unsalted butter (melted): Binds the crust together while adding richness.
16 oz cream cheese (softened): Forms the creamy foundation of the cheesecake filling.
1/2 cup sour cream: Contributes a tangy flavor and creamy texture to the filling.
1/2 cup granulated sugar: Sweetens the filling, enhancing its overall taste.
2 large eggs: Acts as a binding agent, giving structure to the cheesecake.
1 teaspoon vanilla extract: Infuses warmth and depth of flavor into the filling.
2 cups fresh cherries (pitted and halved): Adds a burst of sweetness and vibrant color on top.
1/4 cup pistachios (chopped): Provides a delightful crunch and nutty flavor contrast.
- 2 tablespoons honey: Enhances sweetness while adding a floral note to the topping.
Pressing the Crust: Don’t Skip This Step!
I have a confession: I tried to cut corners with the crust of my Cherry Pistachio Cheesecake. After a few attempts, I realized that skipping the pressing technique was a big mistake. It turns out that there are no shortcuts when it comes to creating a sturdy base for this dessert—trust me, I learned the hard way!
The reason pressing the graham cracker mixture into the springform pan is crucial is simple: it’s all about structure. Think of it like building a house—the foundation needs to be solid to support everything above it. When you firmly press the crust mixture, you create a compact base that holds up under the creamy cheesecake filling and toppings. If you skip this step or don’t press hard enough, you risk a crumbly crust that crumbles apart when you slice your cheesecake.
What does pressing the crust do?
- Texture — A well-pressed crust creates a firm base that contrasts beautifully with the creamy filling, providing a satisfying bite.
- Stability — Compressing the crumbs ensures your cheesecake stays intact when slicing, preventing it from falling apart.
- Flavour — The caramelization of sugars in the butter and sugar during baking enhances the overall flavour, giving depth to each slice.
- Moisture retention — A properly pressed crust locks in moisture from the filling, keeping it from becoming soggy.
- Visual appeal — A smooth, even surface makes for stunning presentation when topped with cherries and pistachios.
Different pressing times
- Barely pressed (fair) — The crust will hold together but may crumble easily; not ideal for slicing.
- Gently pressed (good) — Enough pressure to keep it together but lacks firmness; might still fall apart slightly upon serving.
- Firmly pressed (great) — Creates a solid foundation; easy to slice without crumbling and provides good texture contrast.
- ⭐️ Super firmly pressed ⭐️ (best) — Achieves optimal stability and texture; your cheesecake will stand tall and proud on your table!
But beware! The most common mistake is not pressing hard enough. A half-hearted effort can lead to disappointment when your beautiful cheesecake collapses upon cutting. Don’t let your hard work go to waste!
How to make Cherry Pistachio Cheesecake
Are you ready to see how straightforward it is to make the Cherry Pistachio Cheesecake of your dreams??
1. PREPARE THE CRUST
Let’s start with a delicious base that will hold all that creamy goodness!
1. Preheat – Preheat your oven to 350°F (175°C). This ensures that your crust bakes evenly and achieves that perfect golden color.
2. Combine – In a mixing bowl, combine 1 cup of graham cracker crumbs, 1/4 cup of granulated sugar, and 1/2 cup of melted unsalted butter. Mix until everything is well combined; the mixture should be damp but crumbly.
3. Press – Firmly press the crumb mixture into the bottom of a springform pan, making sure it’s even and compact. This helps to create a sturdy base for your cheesecake.
4. Bake – Bake in the preheated oven for 10 minutes until slightly golden and fragrant, then remove and allow to cool.
HANDY TIPS
- If you want a more flavorful crust, try adding a pinch of cinnamon or a tablespoon of cocoa powder to the graham cracker mixture.
- Ensure the butter is completely melted but not hot when mixing with the crumbs; this will prevent the sugar from melting into the crust.
2. MAKE THE CHEESECAKE FILLING
Now for that creamy filling that’s going to steal the show!
1. Beat – In a large mixing bowl, beat 16 oz of softened cream cheese until smooth and creamy. This step is crucial as it ensures there are no lumps in your filling.
2. Add – Add in 1/2 cup sour cream, 1/2 cup granulated sugar, 2 large eggs, and 1 teaspoon vanilla extract. Mix until everything is fully combined and creamy—this should take about 3 minutes.
3. Pour – Pour the cheesecake filling over your cooled crust in the springform pan, smoothing out the top for an even surface.
4. Bake – Bake in the preheated oven for about 50 minutes or until the center is set but still slightly jiggly—this indicates it’s perfectly baked! Turn off the oven and let the cheesecake cool inside for 1 hour; this helps prevent cracks.
HANDY TIPS
- Make sure your cream cheese is at room temperature before beating; this will help achieve that silky-smooth texture.
- If you have any cracks on top after baking, don’t worry! You’ll cover them with toppings later.
3. PREPARE THE TOPPING
Let’s add some vibrant flavors on top!
1. Combine – In a small saucepan over low heat, combine 2 cups of fresh pitted and halved cherries with 2 tablespoons of honey. Cook gently until the cherries are slightly softened, which should take about 5 minutes.
2. Cool – Remove from heat and let cool slightly while your cheesecake continues to chill. Once cooled slightly, it’ll be easier to spread over your cheesecake without melting it!
HANDY TIPS
- For extra flavor, consider adding a splash of lemon juice or almond extract to your cherry mixture while cooking.
- If you can’t find fresh cherries, frozen ones will work too; just thaw them first!
4. CHILL AND SERVE
The final step before indulging in this delightful treat!
1. Refrigerate – Place your cheesecake back into the fridge and refrigerate for at least 4 hours or overnight for best results—this allows all those flavors to meld beautifully together.
2. Serve – When you’re ready to serve, slice into portions and enjoy chilled! Each slice should reveal that luscious filling topped with sweet cherries and crunchy pistachios.
That’s it—you’ve made an utterly fabulous Cherry Pistachio Cheesecake! I can already imagine how delicious it tastes with its creamy texture paired with juicy cherries and crunchy nuts! Enjoy every bite! – Nagi x
FAQ – Cherry Pistachio Cheesecake
🍰 How long will this cheesecake keep?
This Cherry Pistachio Cheesecake can be stored in the refrigerator for up to 5 days. However, its quality does diminish over time. I find that it’s 97% as good on day 3, with the cherries still juicy and the pistachios crunchy. By day 5, it’s more like 85%, as the crust may start to soften and the flavors may not be as vibrant. To store, cover it tightly with plastic wrap or aluminum foil to prevent it from absorbing other odors in your fridge.
🕒 Do I really have to chill? YES YOU DO.
Absolutely, chilling is non-negotiable! After baking, let the cheesecake cool at room temperature for an hour and then refrigerate it for at least 4 hours, though overnight is ideal. This chilling period allows the cheesecake to set properly and develop a richer flavor. Skipping this step will result in a softer texture that doesn’t hold its shape when sliced—trust me, I’ve tried it!
❄️ Can this cheesecake be frozen?
Yes, you can freeze this Cherry Pistachio Cheesecake! For best results, wrap individual slices tightly in plastic wrap, then place them in an airtight container or freezer bag. It can last up to 2 months in the freezer. When you’re ready to enjoy a slice, let it thaw overnight in the refrigerator. Just keep in mind that while freezing won’t ruin it, the texture might change slightly—so it’s best eaten fresh if you can!
🌾 Is there a gluten-free option for the crust?
Definitely! To make a gluten-free crust, substitute graham cracker crumbs with gluten-free cookie crumbs or almond flour mixed with a bit of sugar and melted butter. You’ll want to ensure that all other ingredients are also certified gluten-free (like sugar and pistachios). This twist will maintain a deliciously sweet base while keeping your dessert gluten-free!
🔄 Can I reduce the sugar or substitute with sweeteners?
Nope! You cannot reduce the sugar without affecting the texture and structure of this cheesecake—I’ve tested it several times. If you want to cut back on carbs or calories, consider using a granulated sugar substitute like erythritol or monk fruit sweetener that measures cup-for-cup like regular sugar. Just remember that some sweeteners can have an aftertaste, so choose one you enjoy!
🤔 Why do I need to mix my cream cheese until smooth?
Mixing your cream cheese until smooth is essential for achieving a creamy filling without lumps. If you skip this step or don’t mix enough, you’ll end up with those annoying little pockets of unblended cream cheese in your cheesecake—yuck! Use room temperature cream cheese; it’s easier to blend and helps create that velvety texture we all crave.
✨ Can I add other fruits or flavors?
Absolutely! This recipe is quite versatile. You can swap cherries for other fruits like blueberries or strawberries if you prefer—just adjust the honey based on their sweetness. You could even add some lemon zest for a citrusy kick or a swirl of chocolate for decadence. The possibilities are endless; get creative and make it your own!
Troubleshooting
I will continue to add more to this Troubleshooting section as I start seeing questions coming through from people who have made the recipe.
Troubleshooting tips
“My cheesecake is too thin! 😱”
- You may not have pressed the graham cracker crust mixture firmly enough into the springform pan, which can lead to a thinner base. A well-compressed crust provides structure for the cheesecake filling.
- It’s also possible that you didn’t allow the cheesecake filling to bake long enough. If the center remains unset, it can result in a less stable texture after cooling.
I bet it was still YUM though!
“My crust is too crumbly and falls apart! 😩”
- This could be due to using too many graham cracker crumbs or not enough melted butter. The butter is essential for binding the crumbs together, so make sure to follow the measurements closely.
- Another reason might be that you didn’t press the crust mixture firmly enough into the pan before baking. A well-packed crust holds together better after it cools.
I bet it was still YUM though!
“The top of my cheesecake cracked! 😢”
- Cracks often occur when the cheesecake bakes too quickly or at too high a temperature. Make sure your oven is properly calibrated to 350°F (175°C) and consider using a water bath for even baking.
- If you overmixed the filling, incorporating too much air can also cause cracks. Mix just until combined and creamy for best results!
I bet it was still YUM though!
“My cheesecake turned out too dry! 😟”
- Overbaking is usually the culprit here, especially if you let it bake beyond 50 minutes. Always check for doneness when the center is set but slightly jiggly; it will continue cooking as it cools.
- Also, make sure your cream cheese is fully softened before mixing, as cold cream cheese can lead to uneven texture and dryness in the final product.
I bet it was still YUM though!
Cherry Pistachio Cheesecake
Ingredients
Method
- Preheat the oven to 350°F (175°C). In a mixing bowl, combine graham cracker crumbs, sugar, and melted butter. Mix until well combined.
- Press the mixture firmly into the bottom of a springform pan. Bake for 10 minutes, then remove and let cool.
- In a large mixing bowl, beat the softened cream cheese until smooth. Add sour cream, sugar, eggs, and vanilla extract. Mix until fully combined and creamy.
- Pour the cheesecake filling over the cooled crust in the springform pan.
- Bake in the preheated oven for 50 minutes or until the center is set. Turn off the oven and let the cheesecake cool inside for 1 hour.
- In a small saucepan over low heat, combine fresh cherries and honey. Cook until the cherries are slightly softened, about 5 minutes.
- Remove from heat and let cool slightly. Once the cheesecake is cooled, top with the cherry mixture and sprinkle with chopped pistachios.
- Refrigerate the cheesecake for at least 4 hours or overnight for best results. Slice and serve chilled.