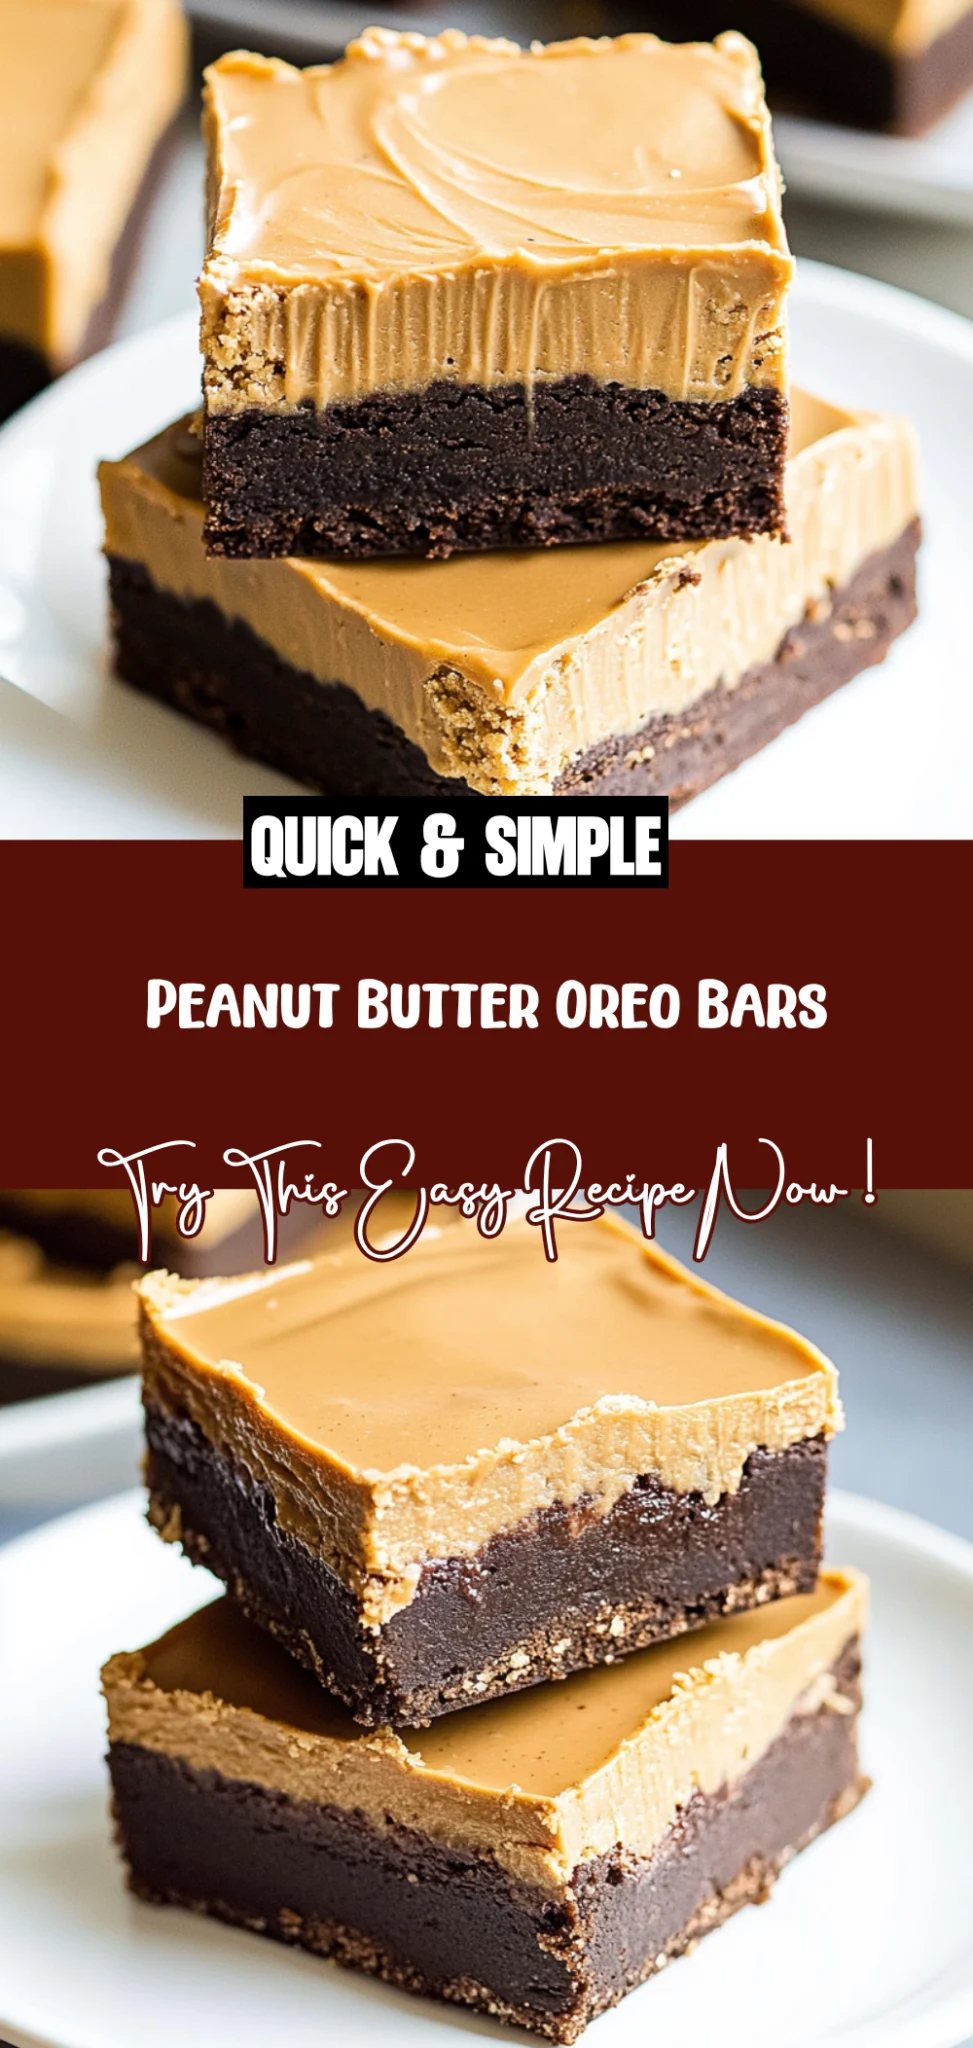
Peanut Butter Oreo Bars: Irresistibly Decadent Treats
I first stumbled upon the idea for these Peanut Butter Oreo Bars during a late-night snack raid. I was half-heartedly scrolling through social media when I came across a mouthwatering photo from a local dessert shop, showcasing their version of these no-bake bars. The combination of rich peanut butter and crunchy Oreos looked like pure bliss, and I couldn’t shake the craving that hit me instantly. But as much as I loved the idea, I also thought about how much it would cost to buy one every time that craving struck—and let’s be real, who wouldn’t want to make a batch at home that’s even better?
It took me five attempts (yes, five!) to get this recipe just right—it felt like I was on a baking reality show with my own personal “will she? won’t she?” drama unfolding in my kitchen. Each time, I tweaked the ratios of peanut butter to cream cheese to cookie crumbs, desperately trying to find that perfect balance between creamy and crunchy. There were moments when the bars turned out too crumbly or way too sweet—I’m pretty sure my taste testers were getting tired of being my guinea pigs! But with each iteration, my vision became clearer, and I could almost taste the victory on the horizon.
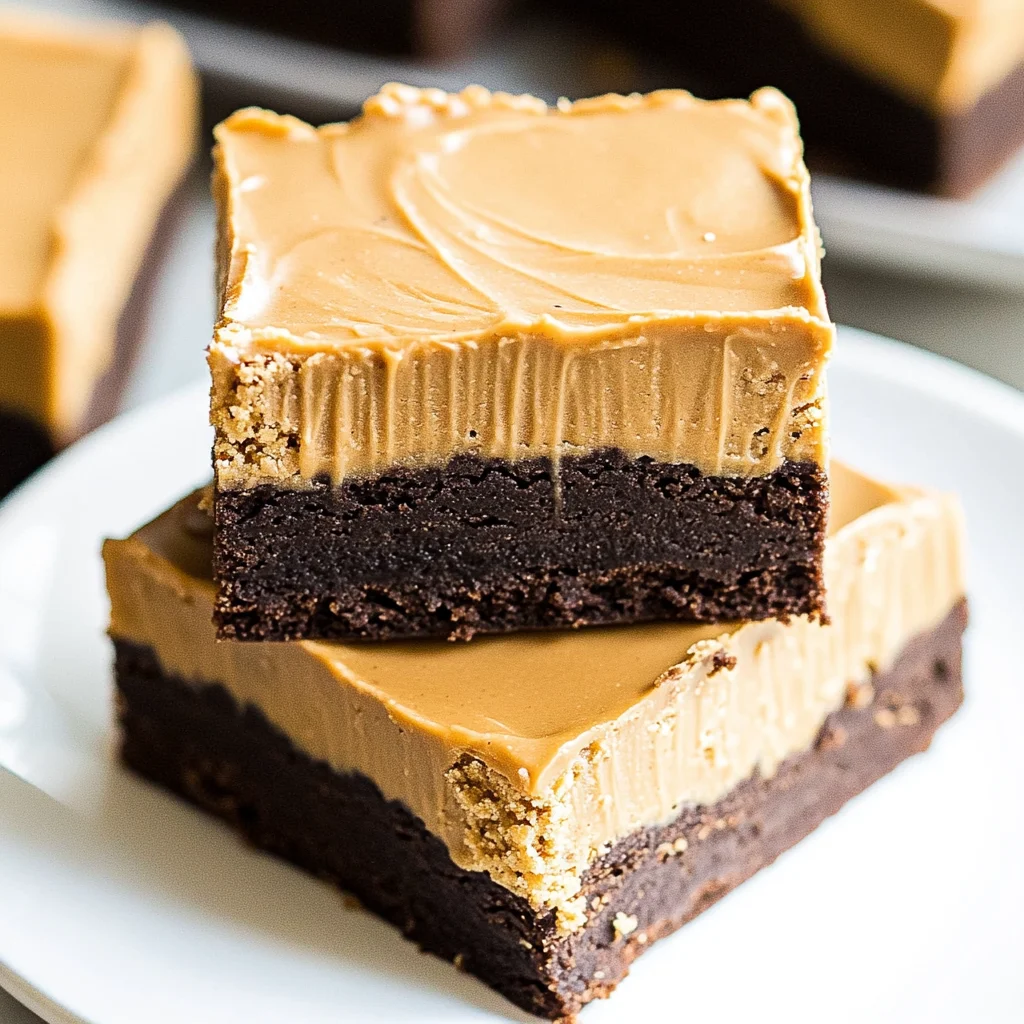
And let me tell you, all those trials were absolutely worth it! The final result is a heavenly blend of creamy peanut butter and crunchy Oreo goodness that’s rich enough to satisfy any sweet tooth but light enough to keep you going back for seconds (and maybe thirds!). These Peanut Butter Oreo Bars have an incredible texture—think chewy yet crumbly—and they hold up beautifully in the fridge for days. I can’t wait for you to try them; trust me, you won’t be able to resist grabbing another piece!
These Peanut Butter Oreo Bars are…
….the ultimate indulgence for anyone who loves the combination of peanut butter and cookies!
1. They deliver an irresistibly rich flavor that perfectly balances sweet and salty. The creamy peanut butter paired with crushed Oreo cookies creates a decadent taste experience that’s both nostalgic and utterly satisfying, making every bite a treat you won’t forget.
2. Incredible texture – the contrast of the crunchy base against the smooth filling is simply divine. By crushing the Oreo cookies and mixing them with melted butter, I achieved a firm yet tender crust that holds its shape while providing a delightful crunch.
3. Easy no-bake technique – these bars come together without any baking, preserving the integrity of the ingredients. This method allows the flavors to meld beautifully without the risk of overcooking, ensuring that each layer retains its unique character and taste.
4. Great value – making these Peanut Butter Oreo Bars at home means you can enjoy gourmet flavors without breaking the bank. With simple ingredients like Oreo cookies and pantry staples, you’ll save money while impressing friends and family with deliciously rich bars that taste like they came from a fancy bakery.
PS These bars are cut into generous squares, making them perfect for sharing or indulging in a sweet treat whenever the craving strikes!
Ingredients for the Peanut Butter Oreo Bars
Each ingredient in this dish plays an essential role in flavor and texture. Here’s what you’ll need:
- 24 Oreo cookies (crushed): Forms a crunchy and chocolatey base that brings richness.
- 1/2 cup unsalted butter (melted): Binds the crust together while adding moisture and depth.
- 1 cup creamy peanut butter: Provides a smooth, nutty flavor that is the star of the filling.
- 1/2 cup powdered sugar: Sweetens the filling, balancing the savory notes of peanut butter.
- 1/2 cup heavy cream (whipped): Adds lightness and a creamy texture to the filling.
- 1 cup chocolate chips (melted): Creates a luscious topping that enhances sweetness and indulgence.
- 1/4 cup Oreo crumbs (for garnish): Offers a decorative touch with extra crunch and chocolate flavor.
Pressing the Base: It’s More Important Than You Think!
I’ll be honest with you—I tried to take a shortcut here. I thought, “Surely I can just toss the crushed Oreos in without pressing them down!” But after a few regrettable attempts, I realized that skipping this step was a big mistake. The struggle is real, folks!
Now, let me explain why pressing the base is a game-changer. Think of it like building a sturdy foundation for your dream house; if you don’t get it right, everything on top will be shaky and uneven. When you press the crushed Oreo cookies mixed with melted butter into the baking pan, you create a solid base that holds all the delicious layers together. It keeps your Peanut Butter Oreo Bars from falling apart and ensures each bite is as satisfying as the last.
What does pressing the base do?
- Texture — Creates a firm base that holds its shape, making for easy slicing and serving.
- Stability — Prevents the filling from oozing out when you cut into the bars; nobody wants a messy dessert!
- Flavor — Intensifies the chocolatey goodness of Oreos, giving an even richer flavor profile to complement the peanut butter.
- Moisture retention — A well-pressed base helps lock in moisture, ensuring your bars remain soft and chewy rather than dry.
- Visual appeal — A compacted layer has a neater appearance, making your bars look more inviting and professionally made.
Different pressing times
- Instant (poor) — Barely mixed crumbs will crumble apart when you try to slice them; not ideal for enjoying.
- 10 minutes (okay) — Better than nothing but still prone to breaking when cut; you’ll need extra patience!
- 30 minutes (good) — Provides decent stability but lacks that deep flavor infusion you’re looking for.
- ⭐️ 1 hour or more ⭐️ — Perfectly pressed and flavorful! This is where things start getting serious—your bars will hold together beautifully!
Remember, if you skip or rush through pressing the base, you’re setting yourself up for disaster. Trust me; I learned this lesson the hard way!
How to make Peanut Butter Oreo Bars
Are you ready to see how straightforward it is to make the Peanut Butter Oreo Bars of your dreams??
1. PREPARE THE BASE
Let’s kick things off with a delicious, crunchy base that sets the stage for all that creamy goodness!
1. COMBINE – In a mixing bowl, combine crushed Oreo cookies and melted butter until well mixed. The butter acts as a binding agent, making sure your crust holds together perfectly. You want a mixture that resembles wet sand — moist but not dripping!
2. PRESS – Press the mixture firmly into the bottom of a greased 9×9 inch baking pan. Make sure it’s packed tightly; this will create a sturdy base that can support the layers above it.
HANDY TIPS
- If you’re feeling adventurous, try using double-stuffed Oreos for an extra creamy base!
- Consider adding a pinch of salt to the butter for a delightful contrast to the sweetness.
2. MAKE THE FILLING
Now, let’s whip up a heavenly peanut butter filling that will have you swooning!
3. MIX – In another bowl, mix together peanut butter and powdered sugar until smooth. This step is crucial as you want to ensure there are no lumps; a smooth filling means every bite will be heavenly!
4. FOLD – Fold in the whipped heavy cream until fully incorporated. This lightens up the peanut butter mixture, creating a fluffy filling that balances well with the rich base.
5. SPREAD – Spread the peanut butter mixture evenly over the Oreo base. Use an offset spatula for an even layer; this helps ensure every bite has just the right amount of filling!
HANDY TIPS
- For an extra kick, consider adding a dash of vanilla extract to your filling.
- If you prefer crunchier textures, mix in some chopped peanuts or crushed Oreos into your filling.
3. ADD THE TOPPING
We’re almost there! Time to add that decadent chocolate topping.
6. POUR – Pour melted chocolate chips over the peanut butter layer, spreading evenly. The warmth from the chocolate will slightly melt into the peanut butter layer — trust me, it’s divine!
7. SPRINKLE – Sprinkle Oreo crumbs on top for garnish. This not only adds visual appeal but also gives an extra crunch!
8. REFRIGERATE – Refrigerate for at least 2 hours to set before cutting into bars. Patience is key here — allowing them to chill will solidify those layers into one glorious slice!
HANDY TIPS
- If you have leftover chocolate chips, consider drizzling them on top after chilling for added flair!
- For easier cutting, let your bars sit out for about 10 minutes before slicing; they’ll soften slightly without losing shape.
Make these once, and I wager they will invade your dreams every night too! – Nagi x
FAQ – Peanut Butter Oreo Bars
❄️ Do I really have to chill? YES YOU DO.
Yes, chilling is essential! After assembling your bars, you must refrigerate them for at least 2 hours to allow the filling to set properly. If you skip this step, you’ll end up with a gooey mess instead of firm, sliceable bars. Trust me; I tried it without chilling once (okay, maybe twice), and the results were… less than ideal! 😅
How long will these bars keep?
When stored properly in an airtight container in the fridge, these Peanut Butter Oreo Bars will stay fresh for about 5–7 days. On day 3, they’re still 97% as good as day 1! However, after a week, the texture may start to deteriorate slightly, so I recommend enjoying them within that time frame for the best taste and texture.
🌾 Can these be made gluten free?
Absolutely! To make these bars gluten-free, simply use gluten-free Oreo cookies. There are several brands available now that mimic the classic taste perfectly. Just ensure that your chocolate chips are also gluten-free; most are, but always good to double-check!
Can I reduce the sugar or substitute with sweeteners?
No, you cannot reduce the sugar — I tried using less powdered sugar multiple times and found that it affects not only the sweetness but also the structure of the filling. The powdered sugar helps stabilize the whipped cream and peanut butter mixture. If you’re looking for alternatives, consider using a sugar substitute designed for baking that measures cup-for-cup like erythritol or stevia. Just note that some substitutes can have a different taste profile.
Why do I need to press the Oreo base firmly into the pan?
Pressing down firmly on the Oreo base is crucial for achieving a solid foundation for your bars. If it’s too loose, your bars may crumble apart when you cut into them. Aim for a compact layer that’s about 1/2 inch thick—this ensures it holds together well and provides a sturdy bite against the creamy filling above.
Can I freeze these bars?
Yes! You can freeze these bars for up to 3 months. To do so, slice them into pieces first and place parchment paper between layers to avoid sticking. Wrap them tightly in plastic wrap or aluminum foil and then place them in an airtight freezer bag. When you’re ready to enjoy them again, simply thaw in the fridge overnight or at room temperature for about 30 minutes before serving.
What other ingredients can I add for customization?
There are plenty of ways to personalize these bars! You could mix in:
- Chopped nuts (like peanuts or almonds) for added crunch.
- Chocolate chunks instead of just melted chocolate chips for extra chocolatey goodness.
- Swirls of caramel sauce over the top before chilling if you’re feeling indulgent.
Feel free to get creative—the sky’s the limit with this delicious base!
Troubleshooting
I will continue to add more to this Troubleshooting section as I start seeing questions coming through from people who have made the recipe.
Troubleshooting tips
“My bars are too thin and crumbly!” 😩
- You might not have used enough crushed Oreo cookies in the base. The recipe calls for 24 cookies; if you used less, the base won’t hold together properly.
- If you didn’t press down firmly enough while forming the base, it could lead to a loose structure that crumbles easily. Make sure to really pack it down!
- I bet they were still YUM though!
“The filling is too runny!” 😱
- This can happen if your whipped heavy cream was over-whipped. You want it fluffy but not dry; otherwise, it won’t hold its shape when mixed with the peanut butter and powdered sugar.
- If you didn’t mix the peanut butter and powdered sugar thoroughly, there may have been lumps that caused uneven consistency in the filling.
- I bet they were still YUM though!
“My chocolate topping looks dull and uneven!” 😟
- If your melted chocolate chips were too hot when poured over the filling, they might have caused the layers to separate instead of melding nicely. Let them cool slightly before pouring.
- Not spreading the chocolate evenly can leave some areas bare while others are thickly coated. Use an offset spatula or the back of a spoon for even coverage!
- I bet they were still YUM though!
“Why does my base look so dark?” 😳
- Using regular Oreos rather than Double Stuf could make your base appear darker due to the difference in cookie density and sugar content. Both work, but keep in mind that it may affect appearance.
- If you pressed the base too thinly into the pan, it could also bake (or brown) unevenly if left too long outside of refrigeration.
- I bet they were still YUM though!
Peanut Butter Oreo Bars
Ingredients
Method
- In a mixing bowl, combine crushed Oreo cookies and melted butter until well mixed.
- Press the mixture firmly into the bottom of a greased 9x9 inch baking pan.
- In another bowl, mix together peanut butter and powdered sugar until smooth.
- Fold in the whipped heavy cream until fully incorporated.
- Spread the peanut butter mixture evenly over the Oreo base.
- Pour melted chocolate chips over the peanut butter layer, spreading evenly.
- Sprinkle Oreo crumbs on top for garnish.
- Refrigerate for at least 2 hours to set before cutting into bars.