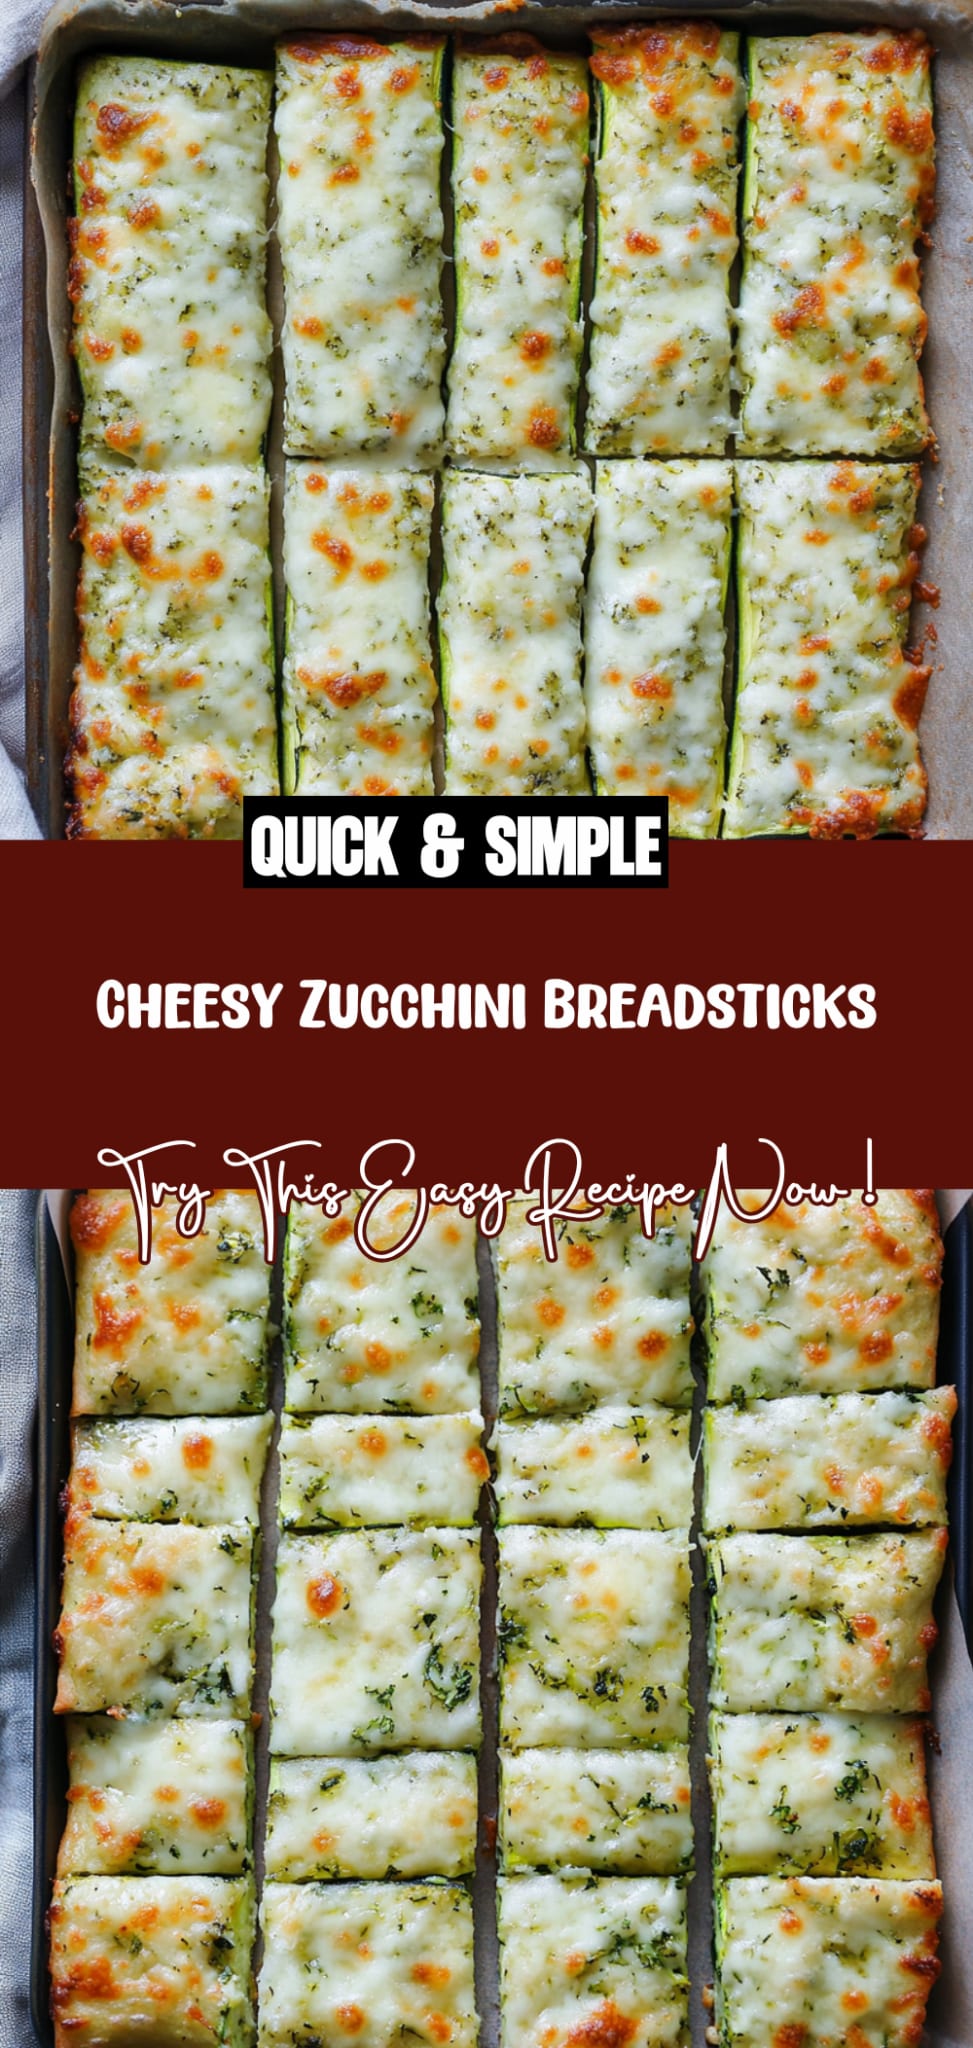
Cheesy Zucchini Breadsticks: A Cheesy Hug for Your Taste …
I first fell in love with cheesy zucchini breadsticks during a late-night snack run at a cozy little bistro downtown. I remember biting into one for the first time, and it was like a cheesy hug for my taste buds! The way the crispy edges contrasted with the gooey cheese had me hooked, but let’s be real—those little delights weren’t cheap! So, I decided to take on the challenge of recreating these cheesy zucchini breadsticks at home, not just for the savings, but also to put my own twist on them and make them even better than the originals.
After several attempts that can only be described as a culinary rollercoaster—think mushy centers and overly soggy bottoms—I finally nailed down the perfect version. I lost count after five tries (okay, maybe six), but every flop taught me something valuable about balancing flavors and textures. My goal was simple: to achieve that ideal golden crispiness on the outside while keeping the inside irresistibly cheesy without turning it into a watery disaster. Spoiler alert: I think I’ve cracked it!
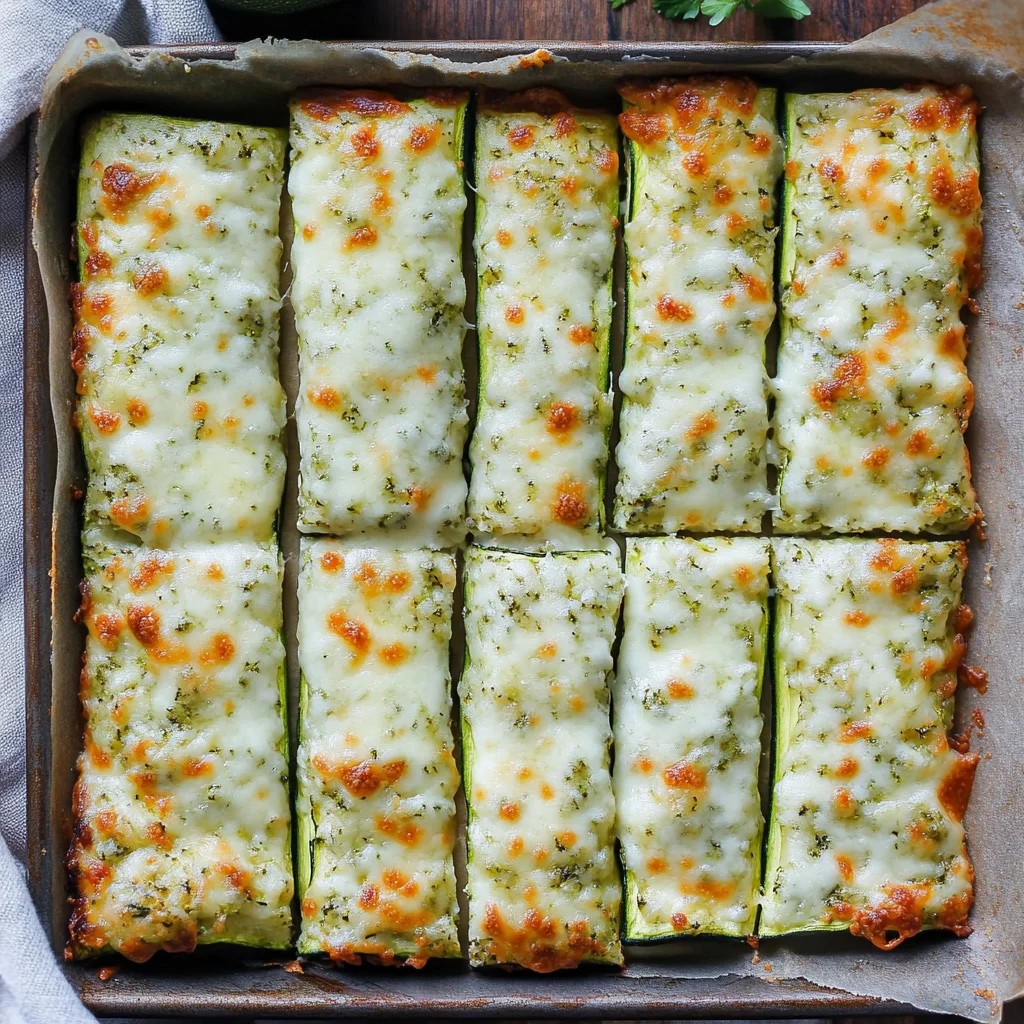
And oh boy, was it worth every mishap! These cheesy zucchini breadsticks are everything you want in a snack or appetizer—deliciously cheesy with an addictive crunch that keeps you coming back for more. The flavor is rich yet fresh from the zucchini, and they hold up so well that you can easily make a batch ahead of time for entertaining or just because you can’t resist snacking! Trust me, once you try these cheesy zucchini breadsticks, you’ll be hooked. Let’s get cooking!
These Cheesy Zucchini Breadsticks are…
….the ultimate snack or appetizer that will have everyone reaching for seconds!
1. They deliver a mouthwatering cheesy flavor that’s simply irresistible, thanks to the generous amount of shredded mozzarella cheese. This ingredient not only melts beautifully but also creates a rich, savory taste that complements the fresh zucchini perfectly.
2. Expect a perfectly crispy exterior with a tender inside that makes each bite a delight. The combination of grated zucchini and flour forms a solid base while the baking process ensures that these breadsticks achieve that satisfying crunch we all crave.
3. A key technique I swear by is squeezing out the excess moisture from the grated zucchini. This crucial step prevents sogginess, allowing the breadsticks to hold their shape and achieve that ideal golden-brown color without becoming overly wet.
4. These breadsticks are a budget-friendly option compared to ordering appetizers at restaurants. With simple ingredients like zucchini, cheese, and pantry staples, you can whip up a batch of Cheesy Zucchini Breadsticks at home for just a fraction of the cost, making them an accessible treat any day of the week.
PS These Cheesy Zucchini Breadsticks yield about 12 pieces, making them perfect for sharing at your next gathering!
Ingredients for the Cheesy Zucchini Breadsticks
Each ingredient in this dish plays an essential role in flavor and texture. Here’s what you’ll need:
2 medium zucchini (grated and excess moisture squeezed out): Provides a moist base while keeping the breadsticks light.
1 cup shredded mozzarella cheese: Melts beautifully for that gooey, cheesy goodness.
1 large egg: Acts as a binder to hold everything together.
1/2 cup all-purpose flour: Adds structure and helps create a crispy exterior.
1/2 teaspoon garlic powder: Infuses the breadsticks with a savory depth of flavor.
1/2 teaspoon salt: Enhances all the flavors and balances the dish.
1/4 teaspoon black pepper: Adds a subtle kick to elevate the taste.
1/4 cup grated Parmesan cheese: Contributes a rich, nutty flavor on top for extra deliciousness.
- 1 tablespoon fresh parsley (chopped): Brightens up the dish with fresh notes and color.
You MUST squeeze out the zucchini. No shortcuts!
I know, I know—squeezing out the moisture from the zucchini adds a bit of extra effort, and believe me, I looked for ways to skip this step. But after many trials (and a few soggy disasters), it became clear that this technique is non-negotiable. Trust me, your future self will thank you!
So why is this crucial? Think of it like making pizza dough: if you don’t let it rest properly, you’ll end up with a chewy mess instead of a delightful crust. The same logic applies here—the excess moisture in the zucchini can lead to breadsticks that are floppy and soft instead of crispy and cheesy. By squeezing out that liquid, we create a solid base where flavors can shine without being diluted.
What does squeezing out the zucchini do?
- Crispier texture — Removing moisture ensures the breadsticks bake up crispy rather than soggy.
- Enhanced flavor — Concentrated flavors emerge when moisture isn’t competing, allowing the garlic powder and cheese to shine through.
- Better structure — A drier mixture holds together better while baking, giving you sturdier breadsticks that won’t crumble at first bite.
- Golden color — Less moisture means more browning; those gorgeous golden edges you crave are possible only with squeezed zucchini.
- Longer shelf life — Drier breadsticks stay fresher longer because excess moisture is often the enemy of longevity in baked goods.
Different squeezing times
- Less than 5 minutes (mediocre) — You might think you’ve removed enough moisture, but trust me, your breadsticks will be on the soggy side.
- ⭐️ 5 to 10 minutes⭐️ — Ideal! This time frame lets you thoroughly remove excess liquid for excellent texture and crunch.
- Beyond 10 minutes (diminishing returns) — While it’s tempting to squeeze until your arms ache, overdoing it can make the zucchini too dry and impact flavor.
Don’t underestimate the importance of squeezing out that pesky moisture! The most common mistake I see is people thinking they can just toss grated zucchini in without any prep. This will lead you straight to soggy sadness—so save yourself the heartache and make sure to squeeze!
How to make Cheesy Zucchini Breadsticks
Are you ready to see how straightforward it is to make the Cheesy Zucchini Breadsticks of your dreams??
1. PREPARE THE OVEN AND BAKING SHEET
Start by setting the stage for deliciousness!
1. Preheat – Preheat the oven to 400°F (200°C). This temperature is just right for achieving that golden-brown crust we’re after.
2. Combine – In a mixing bowl, combine the grated zucchini, mozzarella cheese, egg, flour, garlic powder, salt, and pepper. Make sure to squeeze out excess moisture from the zucchini; this helps prevent sogginess and ensures a crispy texture!
HANDY TIPS
- 💡 TIP: If you want extra cheesy breadsticks, feel free to add a bit more mozzarella!
- 💡 TIP: Use a clean kitchen towel or paper towels to squeeze out the zucchini moisture effectively.
2. MIX AND SHAPE THE DOUGH
Let’s transform those ingredients into a dough that will become your new favorite snack!
3. Mix – Mix until well combined and a dough forms. You should have a slightly sticky mixture that holds together well.
4. Spread – Spread the mixture onto the prepared baking sheet, shaping it into a rectangle about 1/2 inch thick. The thickness ensures they cook evenly and get that perfect crispiness.
HANDY TIPS
- ⚠️ Be careful not to spread it too thin; otherwise, they might burn or dry out!
- 💡 TIP: If you like a bit of heat, consider adding some red pepper flakes to the mixture for an extra kick!
3. BAKE THE BREADSTICKS
The moment we’ve been waiting for – let’s get these beauties in the oven!
5. Bake – Bake in the preheated oven for 20 minutes or until golden brown. Keep an eye on them during the last few minutes; you want that beautiful color!
6. Top – Remove from the oven and sprinkle with Parmesan cheese and chopped parsley while they are still hot. This allows the cheese to melt slightly into those delicious breadsticks.
HANDY TIPS
- 💡 TIP: You can switch up the toppings! Try adding Italian seasoning or even some diced sun-dried tomatoes for a flavor twist.
4. COOL AND SERVE
We’re almost there! Time to enjoy your creation.
7. Cool – Let the breadsticks cool for a few minutes before cutting into strips. This cooling period allows them to firm up just enough so you can get those clean cuts.
8. Serve – Serve warm with marinara sauce or your favorite dip! These cheesy delights are perfect for sharing (or not!).
Make these once, and I wager they will invade your dreams every night too! – Nagi x
FAQ – Cheesy Zucchini Breadsticks
How long will these cheesy zucchini breadsticks keep?
These cheesy zucchini breadsticks are best enjoyed fresh, but they can be stored in the refrigerator for up to 3 days. After day 1, I’d say they’re about 90% as good; by day 3, you’re looking at a solid 75% quality. They may lose some crispness, so consider reheating them in the oven for a few minutes to bring back that delightful crunch!
❄️ Can I freeze these zucchini breadsticks?
Yes, you can definitely freeze these! To freeze, let them cool completely after baking, then cut them into strips and place them in an airtight container or freezer bag. They should keep well for about 2-3 months. When you’re ready to enjoy them again, simply thaw overnight in the fridge and reheat in the oven at 350°F (175°C) for about 10-15 minutes until warmed through and crispy again.
🌾 Can these cheesy zucchini breadsticks be made gluten free?
Absolutely! To make this recipe gluten-free, substitute the all-purpose flour with a gluten-free flour blend. I’ve had great results with almond flour and coconut flour as well; just remember that coconut flour is more absorbent, so you may need to adjust the quantity—start with about 1/4 cup and see how it binds your mixture. You might need to add a little extra moisture if it feels too dry.
🥚 Can I use egg substitutes in this recipe?
If you’re looking for an egg substitute, you have a couple of options! A common swap is using 1/4 cup unsweetened applesauce or 1/4 cup mashed banana per egg. Both options will add moisture but may slightly change the flavor. Alternatively, you can use flaxseed meal: mix 1 tablespoon of flaxseed meal with 2.5 tablespoons of water, let it sit for about 5 minutes until it thickens up, and then use it as you would an egg.
Why do I need to squeeze out excess moisture from the zucchini?
Squeezing out the excess moisture from the grated zucchini is crucial because it helps prevent your breadsticks from becoming soggy during baking. Zucchini has a high water content—up to 95%, depending on its size and freshness! If you skip this step, you risk ending up with a mushy texture instead of those crispy edges we all love.
Did you really test this recipe multiple times?
Oh yes! I tested this recipe over a dozen times to perfect the balance of flavors and textures. From tweaking the cheese ratios to experimenting with different herbs, I wanted each bite to be perfectly cheesy while still holding together as a delicious stick! So trust me when I say I’ve been there—and I’ve got the cheesy goodness down to a science!
💡 Can I add other toppings or ingredients to customize my breadsticks?
Definitely! Feel free to get creative here. You can mix in different cheeses like cheddar or pepper jack for extra flavor. Adding herbs such as oregano or basil can give your breadsticks an Italian twist. For some heat, try tossing in a pinch of red pepper flakes or even some chopped jalapeños if you’re feeling adventurous. Just remember not to overload it too much; we still want those delightful sticks to hold their shape!
Troubleshooting
I will continue to add more to this Troubleshooting section as I start seeing questions coming through from people who have made the recipe.
Troubleshooting tips
“Why are my breadsticks so thin and flat? 😩”
- Your dough may not have been spread to the recommended 1/2 inch thickness; if it’s too thin, they won’t hold their shape while baking.
- If you didn’t use the correct amount of flour (1/2 cup), it could lead to a runny mixture that spreads too much on the baking sheet.
- I feel your pain, but I’m sure they were still YUM though!
“My breadsticks came out way too soggy! 😱”
- If you didn’t squeeze out enough moisture from the zucchini, excess water can make the dough too wet and prevent it from setting properly.
- Using too much cheese (over 1 cup) can also contribute moisture, making it hard for the breadsticks to crisp up.
- I bet they were still YUM though!
“Why are my breadsticks unevenly browned? 🤔”
- If your oven temperature is off or if you didn’t preheat it properly, it can lead to uneven cooking and browning. Make sure your oven is at a steady 400°F (200°C) before baking.
- Spreading the mixture unevenly on the baking sheet can also cause some areas to brown faster than others. Aim for an even layer!
- I’ve been there too; but hey, they were probably still YUM nonetheless!
“My breadsticks are tough and chewy! 😬”
- Mixing the dough too vigorously can develop gluten in the flour, making them tough instead of light and crispy. Just mix until combined!
- If you used more than 1 large egg or added extra flour without adjusting other ingredients, that can also lead to a denser texture.
- Even with that texture, I’m sure they were still YUM!
“Why do my breadsticks have cracks on top? 😟”
- If your dough was too dry because not enough zucchini moisture was released or if you added too much flour (more than 1/2 cup), it can lead to cracking as they bake.
- Overbaking can also lead to a dry surface that cracks—aim for that golden brown around 20 minutes!
- No worries though; I bet they were still YUM!
Cheesy Zucchini Breadsticks
Ingredients
Method
- Preheat the oven to 400°F (200°C). Line a baking sheet with parchment paper.
- In a mixing bowl, combine the grated zucchini, mozzarella cheese, egg, flour, garlic powder, salt, and pepper.
- Mix until well combined and a dough forms.
- Spread the mixture onto the prepared baking sheet, shaping it into a rectangle about 1/2 inch thick.
- Bake in the preheated oven for 20 minutes or until golden brown.
- Remove from the oven and sprinkle with Parmesan cheese and chopped parsley.
- Let the breadsticks cool for a few minutes before cutting into strips.
- Serve warm with marinara sauce or your favorite dip.