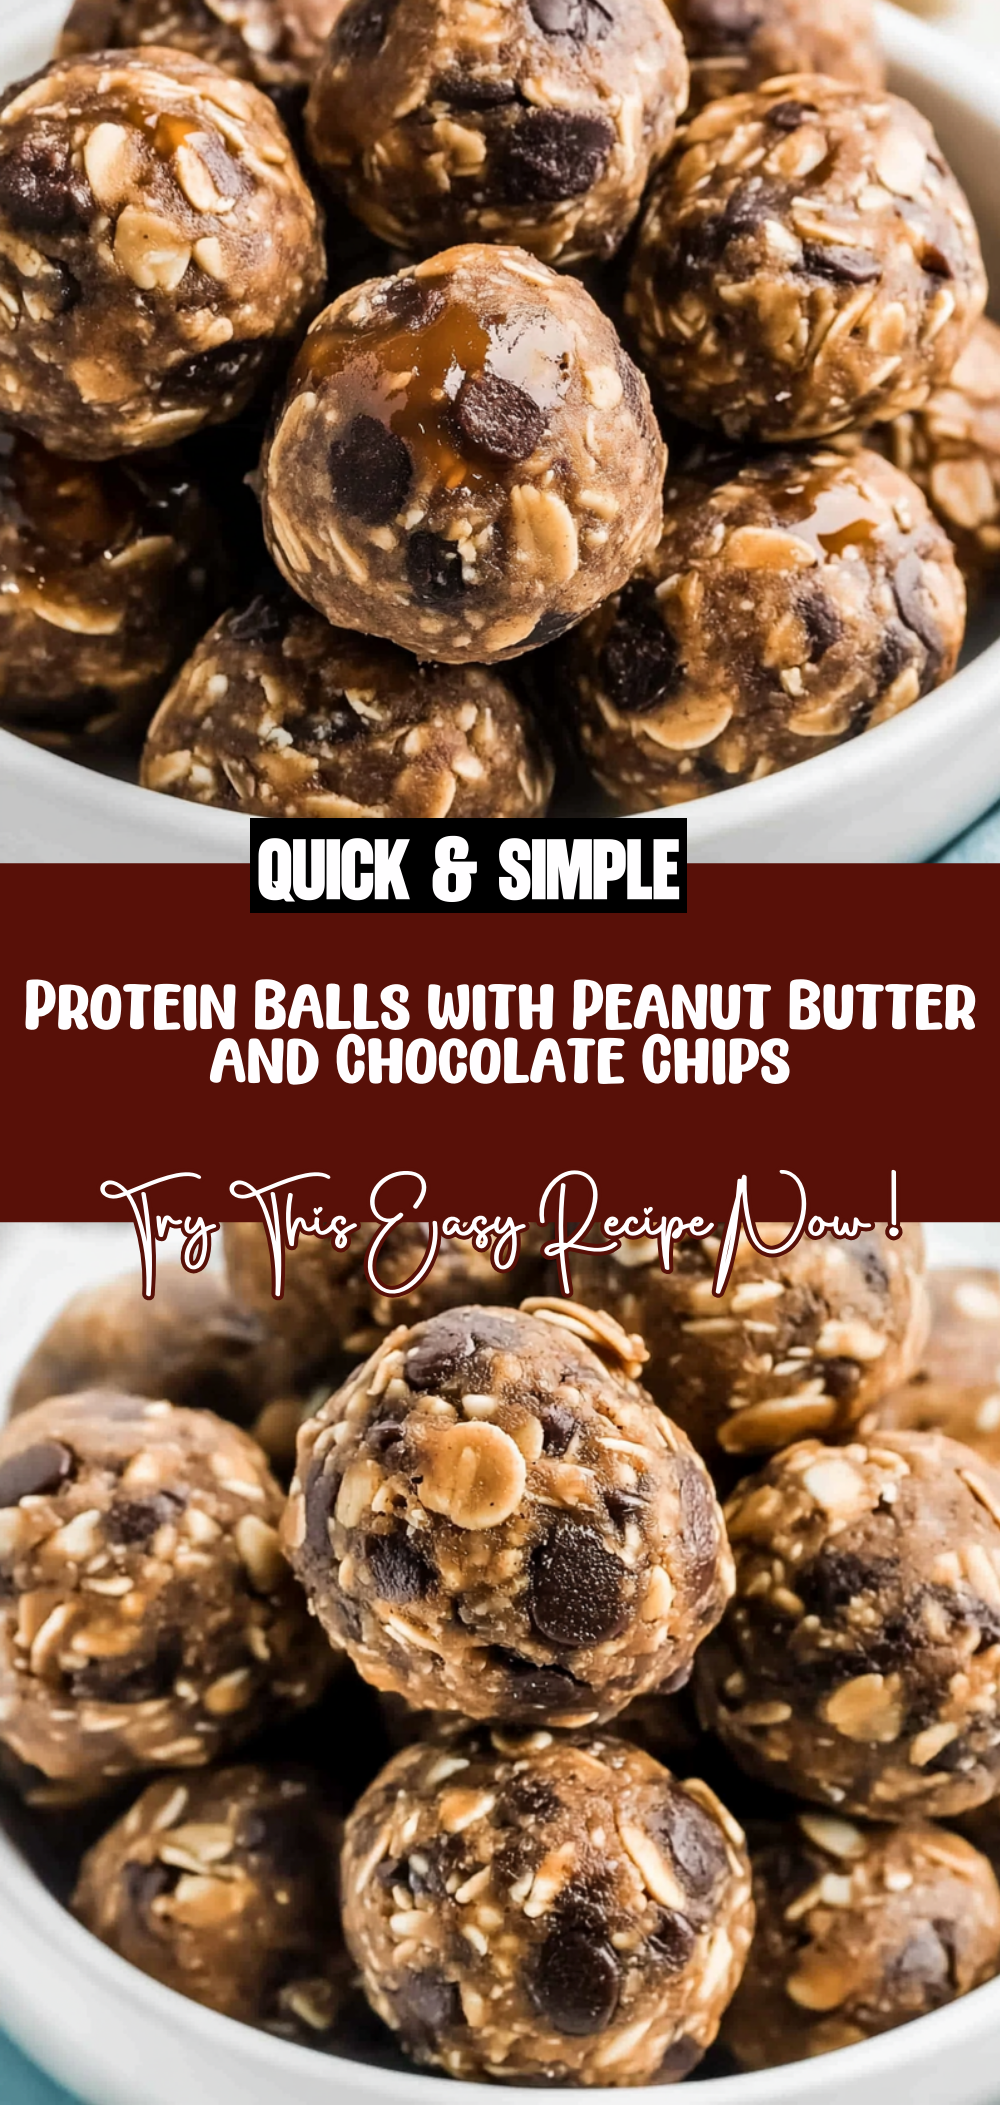
Energizing Protein Balls: Quick & Easy No-Bake Snack
There’s something so satisfying about a quick, healthy snack you can whip up in no time, and these Protein Balls are just that! Whether you’re rushing out the door for work or need a little pick-me-up after a workout, these no-bake treats have you covered. With just six simple ingredients, they blend together beautifully to create a deliciously chewy bite that’s packed with energy.
I love making these Protein Balls as they are not only easy to prepare but also versatile enough to fit into any occasion. Whether you’re hosting a gathering or simply need a nutritious snack for your day, these little powerhouses will delight both kids and adults alike!
Why You’ll Love This Recipe
– Quick and easy: In just 15 minutes of prep time, you can have these tasty snacks ready to go.
– Healthy energy boost: Packed with protein and fiber, these Protein Balls provide sustained energy throughout your day.
– Customizable flavors: With the base recipe laid out, feel free to tweak ingredients based on your preferences or what you have on hand.
– Perfect for meal prep: Make a batch ahead of time and store them in the fridge for an effortless snack option all week long.
– Kid-friendly: These Protein Balls are great for little hands and can help satisfy sweet cravings in a nutritious way.
Ingredients You’ll Need
Gathering the right ingredients is key to making these delightful Protein Balls. Fortunately, you might already have most of them in your pantry! Here’s what you’ll need:
For the Protein Balls
– 1 cup rolled oats
– ½ cup peanut butter
– ⅓ cup maple syrup
– 2 tablespoons chia seeds
– 1 tablespoon chocolate protein powder
– ½ cup dark chocolate chips
Variations
One of the best parts about making Protein Balls is how flexible the recipe is! Feel free to experiment with different flavors and textures to suit your taste.
– Swap the nut butter: Instead of peanut butter, try almond or cashew butter for a different flavor profile.
– Change up the sweetener: If you’re not keen on maple syrup, honey or agave nectar could be great alternatives.
– Add some crunch: Toss in some chopped nuts or seeds for an extra texture boost.
– Mix in dried fruits: Dried cranberries or raisins can add natural sweetness and chewiness to your balls.
How to Make Protein Balls
Step 1: Combine Ingredients
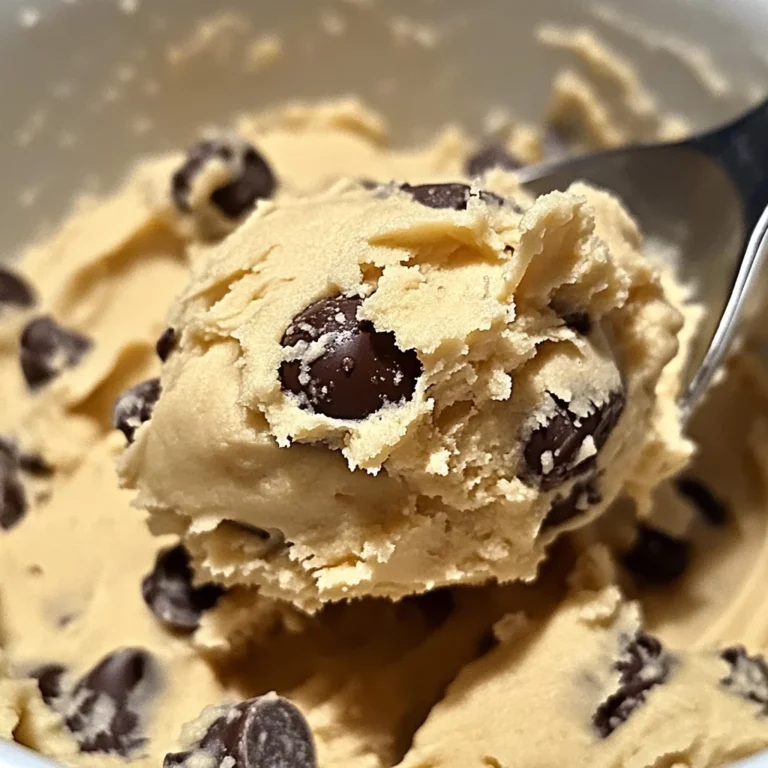
In a large bowl add the oats, peanut butter, maple syrup, chia seeds, chocolate protein powder, and dark chocolate chips. Mix well until all ingredients are blended. This step is crucial as it ensures that every bite is bursting with flavor and nutrition.
Step 2: Chill the Mixture
Cover bowl and place in refrigerator for an hour to chill. Chilling helps firm up the mixture so that it’s easier to scoop and roll into balls later on.
Step 3: Form the Balls
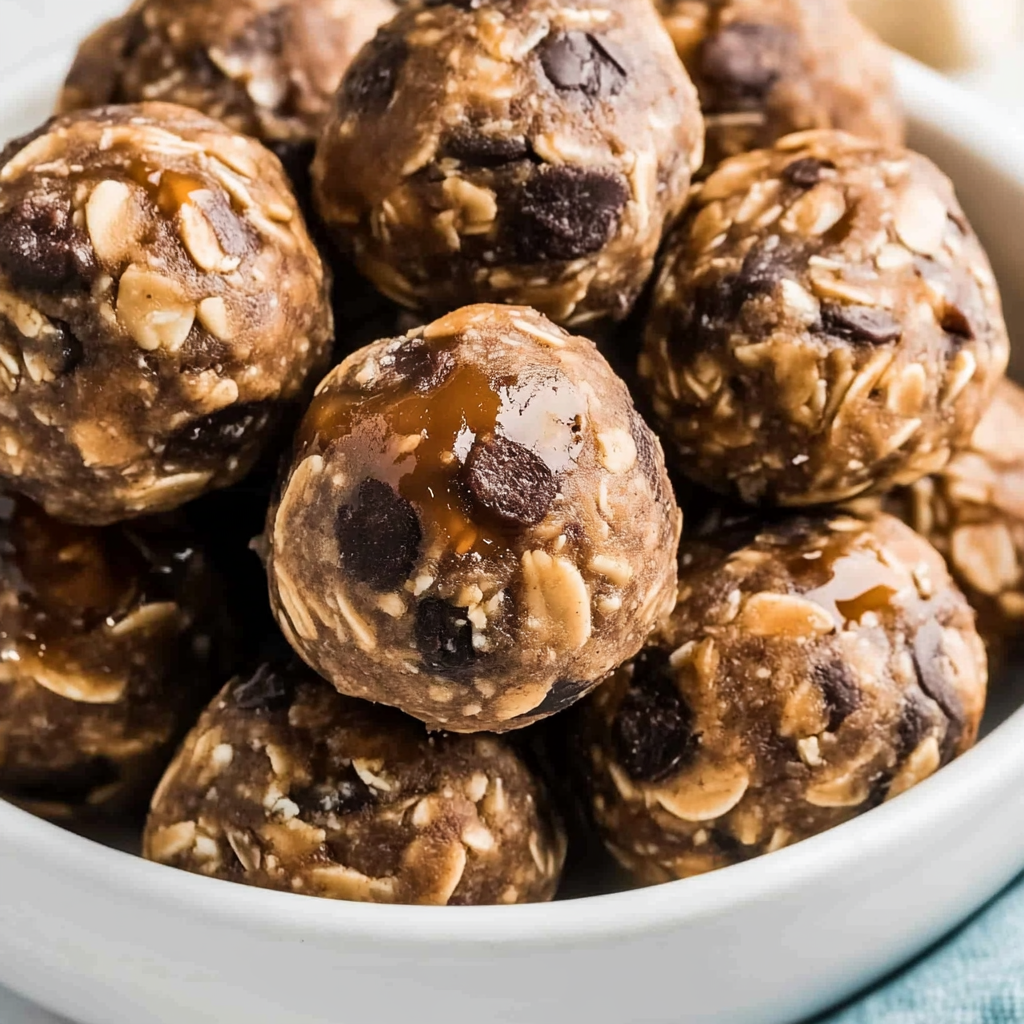
Scoop the ingredients with a cookie scoop and roll in your hands until a ball is formed. You may need to press firmly to get a solid ball to form. This step allows you to control the size of each ball—feel free to make them as big or small as you like!
Step 4: Store Properly
Keep in the refrigerator in an airtight container. Storing them correctly will keep them fresh for longer so you can enjoy them whenever you need that extra boost!
And there you have it! Your very own batch of delicious Protein Balls ready for snacking anytime!
Pro Tips for Making Protein Balls
Making protein balls is a fun and rewarding kitchen activity, and with a few pro tips, you can elevate your snack game even further. Here are some helpful suggestions to ensure your protein balls turn out perfectly every time:
– Start with room temperature ingredients: This makes it easier to mix everything together smoothly. If your peanut butter is cold, give it a quick warm-up in the microwave for a few seconds.
– Adjust the sweetness to your taste: Feel free to tweak the amount of maple syrup based on how sweet you want your protein balls. You can even substitute it with agave syrup or date syrup for a different flavor.
– Experiment with add-ins: Get creative by adding nuts, seeds, or dried fruits. Chopped almonds or cranberries can add a delightful crunch and extra nutrient boost.
– Chill before rolling: Allowing the mixture to chill in the fridge makes it easier to roll into balls. If it’s too sticky, try wetting your hands slightly before shaping.
– Keep them uniform: Use a cookie scoop for even-sized protein balls. This ensures consistent flavor and makes portion control easier.
How to Serve Protein Balls
These no-bake protein balls are perfect for snacking anytime, anywhere! They can be enjoyed straight from the fridge, or you can get creative in how you present them. Here are some ideas:
Garnishes
– Shredded coconut: Roll some of the protein balls in shredded coconut for a tropical twist.
– Cocoa powder: Dusting them lightly with cocoa powder adds an elegant touch and enhances the chocolate flavor.
Side Dishes
– Fresh fruit: Pair your protein balls with sliced apples or bananas for an extra boost of vitamins.
– Yogurt: Serve alongside a bowl of Greek yogurt for added creaminess and protein.
– Trail mix: Create a fun snack platter with your favorite trail mix that complements the flavors of the protein balls.
Make Ahead and Storage
Preparing meals ahead of time is essential for busy lifestyles, and these protein balls fit seamlessly into meal prep routines. With proper storage, they can last throughout the week!
Storing Leftovers
– Keep in an airtight container: Store your protein balls in an airtight container in the refrigerator to maintain freshness.
– Enjoy within one week: For optimal taste and texture, consume them within seven days.
Freezing
– Freeze before rolling: If you want to make them ahead of time, you can freeze the mixture in portions before rolling into balls.
– Thaw when ready: Simply take out what you need from the freezer and let them thaw in the fridge overnight before serving.
Reheating
– No reheating needed: Since these are no-bake snacks, there’s no need to heat them up! Enjoy them cold or at room temperature.
FAQs
If you’re new to making protein balls or have questions about this recipe, you’re not alone! Here are some frequently asked questions:
Can I use different nut butters?
Yes! While this recipe uses peanut butter, feel free to substitute it with almond butter or cashew butter depending on your preference.
Are these gluten-free?
Yes! As long as you use certified gluten-free rolled oats, these protein balls will be gluten-free and safe for those with gluten sensitivities.
Can I substitute maple syrup?
Absolutely! You can replace maple syrup with honey (if not vegan) or agave syrup. Each will impart its unique flavor while maintaining sweetness.
Final Thoughts
I hope this recipe inspires you to whip up a batch of delicious no-bake protein balls! They’re not only easy to make but also pack a nutritious punch that’s perfect for any time of day. Give them a try and enjoy your healthy snacking journey!
Ingredients
Method
- In a large bowl add the oats, peanut butter, maple syrup, chia seeds, chocolate protein powder, and dark chocolate chips. Mix well until all ingredients are blended.
- Cover bowl and place in refrigerator for an hour to chill.
- Scoop the ingredients with a cookie scoop and roll in your hands until a ball is formed.
- Keep in the refrigerator in an airtight container.