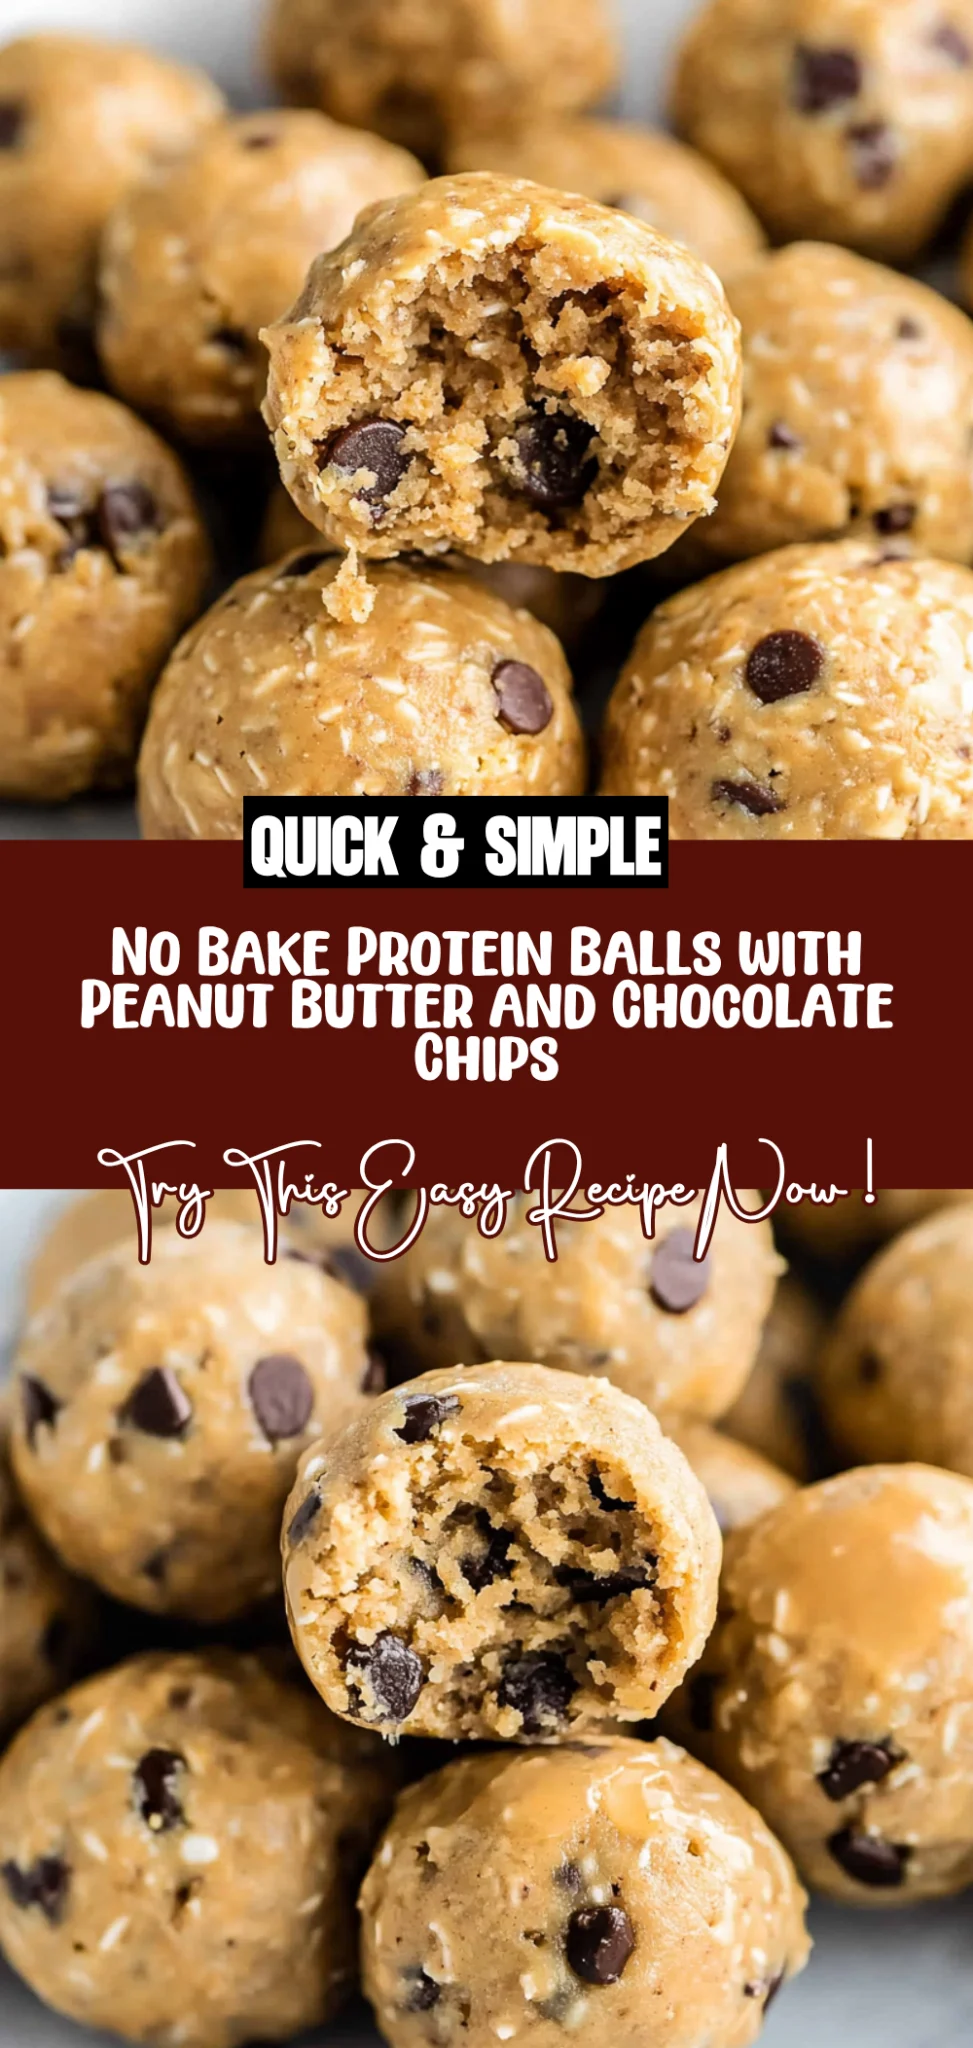
No Bake Protein Balls: Deliciously Easy Treats at Home
I’ll never forget the first time I tried those delightful little protein balls at my local café. They were a post-workout treat that felt indulgent but packed a healthy punch. I left with a happy belly and an empty wallet, and it hit me—why not recreate them at home? After all, they were delicious, but they also cost a pretty penny! So, armed with my blender and a determination to make them even better (and cheaper), I set out on a quest to create my own version of these No Bake Protein Balls.
Let me tell you, it wasn’t all smooth sailing! I think I ended up with about seven different variations scattered across my kitchen counter before I finally nailed it. Each attempt had its own quirky disaster—like the batch that turned out like glue (not appetizing) or the one that tasted like cardboard. But through each misstep, I was determined to achieve the perfect balance of flavor and texture, so I kept tweaking ingredients until I felt like a mad scientist in my own kitchen.
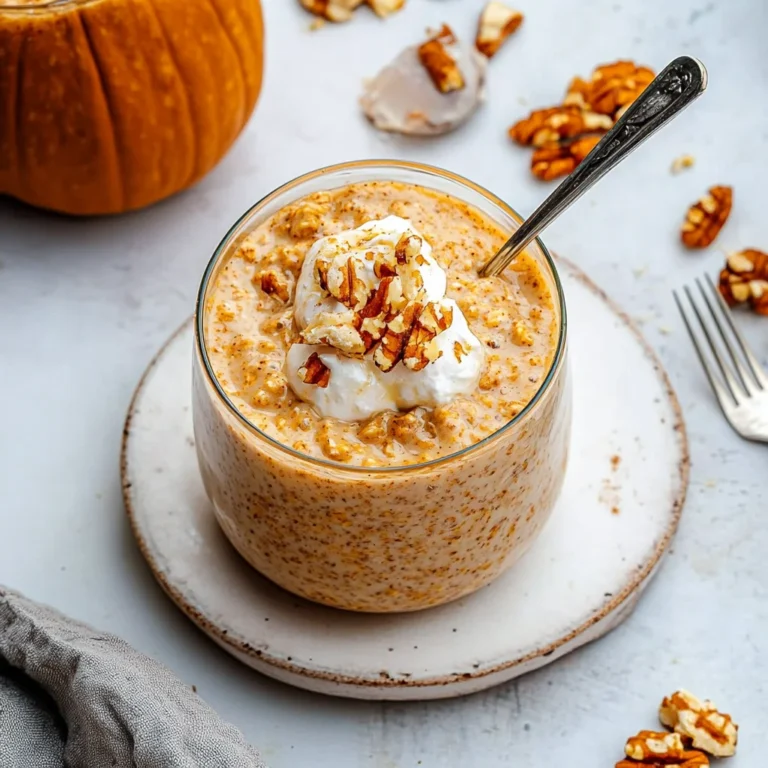
But oh boy, was it worth every single failed attempt! The final result is nothing short of heavenly—these No Bake Protein Balls are irresistibly chewy, packed with nutty goodness, and have just the right amount of sweetness to keep you coming back for more. Plus, they’re perfect for stashing in your gym bag or munching on during afternoon slumps. Trust me, once you try them, you’ll be wondering why you ever bothered with store-bought versions. So roll up your sleeves and let’s get making these delicious little bites of joy!
These No Bake Protein Balls are….
….the ultimate snack for anyone seeking a delicious and nutritious boost!
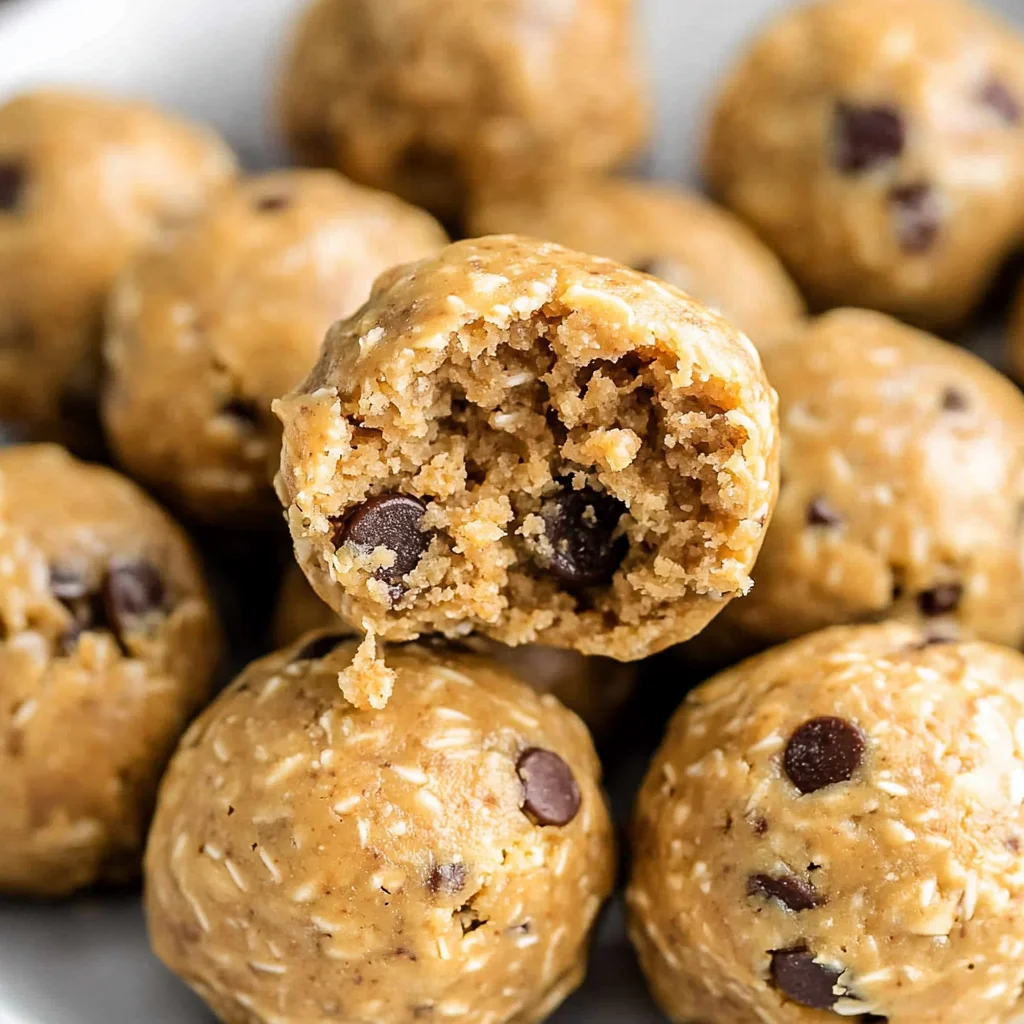
1. They deliver an irresistible chocolatey flavor that tantalizes the taste buds, thanks to the optional chocolate chips. This touch of sweetness perfectly balances the earthiness of the oats and nuttiness of the peanut butter, making each bite a delightful treat that satisfies cravings without guilt.
2. Perfectly chewy texture – these protein balls have a satisfying bite thanks to the combination of rolled oats and ground flaxseed. The oats provide a hearty chew while the flaxseed adds a subtle crunch, creating an enjoyable mouthfeel that keeps you coming back for more.
3. They utilize a no-bake technique that makes preparation incredibly simple and quick. By mixing all the base ingredients together without any cooking required, you preserve all the nutrients and flavors while ensuring that these protein balls can be ready in just 10 minutes!
4. Cost-effective snack option – making these no bake protein balls at home allows you to save money compared to store-bought protein bars or snacks. With pantry staples like oats, honey, and peanut butter, you can whip up a batch that’s not only healthier but also tailored to your taste preferences.
PS These no bake protein balls yield about 12 bites, perfect for stashing in your fridge for a quick grab-and-go snack throughout the week!
Ingredients for the No Bake Protein Balls
Each ingredient in this dish plays an essential role in flavor and texture. Here’s what you’ll need:
1 cup rolled oats: Provides a hearty base and chewy texture.
1/2 cup peanut butter (or almond butter): Adds creaminess and healthy fats for richness.
1/4 cup honey (or maple syrup): Sweetens the mixture while helping bind the ingredients together.
1/2 cup protein powder (vanilla or chocolate flavor): Boosts protein content and enhances flavor.
1/4 cup chocolate chips (optional): Introduces delightful bursts of sweetness and chocolatey goodness.
1/4 cup ground flaxseed (optional): Contributes a nutty flavor and additional fiber for nutrition.
You Must Chill the Protein Balls. No Skipping!
I’ll confess—I tried to skip this step, thinking I could just roll and snack my way to protein heaven. Spoiler alert: it didn’t work out as planned. The balls were a sticky mess, and I quickly learned that chilling is non-negotiable if you want them to hold their shape and not turn into a gooey puddle.
So, why is chilling so crucial? Think of it like the magic moment when dough rests before baking. Just as letting cookie dough chill enhances its flavor and texture, refrigerating these protein balls allows the ingredients—like the rolled oats and nut butter—to bind together more effectively. This means you get firmer, tastier bites of goodness that won’t fall apart at the first nibble.
What does chilling do?
- Texture — Chilling firms up the mixture, making it easier to roll into perfectly shaped balls that hold their form.
- Flavour — Allowing the ingredients to meld and rest enhances the overall taste, giving that nutty richness from peanut butter a chance to shine.
- Stability — The honey and nut butter set up better once chilled, preventing your protein balls from becoming a sticky disaster.
- Mouthfeel — A chilled protein ball has a delightful chewiness that contrasts beautifully with any chocolate chips you add.
- Shelf Life — Chilled protein balls can be stored longer without losing their shape or becoming overly soft, making them perfect for meal prep.
Different chilling times
- 30 minutes (good) — This is the bare minimum; they’ll firm up enough for rolling but may still be somewhat soft when you bite in.
- 1 hour (better) — At this point, they’re significantly firmer and much more enjoyable to eat without falling apart.
- 2 hours (great) — Ideal firmness achieved! You’ll notice a noticeable difference in both texture and taste, making each bite a delight.
- Overnight (best) — The ultimate option! Chilling overnight allows all flavors to develop fully while ensuring your protein balls are rock-solid when you’re ready to dig in.
But let me give you a heads-up: don’t even think about skipping the chill time or rushing it. The most common mistake is being too eager to snack on these beauties before they’ve had enough time in the fridge. Trust me—you’ll regret it when they crumble into a sad mess!
How to make No Bake Protein Balls
Are you ready to see how straightforward it is to make the No Bake Protein Balls of your dreams??
1. MIX THE INGREDIENTS
Let’s kick things off by combining all those delicious base ingredients into one satisfying mixture!
1. Combine – In a mixing bowl, combine the rolled oats, peanut butter, honey, protein powder, and ground flaxseed. Mix well until all ingredients are fully combined. This should create a slightly sticky mixture that holds together well.
2. Fold in – If desired, fold in the chocolate chips for added sweetness. This step adds delightful little bursts of chocolate in every bite!
HANDY TIPS
- 💡 TIP: For an extra protein boost, you can use a protein powder with added flavors like vanilla or chocolate!
- ⚠️ If the mixture feels too dry, add a splash more honey or peanut butter; it should be moldable but not overly sticky.
2. FORM THE BALLS
Now comes the fun part—shaping your protein mixture into tasty little balls!
3. Scoop – Using your hands, scoop out small portions of the mixture and roll them into balls, about 1 inch in diameter. Don’t worry if they aren’t perfectly round; they’ll still taste amazing!
HANDY TIPS
- 💡 TIP: If you want larger bites, feel free to make them a bit bigger—just remember they may need a few extra minutes in the fridge to firm up!
- ⚠️ Keep your hands slightly damp while rolling; this helps prevent sticking.
3. CHILL
Time to let these beauties chill and firm up for that perfect snackable texture!
4. Refrigerate – Place the protein balls on a baking sheet lined with parchment paper and refrigerate for at least 30 minutes to firm up. You’ll know they’re ready when they feel solid and hold their shape nicely.
HANDY TIPS
- 💡 TIP: Store any leftovers in an airtight container in the fridge for up to one week—they’re perfect for meal prep!
- ⚠️ These also freeze well! Just pop them in a freezer-safe container and enjoy them later.
You’ve just created a delightful batch of No Bake Protein Balls that are not only quick but also packed with goodness! With just 15 minutes of prep time, you’re now armed with a healthy snack that’s perfect for post-workout recovery or satisfying those sweet cravings without guilt. Make these once, and I wager they will invade your dreams every night too! – Nagi x
FAQ – No Bake Protein Balls
How long will these protein balls keep?
These no bake protein balls can be stored in the refrigerator for up to 1 week. After day 3, I noticed they were still delicious but perhaps 97% as good, and by day 5, they held steady at around 90%. To maximize freshness, keep them in an airtight container. If you’re anything like me, you’ll want to devour them before they reach that point anyway!
❄️ Do I really have to chill? YES YOU DO.
Yes, chilling is essential! The refrigeration time of at least 30 minutes helps the protein balls firm up, making them easier to handle and eat. I’ve tried skipping this step, and let me tell you; the mixture turns into a gooey mess that just doesn’t hold its shape. So unless you enjoy sticky fingers and a workout in your kitchen, don’t skip the chill!
🥶 Can I freeze these protein balls?
Absolutely! These protein balls freeze wonderfully. To freeze, lay them out on a baking sheet lined with parchment paper and place them in the freezer until firm—about 1-2 hours. Once frozen, transfer them to an airtight container or a freezer bag. They can last up to 3 months in the freezer. When you’re ready to enjoy one, simply remove it from the freezer and let it thaw at room temperature for about 15-20 minutes.
🌾 Can these be made gluten free?
Yes! To make these no bake protein balls gluten-free, simply ensure that your rolled oats are certified gluten-free. Most brands offer this option nowadays, so keep an eye out. Additionally, all other ingredients listed are naturally gluten-free, making it an easy swap for your dietary needs!
Can I substitute peanut butter with something else?
Definitely! If you’re looking for alternatives to peanut butter, almond butter works beautifully as a substitute—it gives a slightly different flavor but still packs a punch of healthy fats. For nut-free options, sunflower seed butter is my go-to; it has a similar texture and complements the other ingredients well. Just remember that each nut or seed butter may slightly alter the taste!
Why do I need to mix the ingredients so well?
Mixing the ingredients thoroughly ensures that each bite of your protein ball is packed with flavor and nutrients. An uneven mix could lead to some bites being way too dry while others are overly sticky—nobody wants that! I always make sure everything is fully combined so every bite is as delicious as possible.
How can I customize my protein balls?
There are countless ways to customize these no bake protein balls! You can add:
- Different flavored protein powders (chocolate or even berry-flavored)
- Dried fruits like cranberries or raisins
- Seeds such as chia seeds for added nutrition
- Spices like cinnamon or cocoa powder for extra flavor
The possibilities are endless! Just remember not to overload them—too many add-ins can affect their ability to hold together nicely. Happy experimenting!
Troubleshooting
I will continue to add more to this Troubleshooting section as I start seeing questions coming through from people who have made the recipe.
Troubleshooting tips
“My protein balls are too crumbly and falling apart! 😭”
- You may have added too much protein powder. Protein powder can absorb moisture, so if you used a heaping scoop or a different brand with varying absorbency, it might dry out the mixture.
- Not enough binding ingredients could also be the culprit. If your peanut butter or honey was measured inaccurately and not enough was used, it can lead to a crumbly texture.
- I bet they were still YUM though!
“My protein balls turned out too soft and mushy! 😩”
- You might have added too much liquid sweetener like honey or maple syrup. If you exceeded the 1/4 cup measurement, it can make the mixture overly wet.
- Another possibility is that your oats were not rolled oats. Quick oats or steel-cut oats won’t provide the same structure, leading to a mushy texture.
- I bet they were still YUM though!
“The chocolate chips melted and made my protein balls look messy! 🍫”
- If your chocolate chips are too warm when you fold them in, they will melt into the mixture instead of staying as chunks. Make sure they’re at room temperature before adding them.
- Alternatively, if you used chocolate chips that aren’t meant for baking (like regular candy), they may not hold their shape as well under mixing.
- I bet they were still YUM though!
“My protein balls came out uneven in size! 🤷♀️”
- If you didn’t use a consistent scooping method when forming the balls, that could lead to varying sizes. Using a cookie scoop can help maintain uniformity.
- Also, if you let the mixture sit too long before forming them, it might have hardened slightly, making it harder to roll uniform balls.
- I bet they were still YUM though!
No Bake Protein Balls
Ingredients
Method
- In a mixing bowl, combine the rolled oats, peanut butter, honey, protein powder, and ground flaxseed. Mix well until all ingredients are fully combined.
- If desired, fold in the chocolate chips for added sweetness.
- Using your hands, scoop out small portions of the mixture and roll them into balls, about 1 inch in diameter.
- Place the protein balls on a baking sheet lined with parchment paper and refrigerate for at least 30 minutes to firm up.